Most homebrew problems are not recipe problems. They are reading problems. You missed your original gravity by eight points because the wort was stratified in the kettle. You thought fermentation stalled because you read a refractometer on day four and forgot that alcohol bends the number. You pitched warm because the thermometer was sitting in a bucket of sanitizer.
A home brewing measuring station fixes most of that with two decisions: one dedicated surface that never moves, and one reading routine you run identically every batch. It is not a lab. It is a counter-height table with a meter on it, and once you build it, brew day stops being a series of guesses.
I built mine in a Grand Rapids garage and rebuilt it twice after cheap gear failed mid-batch. Here is how to set up the same thing without burning a brew day learning what I learned.
Why you should trust me
I have been brewing since 2014 and I have more than 50 batches logged in a spiral notebook my wife keeps threatening to recycle. From 2019 to 2022 I was the assistant brewer at a 7-barrel brewpub in Grand Rapids, where gravity checks were not a hobby, they were a shift duty: every tank, every day, pH and gravity both.
That job taught me the habit this whole article is built on. I measure everything and I write it down. Original gravity, final gravity, strike temp, mash pH, 24-hour gravity, packaging losses, garage temperature at pitch. My hydrometer gets calibrated in distilled water at 60°F before every brew day, because a 0.002 error at the start of the day is a 0.002 error at the end of it.
Cheap gear that fails mid-batch has cost me three ruined brew days, including a pump that died mid-sparge on batch 41. Nothing below is here because the box looked good.
How I picked and how I tested
Two rules. First, a product has to survive at least three full brew days before it gets written up. Second, it has to survive them without special handling: no babying it, no wiping it down the second wort hits it, no "just keep it dry."
For a work surface, that means withstanding a boilover, a hop sludge spill, and a bucket of hot water, then getting wiped clean. I look at day-one build quality, because that is the best predictor of long-term value. Gear that needs coddling at batch ten is in the maybe-sell box by batch thirty.
For a measuring tool, it means the reading has to repeat. I zero it against distilled water at 60°F, take a reading, clean it, zero it again, and check whether the second zero matches the first. A meter that drifts between readings is worse than no meter, because it hands you a number you will trust.
What the station actually needs
A measuring station is a surface plus a fast way to read wort. That is the whole list. You already own the hydrometer. The two things most homebrewers are missing are a table that stays level while you pull a sample and a way to read that sample's gravity without waiting on a test jar to cool.
Both of the pieces below are built for exactly that job.
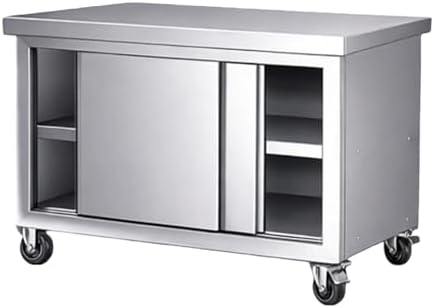
The surface: Stainless Steel Table with Wheels, Heavy Duty Commercial Work & Prep Table with Storage, Kitchen Cabinet Work Benches for Garage Restaurant Bar and Hotel(39.3x23.6x31.4in)
 Visit on Amazon →
The footprint is 39.3 by 23.6 inches at a 31.4 inch working height, which is standard counter height. That matters more than it sounds. A station you have to bend over to use is a station you quit using around batch three.
Stainless is the right material for a brew surface for one reason: it does not care what you spill on it. Wort, hop sludge, sanitizer, hot water. Wipe it down and it is done, with no staining, no swelling, and no laminate peeling at the edges after one boilover. The cabinet underneath gives you somewhere for the notebook, the distilled water, the spare hydrometer, and the test jar, so they are not sitting in the splash zone while the kettle is rolling.
The casters are the part to think about. Locking wheels mean you can roll the station out of the garage for a hose-down and push it back against the wall when it is not brew day, which is the difference between a station and a permanent mess. They also mean you lock them every single time before you set a full test jar on the edge. If your garage floor slopes toward the door, check the level at the spot where you actually work, not the spot where the table parks.
Flaws but not dealbreakers: Stainless rings when you set a kettle down hard, and it shows water spots in a way a dark surface does not. The storage cabinet is not sealed, so do not park grain in it during a humid Michigan summer. Keep it for tools and cleaning supplies.
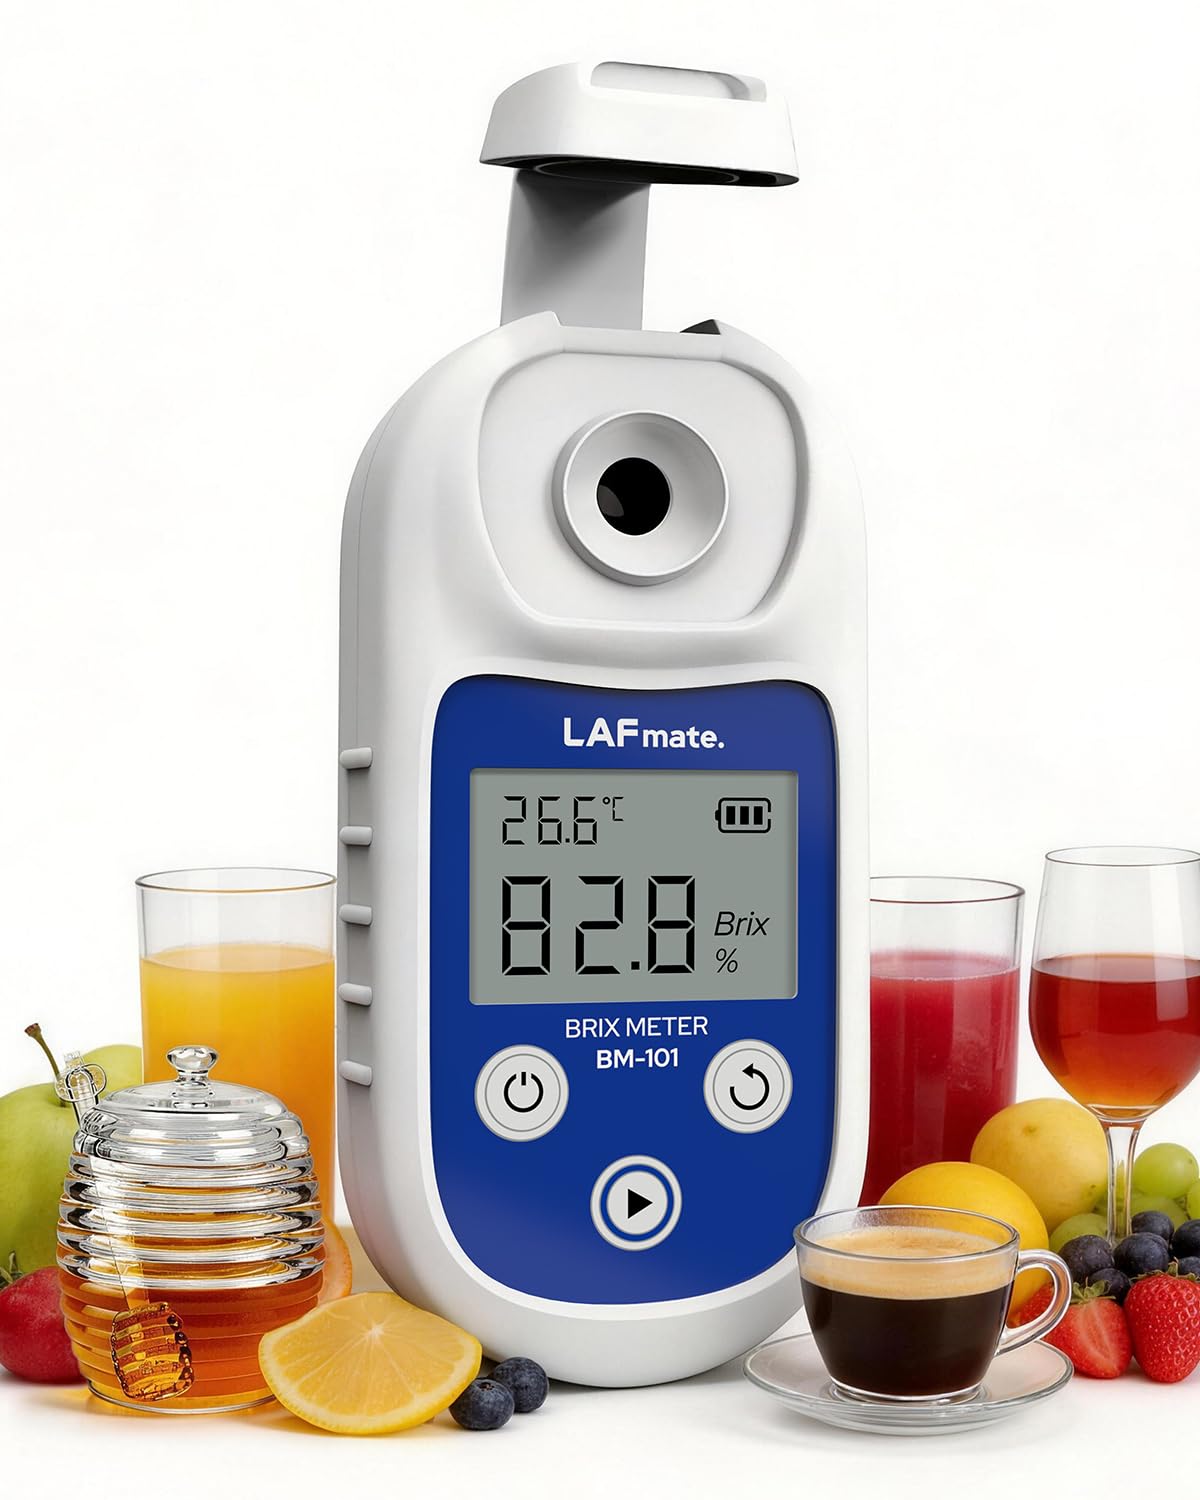
The meter: Brix Refractometer 0-95% ±0.2%, Digital Refractometer with ATC, IP65 Brix Meter for Honey,Juice, Wine & Home Brewing,BM-101
 Visit on Amazon →
A refractometer changes the shape of your brew day because it takes two drops instead of a full sample. Pull a few drops of wort on a spoon, drop them on the prism, close the cover, read. No filling a test jar, no floating a hydrometer, no waiting for a quarter liter of wort to come down to the temperature your hydrometer was calibrated at.
The specs that matter here: ATC, which is automatic temperature compensation, so you are not chasing sample temperature against a correction table the way you do with a hydrometer. The 0 to 95% Brix range covers everything from a light wort to honey, juice, and wine, so the same tool works if you also make mead or keg cider. IP65 means the body is sealed against dust and splashes, so a wipe with a damp cloth after a sticky sample is the entire cleaning routine.
The accuracy figure on the spec sheet is ±0.2% Brix, and that is the number to hold it to. Zero it against distilled water at 60°F before you use it, every time, because the reading is only as good as the zero.
Flaws but not dealbreakers: This is the caveat that matters most. A refractometer measures how light bends through sugar in water, and alcohol bends light differently. Once fermentation starts, the number on the screen is not your gravity anymore, and a Brix reading on day four of an active ferment will send you chasing a stalled fermentation that is not stalled. Use it for wort: pre-boil, post-boil, and starter gravity. Use a hydrometer for anything that has yeast in it, or apply a published correction and accept that you are estimating.
The actual setup workflow
This is the routine, start to finish. It works in a garage, a basement, or a kitchen with a tolerant partner.
Step one: Pick the wall. The station goes where the boil happens, not across the house from it. Every step you take with an open sample is a step where something gets knocked over.
Step two: Level the surface and lock the casters. Set the table where you will actually work, put a level on it front to back and side to side, and lock every wheel. A table that rolls half an inch while you pull a sample is how a hydrometer dies.
Step three: Stage only what the reading needs. On the surface: the refractometer, a hydrometer and test jar as the backup, a jar of distilled water for zeroing, a clean spoon or sampling pipette, and the notebook. Everything else lives in the cabinet. Clutter is where samples get knocked into.
Step four: Zero the refractometer. Distilled water at 60°F, two drops, close the cover, read. If it does not read zero, adjust it. Do this before the mash, not while you are standing over a boiling kettle.
Step five: Take the pre-boil sample. Pull the sample from the middle of the wort, not off the top and not straight off the bottom where grain is settling. Stir first, then sample. Stratified wort is the number one cause of a gravity reading that makes no sense.
Step six: Read, convert, and log. The refractometer gives you Brix. To approximate specific gravity, multiply the Brix reading by four and add it to 1.000, so 12 Brix lands near 1.048. Write both numbers down. The conversion is an approximation, and the point of logging both is that you can see the pattern across batches.
Step seven: Cross-check at the two moments that matter. Take a refractometer reading on brew day for your original gravity, then switch to the hydrometer for final gravity. Two tools, two jobs: the refractometer is the fast one, the hydrometer is the honest one. If the two disagree on a wort sample, trust the hydrometer, then recalibrate both.
Step eight: Clean and reset. Rinse the prism with distilled water, dry it with a soft cloth, and put it back in its case. Wipe the stainless with hot water and a rag before anything dries on it. Dried wort on a stainless surface is not a stain, it is a chisel job. Do this on brew day and you never do it on bottling day.
What does not belong on the station
The folding table. Every garage brewery starts with one. They wobble when you press a hydrometer into a test jar, they rust at the leg joints, and they are the reason your sample jar keeps sliding toward the edge.
The refractometer without ATC. Temperature compensation is not a luxury feature. Without it, every reading needs a correction table and a thermometer, and you will stop taking readings.
A hydrometer-only setup is not wrong, it is just slow. If the only way you can measure gravity is a 100 mL sample that has to cool to 60°F, you will skip readings on the days you are tired, and those are the days the numbers matter.
The hydrometer stored upright in the sample jar. It rolls, it chips, and a chipped hydrometer reads wrong long before it reads obviously broken.
And the phone conversion app you never verified. Pick one conversion, write it in the notebook, and stop trusting a free calculator you downloaded years ago.
What this all costs
Both pieces above have their prices on the product pages, so check current Amazon price on each before you commit. The rest of the station is nearly free: a notebook, a jar of distilled water, a clean spoon, and the hydrometer you probably already own.
The math that matters is not the sticker price. It is what a bad reading costs you. A batch you dump because you packaged at the wrong gravity is a full brew day, a full fermentation, and a full case of bottles. One of those costs more than the entire station.
Spread over a couple of years of brew days, the station is cheaper than the hops you put through it. That is the whole argument.
The reading is the job. Take it the same way every time, write it down, and your beer stops being a coin flip.