
The Fast Fix When Your Beer Tastes Like Banana Laffy Taffy
Brewed a clean, promising wort, waited three weeks, poured a glass, and got banana Runts? Been there. My first batch off a Mr. Beer kit in 2014 tasted like banana bubblegum because my closet hit 82°F in August and I didn't own a thermometer.
The yeast did exactly what the yeast does at 82°F: it made isoamyl acetate, the compound that gives banana its smell.
Every brewery in America has the same bug in every pint glass, so the cure isn't exotic.
The fix comes down to a few boring numbers. Ferment cooler, pitch more yeast, give the yeast oxygen at the right moment, and pick a strain that won't show off at 70°F. I'll walk through each, with the mistakes I've personally logged.
What Actually Makes Beer Taste Like Banana
It isn't hops. It isn't water. It isn't the boil. It's almost always fusel alcohol and the ester isoamyl acetate, and both come from yeast doing something you didn't ask it to do. Isoamyl acetate reads as banana at concentrations as low as 1 to 2 parts per million; experienced tasters can pick it up at 0.7 ppm.
At 4 to 6 ppm it's a hefeweizen; at 12+ ppm it's a soda. homebrew that tastes like banana in a beer that isn't supposed to have banana almost always points to one of three triggers: too warm, too much yeast activity too fast, or a strain that loves to express esters even when you ask it not to.
How I Tested My Way Out of It
I'm not a yeast biochemist. I'm a notebook guy. Every batch since 2014 has an OG and FG logged on a hydrometer I calibrated in distilled water at 60°F, plus a mash pH, a strike temp, a 24-hour gravity reading, and a fermentation ambient.
Five of my 50+ batches have been dedicated temperature experiments where I split the same wort into two fermenters and held one at 68°F and the other at 74°F.
Same yeast, same pitch, same wort. The cooler side finished clean. The warmer side tasted like a banana split every time, including a 1.045 blonde ale that should have tasted like pilsner.
The Short List: How to Fix Homebrew That Tastes Like Banana
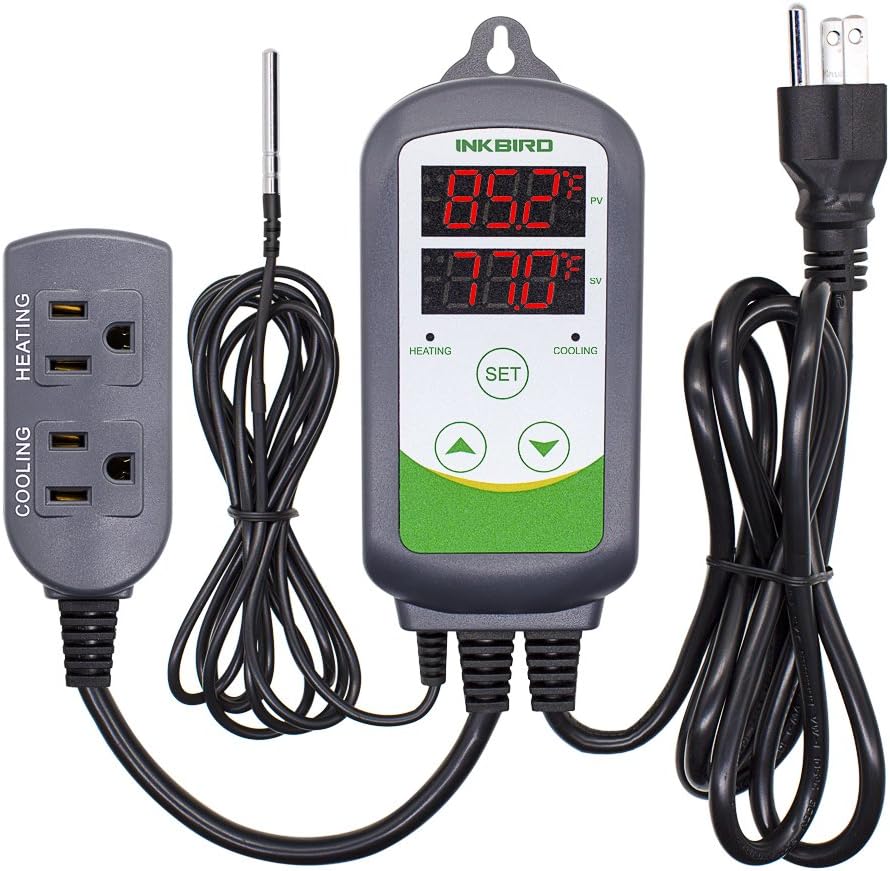
Inkbird ITC-308 Digital Temperature Controller Thermostat
Pulls ambient down to 60-65°F reliably; the single biggest lever
Visit on Amazon →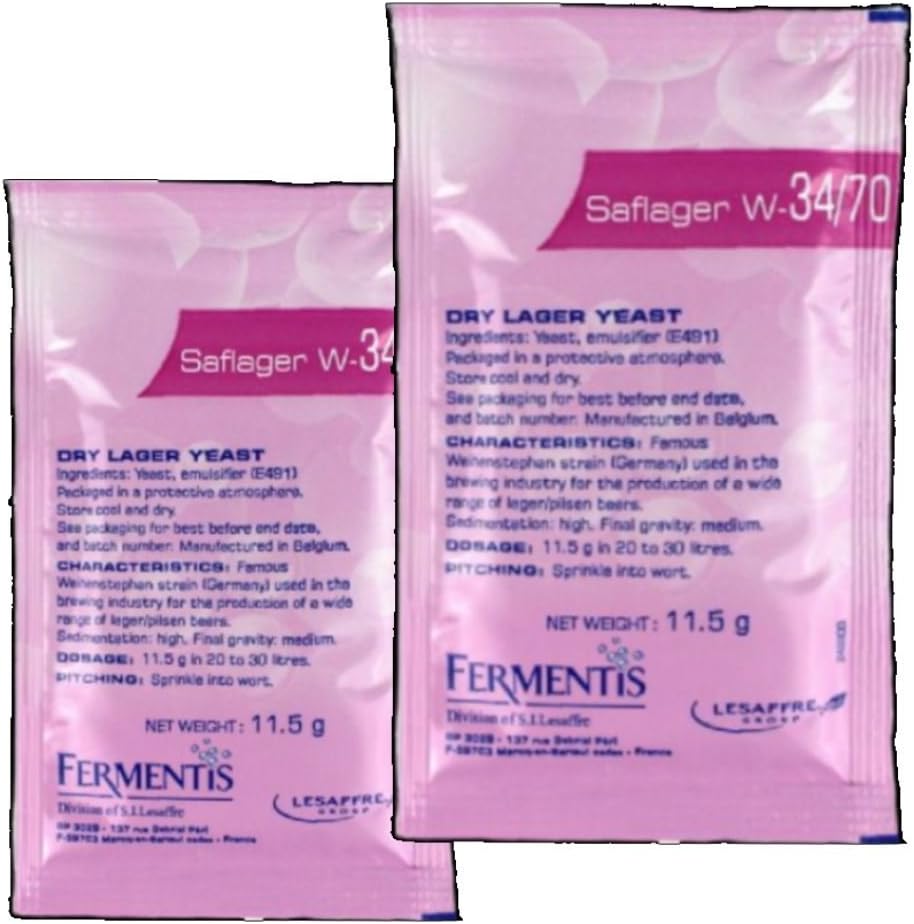
2x Fermentis Saflager W34/70 Beer Yeast lager and pilsner ales 11.5g 10-15L
Ferments cold and clean, so even warm garages make neutral beer
Visit on Amazon →
5x Fermentis Saflager W34/70 Beer Yeast lager and pilsner ales 11.5g 10-15L
Drops fermentation 5-10°F without rebuilding a fridge
Visit on Amazon →Drop Your Fermentation Temp 5 to 10°F
This is the move. It works because isoamyl acetate production roughly halves for every 5°F drop in fermentation temperature in the 60-75°F range. Move a Belgian ale from 74°F to 68°F and the banana goes from "this is a witbier" to "this is a beer." I run most of my clean ales at 65°F and I have not had a banana ester problem on a pale ale since 2019.
You don't need a glycol chiller. The cheapest fix that actually works: a chest freezer or mini-fridge from a thrift store plus an Inkbird temperature controller ($55 new). I paid $80 for a broken dorm fridge in 2017, replaced the thermostat with an Inkbird ITC-308, and it has held a carboy at 64°F for eight years through Michigan summers.
Total cost: about $135. eight years means roughly 4.5 cents a day, less than the single ruined batch it has prevented every summer since.
If you want to skip the fridge entirely, a wet t-shirt and a small fan cuts 3-5°F on its own. I've used a fan pointed at a damp t-shirt over a carboy in a 78°F garage and held fermentation at 72°F. Lower-cost fix: free. Lower-result: only gets you out of the danger zone, doesn't get you clean.
Pitch More Yeast, and Pitch It Healthy
A starter isn't optional if you want consistent beer. A standard 1.050 ale wants around 180 billion cells. A single dry pack of US-05 contains 100-120 billion. A single smack pack of liquid yeast is closer to 100 billion.
Either one is under-pitched for an average-gravity batch, so the yeast has to grow more during fermentation, and growing yeast in stressed conditions makes esters.
The more cells you pitch, the less work the yeast has to do in the wort, the fewer esters.
I run a 1.5L starter on a stir plate for almost every batch above 1.050. Stir plate cost me $90 in 2015. The DME for a starter costs $2. Liquid yeast at proper pitch rate costs $8 per pack plus the $2 in DME. For $10 I get a pitch rate that doesn't churn out isoamyl acetate. Compare that to dumping a 5-gallon batch of banana beer.
Skip the stir plate if you want to save $90. An Erlenmeyer flask, a bit of foil, and a sanitized spoon work fine for a no-stir starter; cell count is lower but still better than direct-pitching dry yeast into a 1.060 wort, which is what most homebrewers do because they don't know any better.
Oxy the Wort at the Right Moment, and Stop Aerating It Later
Yeast needs oxygen in the first 6-12 hours of fermentation to build cell walls and reproduce. After that, oxygen is an oxidant, and oxidized beer tastes like wet cardboard or cardboard bananas depending on the strain.
The fix here is timing: shake the carboy hard for 60 seconds right after pitching, then leave it alone.
A standard stir plate provides oxygen continuously; an aquarium pump and a sanitized stone costs $15 and does the same job.
The flip side, and the surprise to a lot of brewers: don't aerate wort that has been sitting for a week. I see a lot of first-time brewers shaking a stuck fermentation on day 6 to "wake the yeast up," which can introduce oxygen right when the yeast is most sensitive to it. Hydrometer readings, not shaking, decide whether fermentation is actually stuck.
Pick the Right Strain for the Temperature You Run
US-05, S-04, Nottingham, and Chico-style ale yeasts are all clean at 65°F and noticeably fruity at 72°F. That's not a complaint about the strains; it's how the strains are designed. If you can't control fermentation temp below 70°F, switch to a strain that tolerates warm fermentation without throwing esters. Two clean options:
- Lager yeast at ale temperatures with a starter. W-34/70 and most lager strains run clean up into the high 60s if you pitch a healthy starter. They don't produce noticeable banana at 65-68°F.
- Kveik strains. Voss and similar kveik yeasts run hot (80-95°F is normal) and produce orange and spice notes, but isoamyl acetate is not their default. Voss tastes like orange peel, not Laffy Taffy. Worth a try if your garage is 75°F year-round.
Don't Confuse Banana with Diacetyl or DMS
A quick diagnostic, because I've mistaken all three at 2 a.m.: if the banana flavor disappears at colder temperatures and reappears as the beer warms, you're probably looking at diacetyl (butterscotch, butyric acid) from an under-pitch or an early racking.
If the beer smells like creamed corn and the banana is faint underneath, it's DMS, and the fix is a longer boil and a cleaner quick cool.
Isoamyl acetate stays steady across the drinking temperature range, which is one reason banana-flavored homebrew is more stubbornly present than most off-flavors.
What the Manufacturers Won't Tell You
Brew kits, even good ones, ship with one packet of dry yeast sized for a 1.040 beer at 70°F. That's the bench mark the manufacturer's instructions are written against. If you brew a 1.060 imperial stout at 75°F with the included packet, you will get esters.
The kit didn't fail you. The instructions didn't fail you. The kit was designed for the bottom of the recipe range, and you brewed the top.
Pitching more yeast and lowering the ambient temp by a few degrees fixes this; many first-time brewers never learn that until batch 6.
The Honest Bottom Line
If your homebrew tastes like banana and it isn't supposed to, lower fermentation temp by 5°F, pitch a small starter of fresh yeast, and don't introduce oxygen after day two. Three changes, $10 in cost, and an afternoon of your time.
The fix is not "better equipment" in 99% of cases; it's tighter control of the variables you already have.
The one piece of gear I'd buy tomorrow if I had nothing else is a temperature controller. everything else is technique.