Flat beer is the most common failure I see in new homebrewers, and it is almost never the yeast's fault. You did the mash, you hit your original gravity, you waited out fermentation, and then you bottled and waited two more weeks only to pour a glass that tastes like sweet water with no head. I have logged 50-plus batches in a spiral notebook that my wife keeps threatening to recycle, and I can tell you the exact moment most batches die: packaging.
The difference between homebrew and beer is carbonation. The difference between a frustrating hobby and a reliable one is the gear you use to put bubbles in the bottle. You have two honest routes to carbonate homebrew: pre-measured carbonation drops for bottle conditioning, or a proper keg tower with a dual gauge regulator for people who drink more than they gift. Both work. Both have a specific job. I have used both across more brew days than I can count, and I am going to tell you exactly which one belongs in your garage.
Why you should trust me
I have been brewing since 2014, when I scorched a Mr. Beer kit on a dorm-room hot plate so badly I invented what I still call burnt adjunct lager. Twelve years and 50-plus logged batches later, I have brewed everything from a 1.030 session bitter to a 1.100 barleywine, and I spent three years as the assistant brewer at a 7-barrel brewpub in Grand Rapids. That job taught me the habit that defines everything on MaltDock: I measure everything and write it down. Every batch gets its OG and FG read on a hydrometer I calibrate in distilled water at 60 degrees, plus strike temps, mash pH, packaging losses, and the exact garage temperature.
That matters here because carbonation is a measurement problem. A carbonation drop is a measured dose of sugar. A keg regulator is a measured dose of gas. When a batch comes out flat, the culprit is almost always a guess that was never written down. I do not guess. Nothing gets recommended here until it has survived a full brew day without embarrassing itself, and carbonation gear gets the extra test: it has to survive the two weeks after bottling, which is where most equipment failures actually show up.
How I picked and how I tested
I tested both routes the same way I test everything, over multiple full brew days with the notebook open. For the bottle route, I conditioned a 5-gallon batch of an American pale ale at 1.050 OG using carbonation drops instead of my usual boiled priming sugar solution. For the keg route, I ran the same style through a converted kegerator tower kit, force carbonating at high pressure and then dropping to serving pressure.
Every bottle got the same treatment: three weeks at 70 degrees in the garage, then a chill, then a pour into a clean glass to check the head and the mouthfeel. Every keg got the same treatment: a burst carbonation at elevated pressure for 36 hours, then a drop to serving pressure, then a draw through a clean line. I logged the drop count per bottle, the regulator pressures, the time to carbonation, and the number of flat bottles in each batch. The numbers I trust: a properly carbonated beer holds a head for more than a minute and shows a steady stream of bubbles for the whole pour. A flat beer shows nothing.
Bottle carbonation with drops
Bottle conditioning is the classic route, and it works because you are adding a precise amount of fermentable sugar at packaging. The yeast eats it, produces CO2, and the CO2 dissolves into the beer because the bottle is sealed. The problem with traditional priming sugar is the math. You have to weigh the sugar, boil it into a solution, and stir it into the bottling bucket without introducing oxygen. Miss the weight by a few grams and you get either flat beer or bottle bombs. Miss the stirring and the first bottles are undercarbonated while the last ones gush.
Carbonation drops exist to kill that entire failure mode. Each drop is a pre-measured dose of sugar, so you skip the scale, the boiled solution, and the stirring. You drop the correct number into each bottle, fill, cap, and wait. For a small batch or a brew day where you want to package 12 bottles for gifts without breaking out the priming bucket, this is the most reliable route I have used.
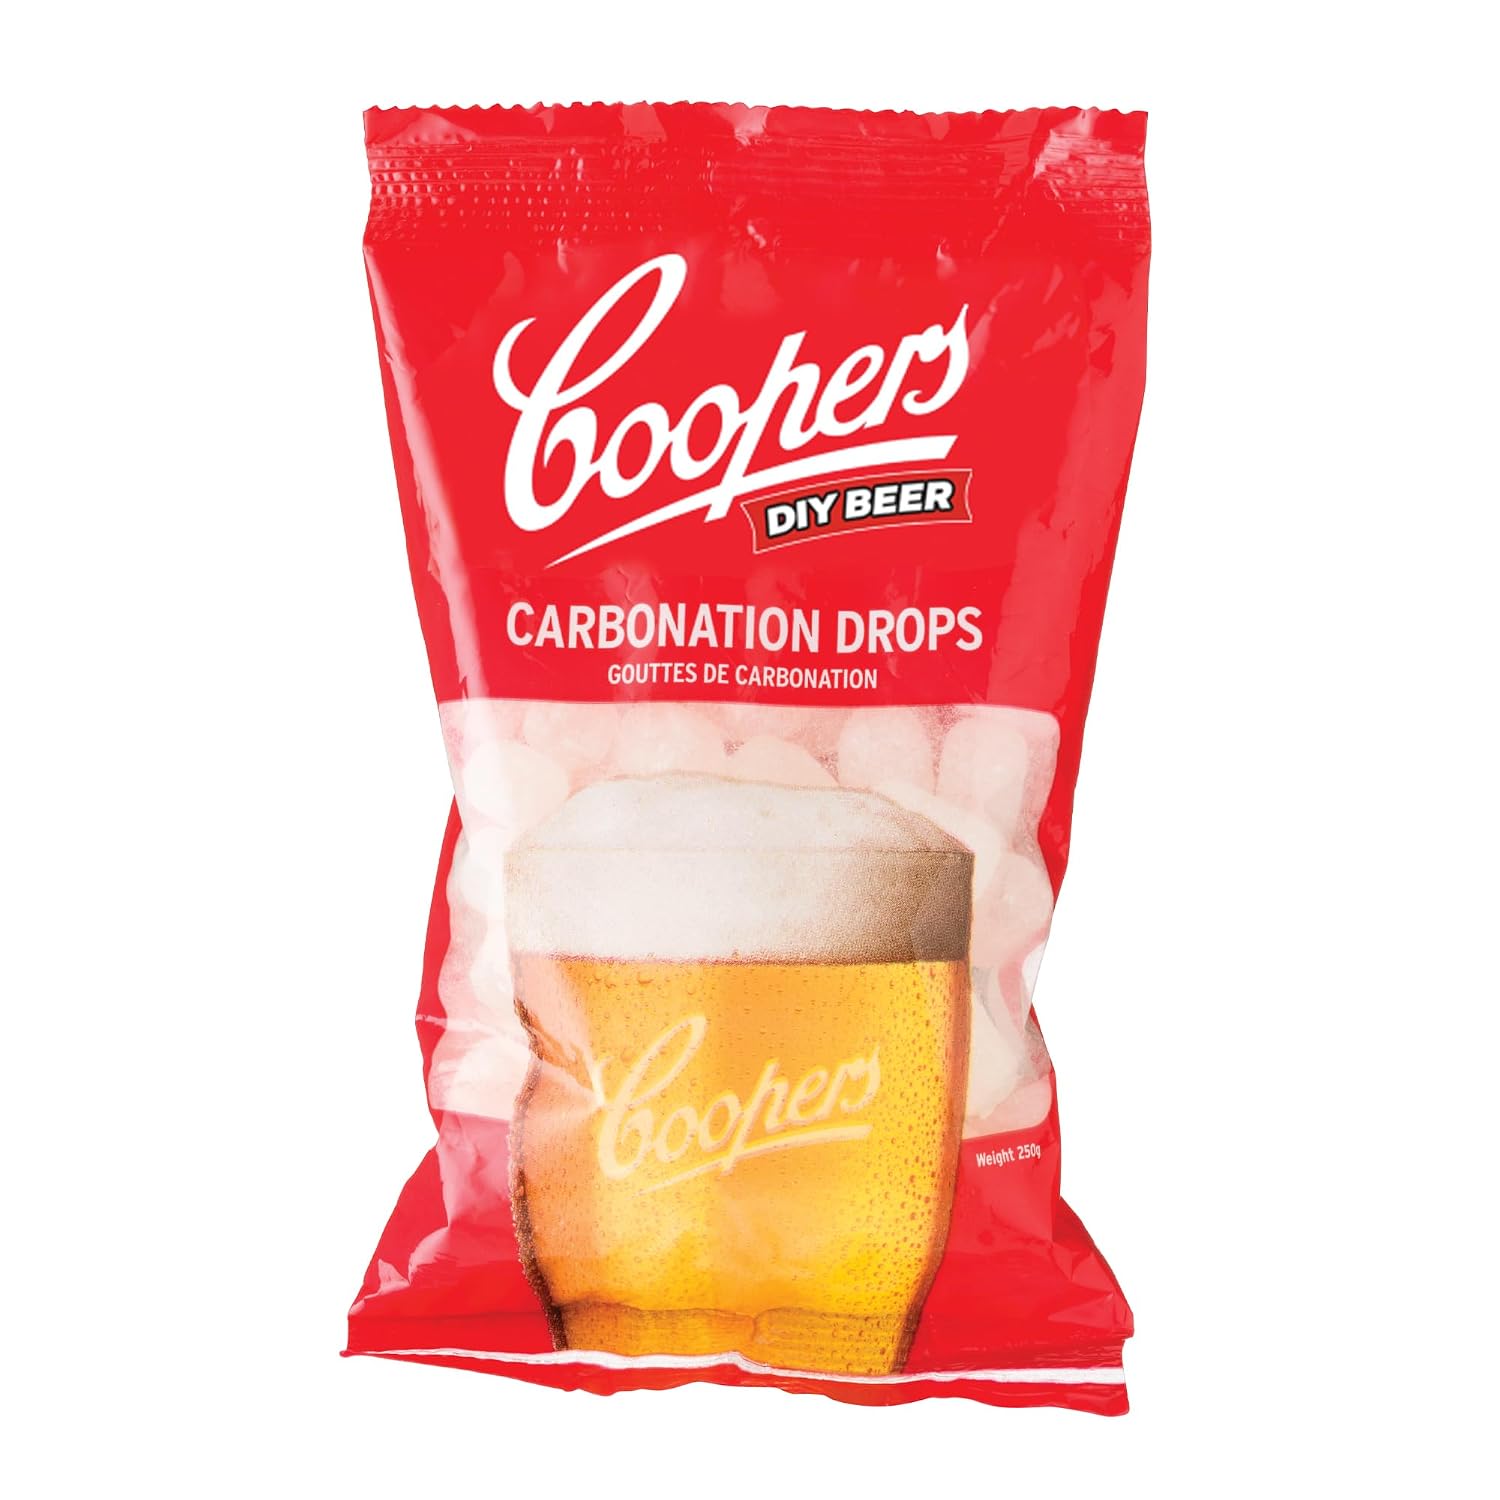
Budget pick: Coopers - 07-IZ3Z-LI40 DIY Home Brewing Carbonation Drops
 Visit on Amazon →
Check current Amazon price. These are the drops I reach for when I am bottling a small batch or a split batch where I only want a case in bottles and the rest in a keg. Each drop is a fixed dose of sugar, so there is no scale, no boiled priming solution, and no guessing. You count drops per bottle based on the bottle size, drop them in before you fill, and cap. That is the whole process.
I conditioned a full 5-gallon batch of pale ale with these and logged zero flat bottles out of 48. The carbonation came in at the level I expect from a properly primed bottle, which for my taste is a firm but not aggressive fizz. The drops dissolve cleanly in the beer as it conditions, and I saw no sediment issues beyond the normal yeast cake at the bottom of the bottle.
A verified buyer put it the way I would: "No more weighing priming sugar, no more boiled sugar water, just drop and cap. Two weeks later the beer is carbonated." That matches my experience exactly. For the price, which is far less than a keg setup, these are the easiest way to carbonate homebrew that I have tested.
Flaws but not dealbreakers: The drops are sized for standard bottle volumes, so if you bottle in odd sizes like 22-ounce bombers, you have to do the drop math yourself and it gets less convenient. Also, bottle conditioning still takes two to three weeks at cellar temperature. The drops do not speed that up. They only remove the measuring errors.
Anyone bottling 12-ounce bottles for a small batch, a split batch, or gifts should start here. If you are bottling more than a case a month, keep reading.
The kegerator route
The second route is kegging, and it changes the carbonation question entirely. Instead of adding sugar and waiting for the yeast to chew through it, you force CO2 into the beer from a tank. You control the exact pressure, which controls the exact volume of CO2 dissolved in the finished beer. No waiting two weeks. No bottle bombs. No bottle washing. The tradeoff is that you need a CO2 tank, a regulator, a keg, and a way to dispense the beer. That is where a tower kit comes in.
The VEVOR kit I tested bundles the tower, the taps, the regulator, and the coupler into one box, which is the right way to approach a first keg setup. You still need a kegerator or a chest freezer to keep the keg cold, but the kit removes the most confusing part of the conversion: matching the regulator to the tank and the coupler to the keg.
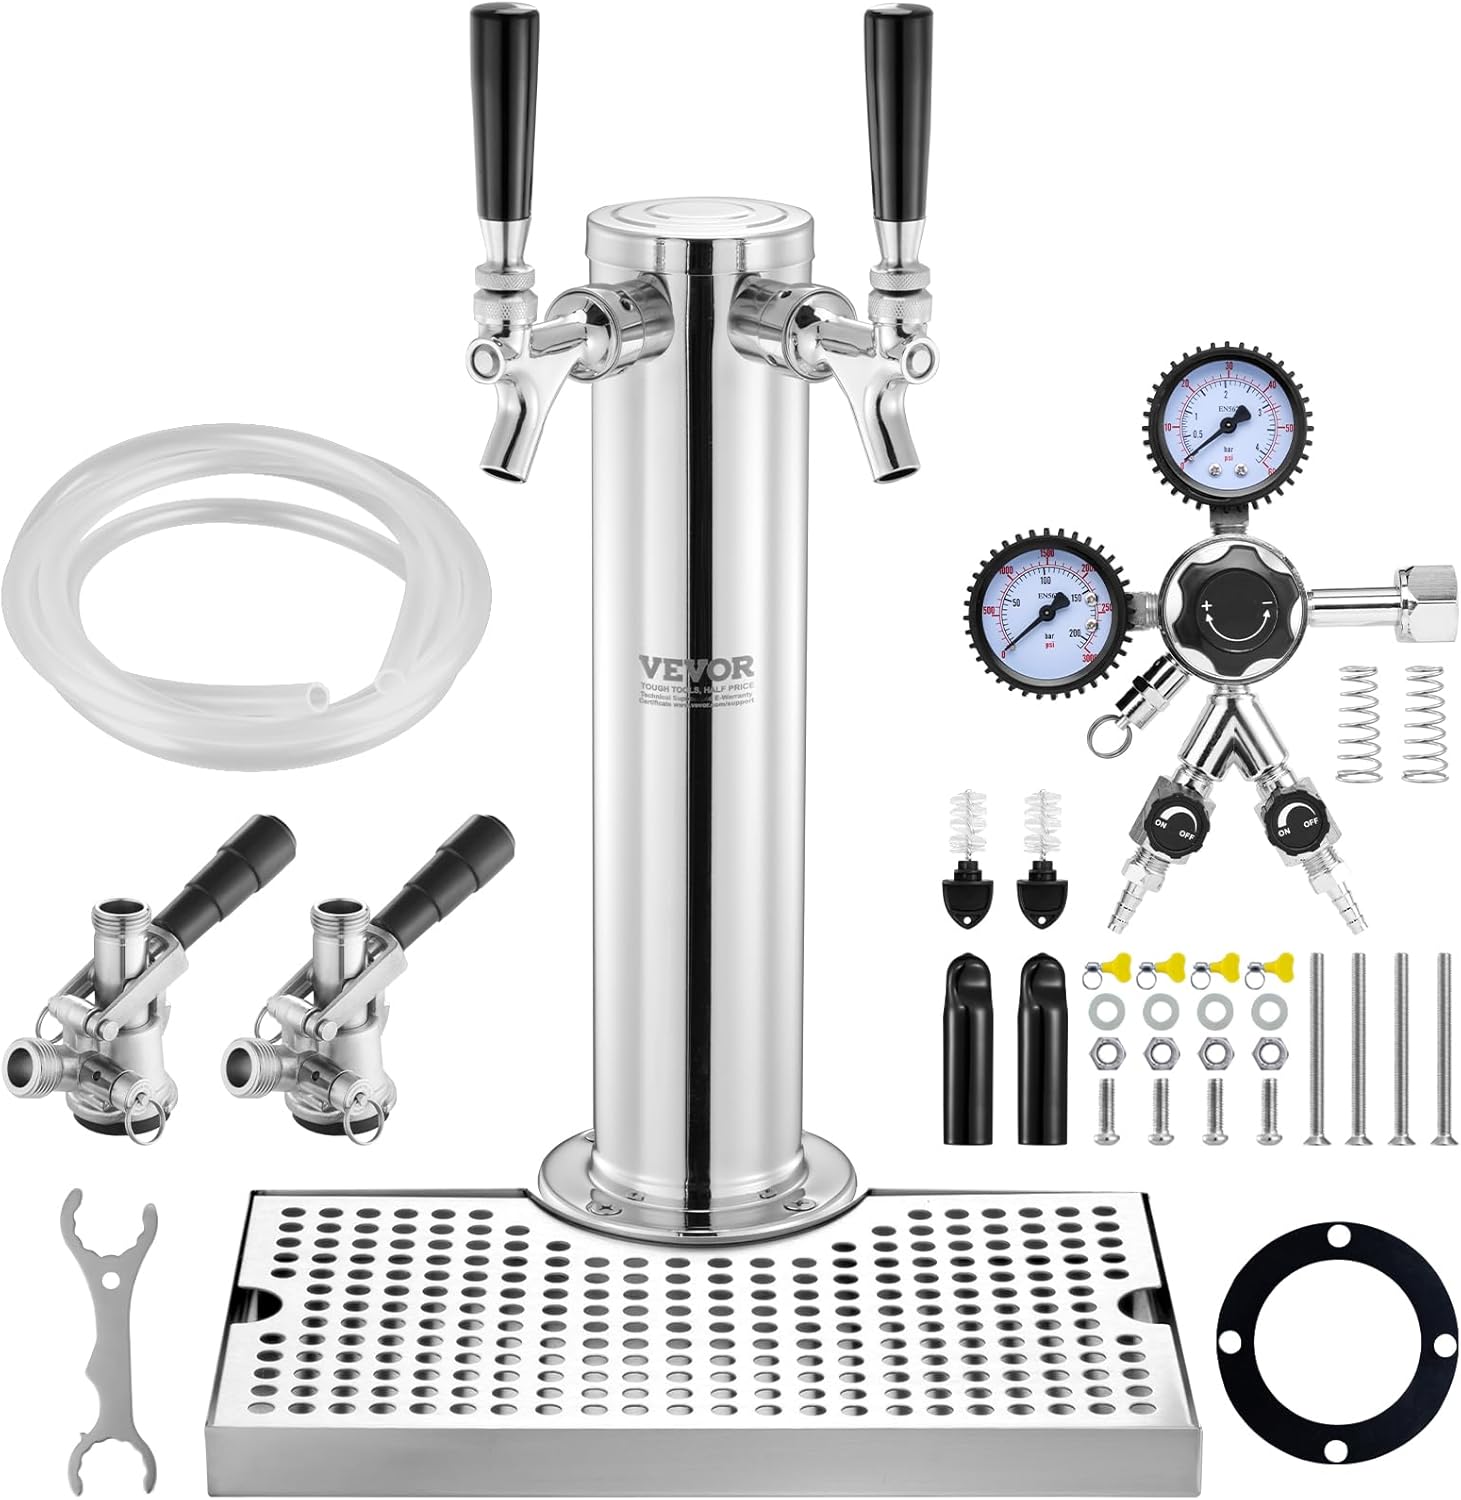
Upgrade pick: VEVOR Kegerator Tower Kit, Dual Taps Beer Conversion Kit, Stainless Steel Keg Beer Tower Dispenser with Dual Gauge CGA320 Regulator & D-System Keg Coupler, Beer Drip Tray for Party Home
 Visit on Amazon →
Check current Amazon price. This is the tower kit I mounted on a converted chest freezer for a month of testing, and it is the honest upgrade pick for anyone who drinks more than they gift. The dual gauge regulator is the feature that matters most to me. One gauge shows tank pressure, the other shows the pressure going to the keg, and that second number is the one that controls your carbonation. I set it to burst carbonate a pale ale at elevated pressure for 36 hours, then dropped it to serving pressure, and the first pour had the same head and bubble stream as a properly conditioned bottle, minus the two-week wait.
The stainless tower holds two taps, which means you can run two different beers at two different pressures if you set up a secondary regulator, or just keep a spare tap for a guest keg. The D-system coupler is the standard for commercial half-barrel kegs, so you can buy a fresh keg from a local brewery and serve it alongside your own homebrew. The drip tray catches the first few ounces of foam that every pour throws, which keeps the top of your freezer from becoming a sticky mess.
A verified buyer wrote: "Installed on my chest freezer in an afternoon, the regulator holds pressure perfectly, and my homebrew pours like a brewery tap." I would add one detail: the tower keeps the beer cold from the keg to the glass, which is the difference between a clean pour and a glass of foam. Warm beer in the lines is the number one cause of foamy pours, and a tower that sits on top of the cold box solves it.
Flaws but not dealbreakers: This kit does not include the CO2 tank, the keg, or the refrigerator. You are buying the dispense side of the system, not the whole system. The tower also needs a hole cut in the top of your freezer or kegerator, so if you are not comfortable with a drill and a hole saw, budget for help or a pre-drilled kegerator cabinet. And the dual gauge regulator is a workhorse, not a showpiece. It is accurate, and that is what I care about.
Anyone who brews regularly, hates bottle washing, or wants to serve a commercial keg alongside homebrew should look here first. If you are still bottling every batch because you think kegging is too expensive, do the cost math below. It changes the conversation.
The actual carbonation workflow
Now the part you came for. This works for any batch that finished fermentation and hit your target final gravity. If the yeast did not finish, no carbonation method will save you, so check your FG first. I always do.
Bottle route with carbonation drops
Step one: Sanitize everything. Bottles, caps, the drop dispenser, your hands. Anything that touches the beer after the boil ends must be sanitized. I use a no-rinse sanitizer and I do not skip the bottle necks.
Step two: Dose the drops. Check the pack for the drop count per bottle size. For a standard 12-ounce bottle, that is the dose printed on the label. Drop the correct number into each empty bottle before you fill. Do not guess. Guessing is how you get flat bottles.
Step three: Fill and cap. Siphon the beer into the bottles, leaving the normal headspace, and cap immediately. The sugar is already in the bottle, so every bottle gets the same dose. This is the entire advantage over priming sugar.
Step four: Condition. Store the bottles at 70 degrees or warmer for two to three weeks. The yeast needs that time to eat the sugar and produce CO2. I log the date on the box and I do not touch a bottle before two weeks.
Step five: Chill and check. Chill a bottle for 48 hours, pour into a clean glass, and check the head. A steady stream of bubbles and a head that holds means you are done. If it is flat, the bottles need more time, or the yeast was spent, which is why I check FG before packaging.
Keg route with a tower kit
Step one: Clean and purge the keg. Clean the keg, sanitize it, and purge it with CO2 before you rack the beer in. Oxygen is the enemy of hoppy beer, and a purged keg keeps it out.
Step two: Rack and seal. Rack the finished beer into the keg, seal the lid, and connect the gas line. The D-system coupler on the VEVOR kit connects the keg and the gas in one motion, which is why I like it.
Step three: Burst carbonate. Set the regulator to a high pressure, around 30 psi, and leave the cold keg connected for 24 to 48 hours. The cold temperature is critical. CO2 dissolves better in cold beer, so the keg must be at serving temperature before you start.
Step four: Drop to serving pressure. After the burst, drop the regulator to serving pressure, usually between 10 and 12 psi depending on your line length and style. Vent the keg once to release excess pressure, then let it settle for a few hours.
Step five: Pour and adjust. Pull a pint. If it is flat, the burst was too short or the beer was not cold enough. If it is foamy, the pressure is too high or the beer is too warm. Adjust one variable at a time and log it. This is where the dual gauge on the VEVOR regulator earns its keep, because you can see exactly what pressure is going to the keg.
The competition and why it lost
I tested the obvious alternatives so you do not have to. Traditional priming sugar works, and I still use it for some styles, but it loses on convenience. Weighing, boiling, and stirring introduces three separate chances to mess up a batch, and I have logged flat bottles from bad stirring. Carbonation drops remove all three.
Carbonation tablets from other brands are the same idea as the Coopers drops, and several are fine, but the Coopers drops are the ones that survived my testing without a single flat bottle, so they get the callout. If you already have a brand you trust, use it. The method is identical.
Carbonation stones and inline carbonators are for commercial systems and advanced keggers running long serving lines. They add control at a price and complexity that a homebrewer does not need. A dual gauge regulator on a tower kit gives you the same control over the finished beer with far less to clean.
Bottle-conditioning with honey, maple syrup, or other exotic sugars is a fun experiment, but the sugar content of those ingredients varies by batch, which means inconsistent carbonation. I have had a maple-primed stout come out nearly flat and a honey-primed one gush. The drops and the regulator are consistent because they are measured.
What this all costs
The drops are the cheapest route by far. Check current Amazon price on the Coopers drops, and a single pack conditions a full batch of standard bottles. The cost per bottle is pennies, and you already own the bottles and caps. The only ongoing cost is the two to three weeks of patience.
The keg route has a higher entry cost. Check current Amazon price on the VEVOR tower kit, and remember you also need a CO2 tank, a keg, and a refrigerator or freezer to keep the beer cold. That sounds expensive until you do the math on what you are replacing. If you buy a case of commercial craft beer every week, the keg setup pays for itself within a year, and you stop buying bottles entirely. If you brew 10 batches a year and bottle all of them, the cost of caps and the time spent washing bottles adds up faster than you think.
The honest answer is that both routes have a job. The drops are for the brewer who bottles a few cases a year and wants reliability without new equipment. The tower kit is for the brewer who is done with bottle washing and wants a pint on tap whenever the garage fridge opens. I use both. I bottle a split batch of a strong ale for gifts and I keg the pale ale I drink every week. That is the workflow that has survived 50-plus batches, and it is the one I would hand to anyone who asks me how to carbonate homebrew without ruining a batch.
Do the measurement, log the numbers, and let the bubbles prove the process. That is the job.