Most homebrew problems are not recipe problems. They are temperature problems. I have watched a clean pale ale turn into banana bubblegum because the garage hit 78F on day two of fermentation, and I have watched a lager stall at 1.030 because the corner of the basement was simply too cold for the yeast to finish the job. Fermentation temperature control is the least glamorous part of this hobby and the part that decides whether your beer tastes like beer.
You do not need a glycol-chilled conical to fix it. You need one number, a way to read that number honestly, and a way to nudge it in the right direction. This guide covers what temperature actually does to your wort, how to hold a target in a garage or a closet, and the two pieces of gear that do most of the work for you.
Why you should trust me
I have brewed 50-plus logged batches over 12 years, and I spent three years as the assistant brewer at a 7-barrel brewpub in Grand Rapids, where temperature was not a preference. We ran pH and gravity checks on every tank, every day, and we held fermentation profiles tight because a tank that ran warm produced beer we could not sell. I still keep the same discipline at home: every batch gets its OG and FG read on a hydrometer I calibrate in distilled water at 60F, plus strike temps, mash pH, 24-hour gravity, packaging losses, and the exact garage temperature written into a spiral notebook with a spreadsheet backup. Cheap gear that fails mid-batch has cost me three ruined brew days, so nothing here gets recommended until it has earned it.
How I judged these picks
Temperature gear has one job: hold a number you chose, and hold it without you standing over it. So I judge on four things.
Can you set a target and walk away? A device that needs babysitting is a device that gets ignored on the day you have to work late.
Can you verify it? If the controller says 66F and my calibrated thermometer says 71F, the controller is a decoration. I want gear whose reading I can check against a real instrument.
Does it fail gracefully? Every piece of brewing gear eventually quits. The good ones quit quietly and let you finish the batch. The bad ones cook your wort or let it freeze.
Would I use it on my next batch? If it goes back in the box after one brew day, it does not make this list.
What temperature actually does to your wort
Yeast is a living thing and temperature is the throttle.
Ale strains generally want wort between 62F and 68F. Lager strains want 48F to 55F for the bulk of fermentation, followed by a diacetyl rest in the low 60s. Saison and kveik strains are the exception: they will happily chew through a batch in the 70s and 80s and taste right doing it.
Here is the part that surprises people: fermentation makes its own heat. At high krausen, an active fermenter can run 3F to 8F warmer than the room around it. That means a 68F garage is not a 68F ferment. It is a 73F ferment, and 73F is where ale yeast starts throwing banana and bubblegum esters and fusel alcohols that give you a headache before the second pint.
Cold has its own failure mode. Run an ale at 58F and the yeast gets lazy: it flocculates early, leaves sugar behind, and you bottle a beer that finishes sweet and thin. Run a lager too cold and you get sulfur and a stalled fermentation that never finishes.
Swinging is worse than steady. I would rather ferment a clean ale at a steady 69F than one that bounces between 62F and 76F every day. Yeast responds to change, and a garage that warms with the afternoon sun and drops 12 degrees at night is a garage that gives you inconsistent beer. Pick the number, then defend it.
Finally, measure the wort, not the air. The thermometer on the wall tells you about the wall.
The gear that holds a temperature
You can solve fermentation temperature two ways: control the whole process with a system that runs the program for you, or hold a single vessel at a target with a wrap and a controller. Both are legitimate. Here is the gear I would point you at for each approach.
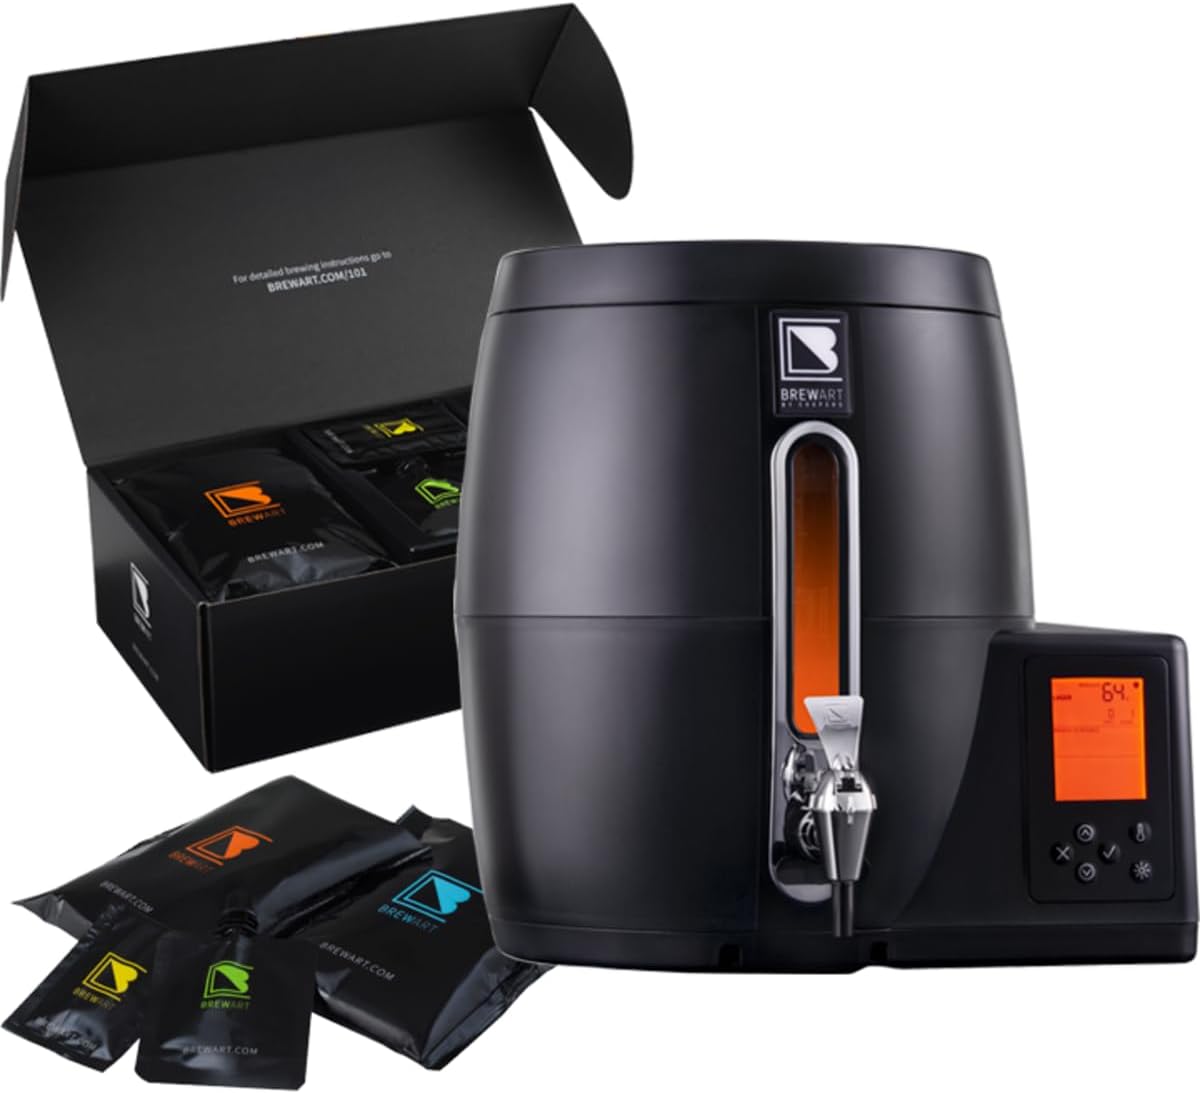
All-in-one pick: BeerDroid Fully Automated Beer Brewing System | Wi-Fi Enabled Home Brewing Kit with App Control | Brew 10L of Any Beer Style | Pre-Set Ale and Lager Programs | Discovery Pale Ale BrewPrint Included
 Visit on Amazon →
This is the remove-the-variable answer. The BeerDroid is a Wi-Fi enabled automated brewing system that brews 10 liters of any beer style, with pre-set ale and lager programs you drive from an app, and it ships with a Discovery Pale Ale BrewPrint to get you started. In a temperature article, the reason it belongs is repeatability: you are not chasing a garage that warmed up while you were at work, because the system runs its own program from start to finish.
What that buys you is consistency. If you brew the same recipe twice and it tastes the same twice, you have learned something. If you brew it twice and it tastes different, you have learned nothing, and you can blame the room forever.
Caveats worth knowing before you buy. Ten liters is about 2.6 gallons, so you are filling roughly a case and a half of bottles per batch, which is smaller than the 19-liter keg most kegging setups hold. If your goal is to keep a kegerator full, that math will annoy you. It is also a closed system with its own programs, so it is not the tool for someone who wants to hand-adjust a mash schedule. And a countertop system still needs somewhere reasonable to sit. It manages its own process, but it is not a license to ferment in a 95F garage in July.
Who it is for: the brewer who wants repeatable 10-liter batches without giving up half the garage to a fermentation chamber.
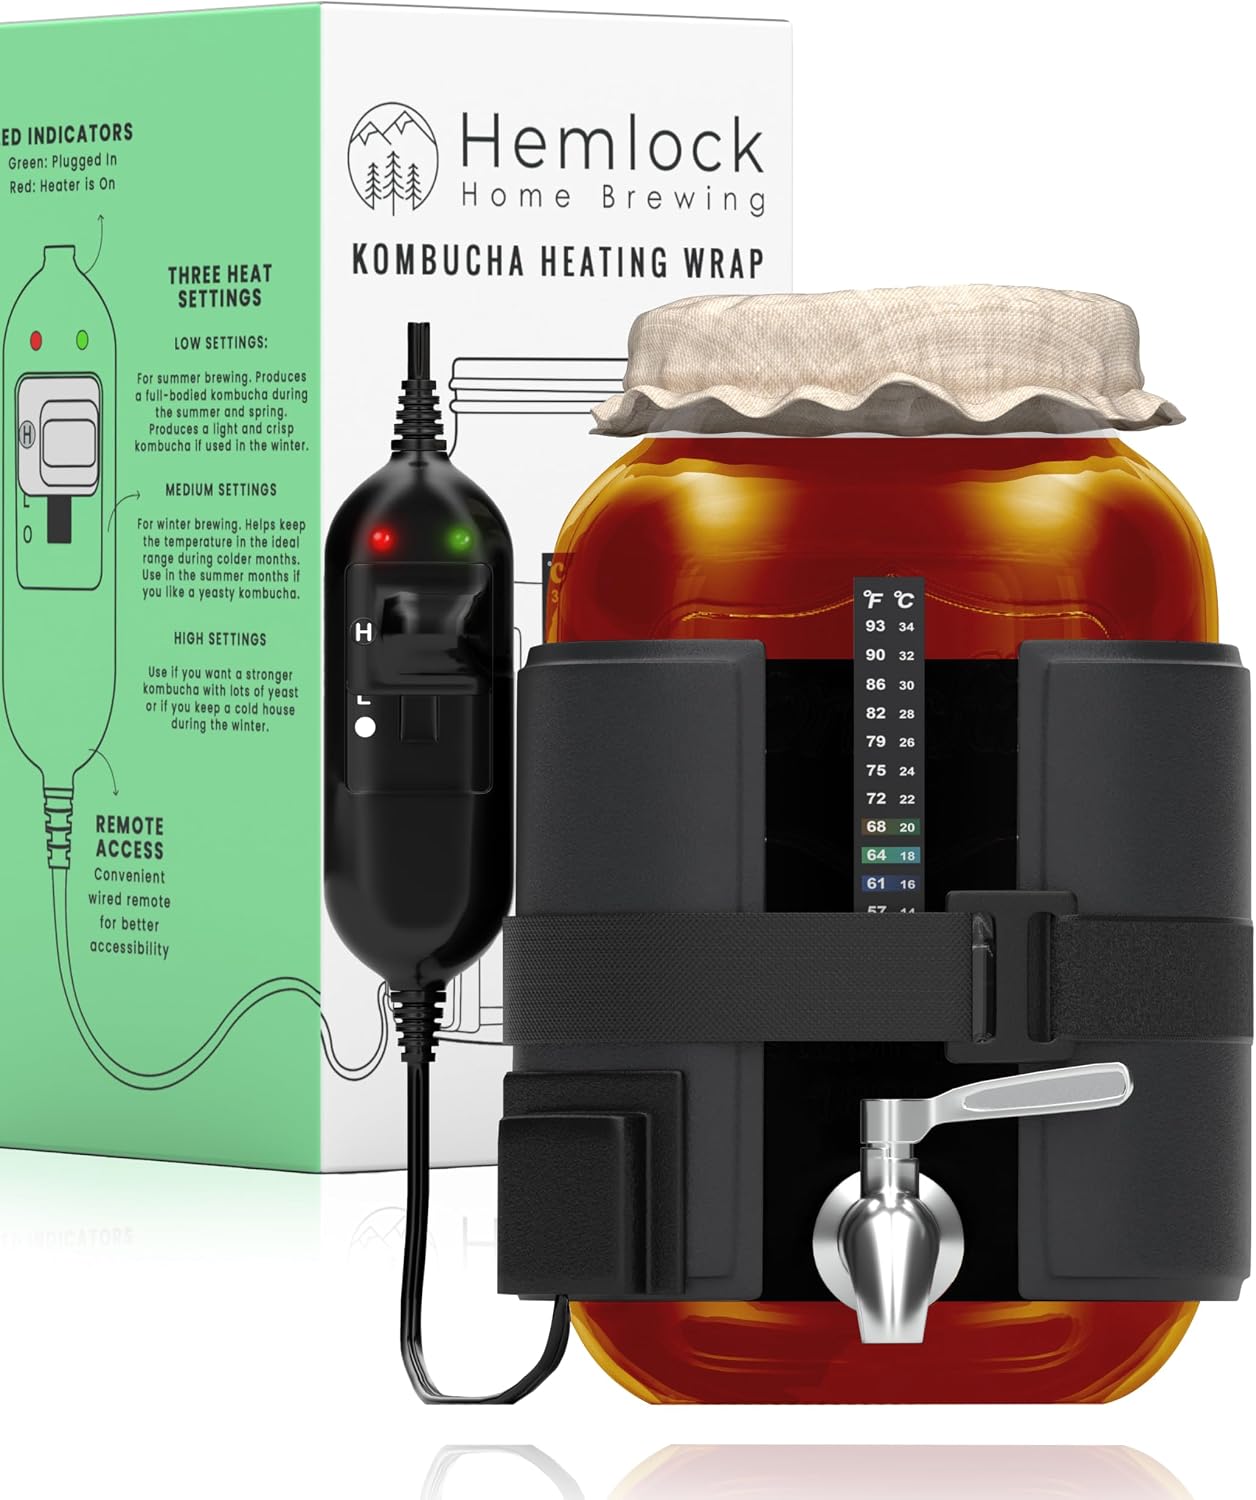
Budget pick: Hemlock Home Brewing Kombucha Heating Wrap - Fermentation Heater Mat Pad with Temperature Control
 Visit on Amazon →
This is the other half of the problem: heat. A fermentation heater wrap is a flexible pad with temperature control that wraps around your vessel and warms it. It is sold for kombucha, which is fair, because kombucha wants to sit in the high 70s, but the same job applies to a beer fermenter in a Michigan basement in February. When your problem is that the wort is too cold, this is the cheap, direct fix.
The honest caveat: it heats, it cannot cool. If your fermentation runs warm in summer, a wrap will make it worse. Buy it for winter, for a cold basement, for a starter you need to keep moving, or for kombucha, and it will do exactly what it says. Buy it to fix an August garage and you will be disappointed.
Two habits make a wrap work better. First, control the pad from a reading you trust rather than trusting the dial blindly. Check the pad's setting against your own thermometer once, and note the offset in your log. Second, do not stack a wrap and a heavy blanket on a fermenter at high krausen. The yeast is already generating its own heat at that point, and trapping it is how you turn a 66F ferment into a 74F ferment without touching a dial.
Who it is for: anyone whose fermentation problem is cold, not hot.
The actual workflow
Here is how I hold a target, in order.
Step one: pick the number from the yeast, not from the room. Look up the strain's recommended range and choose a target inside it. A clean American ale at 65F, an English strain at 67F, a lager at 50F with a rest later. Write the number down before brew day so you are not negotiating with yourself at midnight.
Step two: measure the wort, not the air. Sanitize a thermometer, put it in the fermenting wort, and compare it to the air temperature in the same room. The gap you find is your reality. Calibrate that thermometer in ice water at 32F before you trust it.
Step three: decide whether you are fighting heat or cold. These are different problems with different budgets. Cold is cheap to fix: a wrap, a blanket, a closet. Heat is expensive to fix: a fridge or freezer with an external controller. Know which fight you are in before you spend money.
Step four: heat in layers. Wrap the vessel first, then insulate around it. Add heat in small increments and give it a couple of hours to show up in the wort. Wort has a lot of thermal mass, so it responds slowly in both directions.
Step five: watch the first 72 hours. This is when fermentation generates the most heat and when off-flavors are made. After high krausen, the fermenter stops producing its own heat and the room takes over, which is when a garage that drops to 55F at night can stall a beer that was fine on Monday.
Step six: plan the finish, not just the start. For lagers, raise the temperature into the low 60s for a diacetyl rest once fermentation is about 80% done, then hold it there for a couple of days. For ales, letting the beer warm a few degrees at the end helps the yeast clean up.
Step seven: log the number. Ambient temperature, wort temperature, OG, 24-hour gravity, FG. If you are not logging, you are not brewing, you are gambling. The log is how you learn that your garage runs 4F warmer than your kitchen and that your beer is better for knowing it.
Where this goes wrong
Overshoot is the number one failure with any heater, including a wrap. A pad that is set correctly at 8 p.m. can push a small fermenter three degrees past target by 2 a.m., because the yeast is adding its own heat at the same time. Set the heater below your target and let the fermentation do part of the work.
Measuring the air is the second failure. A sticky strip on the side of a bucket is better than nothing, but it reads the plastic, not the middle of the wort. If you are deciding whether to add heat based on a strip that says 64F while the wort is at 69F, you are adding heat to a beer that does not need it.
Moving the fermenter mid-fermentation is the third. Every time you move it, you change its temperature and you rouse the yeast. Pick a spot, defend that spot, and leave the beer alone.
Wrapping too aggressively is the fourth. Insulation that helps a stalled ferment in February will cook a beer in June. Insulation is not a setting, it is a variable you have to manage.
The alternatives, and who they are for
A swamp cooler is the cheapest option in the hobby: a tub of water, a wet t-shirt, and a fan. It works by evaporation, which means it works well in dry air and poorly in humid air, and it is a way to hold a beer a few degrees under room temperature. It is not precise, but it is real, and it costs almost nothing.
A fridge or chest freezer with an external temperature controller is the answer if you brew lagers year round or want one number you can set and forget. It takes floor space, it takes money, and it is the setup most of the brewers I know end up with eventually.
A basement corner is free and stable, and it makes the decision for you. You do not choose the number, the basement does. That is fine if the basement sits at 66F in the fall. It is a problem in March.
Warm-fermenting strains are the honest shortcut. Some saison and kveik strains will ferment in the 70s and 80s and taste intentional doing it. If you cannot control temperature, you can pick a yeast that does not need you to.
The math that matters
Here is why this is not just a flavor argument. Take a wort at 1.050. If it finishes at 1.012, you have about 5.0% ABV and roughly 76% apparent attenuation, which is a clean, dry beer. If the same wort stalls at 1.020 because the fermenter dropped into the 50s on day three, you have about 3.9% ABV and a beer that tastes sweet and heavy. Same recipe, same grain bill, same yeast, two different beers, and the only variable was the number on the thermometer.
That is the whole case for fermentation temperature control. It is not about brewing like a pro. It is about brewing the same beer twice.
The gear helps. A wrap and a system that runs its own program will each hold a number better than a blanket and hope. But the habit is what makes the difference: measure the wort, pick the target, write it down, and defend it for three days. Do that and your beer gets better immediately, and it stays better, because you finally know why.