I started kegging in 2016 because bottling a heavily dry-hopped IPA was wrecking my back and my patience. Ten years later the pipeline in my Grand Rapids garage runs from an ingredient kit on the shelf to a keg in the fridge, with a gravity reading logged at every step in between. This comparison covers four pieces of homebrew kegging and temperature control gear I get the most questions about: the kit that starts the batch, the tool that reads it, the fridge that serves it, and the controller that keeps the yeast from running hot.
These four products are not really competitors. They are four stations on the same pipeline, and the honest way to compare them is by what each one fixes. A kit gives you a batch. A refractometer gives you a number in seconds. A kegerator gives you draft beer without building anything. A temperature controller gives you the single biggest flavor improvement available to a homebrewer for the least money.
If you buy one thing from this list first, buy the temperature controller. Fermentation temperature is where most homebrew goes wrong, and a 15A smart controller is the cheapest way to stop guessing. The kegerator is the biggest quality-of-life upgrade, the refractometer is the fastest read on brew day, and the ingredient kit is the cheapest way to get beer in a fermenter this weekend.
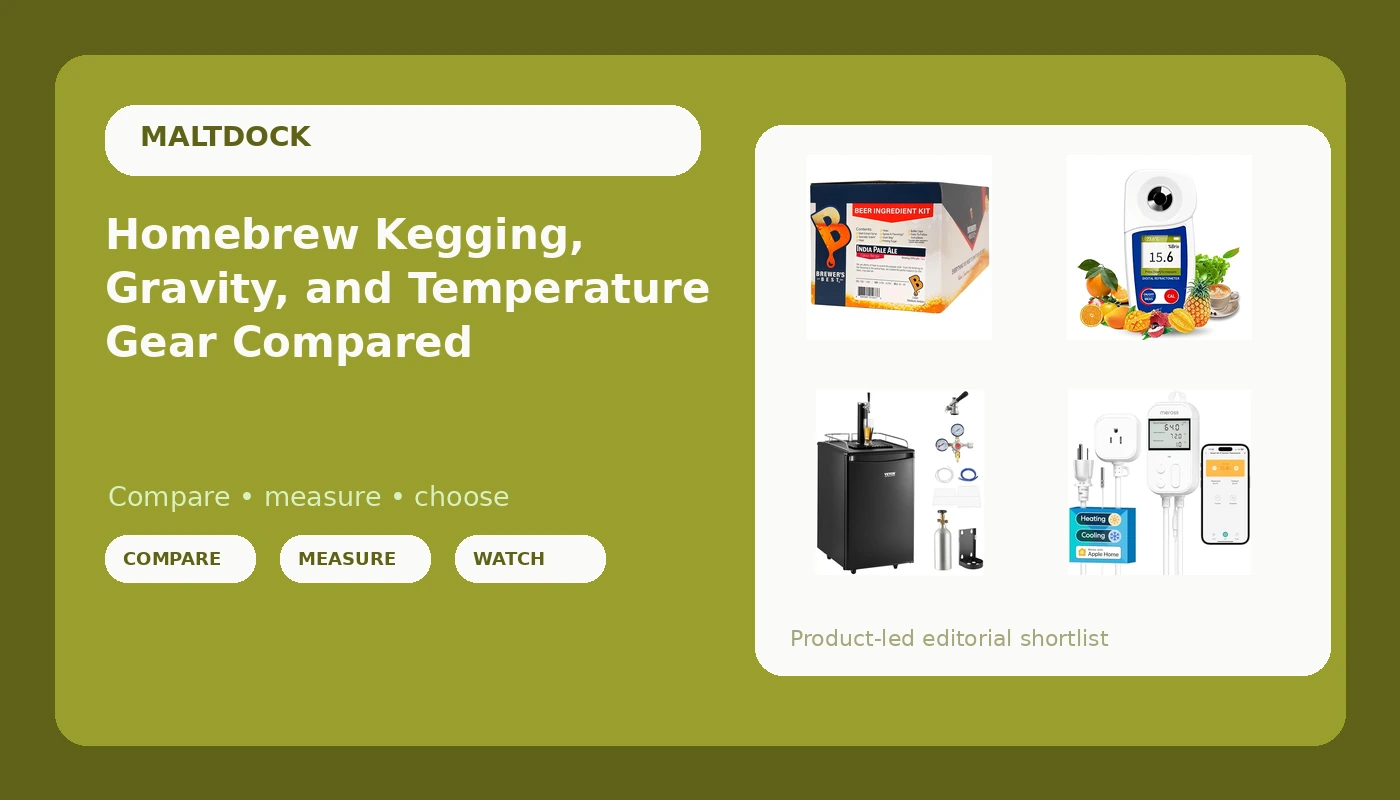
India Pale Ale Homebrew Beer Ingredient Kit Brewers Best
A known-good IPA in one box, so you spend your first brew day learning process instead of formulation
Ingredients only. The fermenter, sanitizer, and hydrometer are all separate purchases
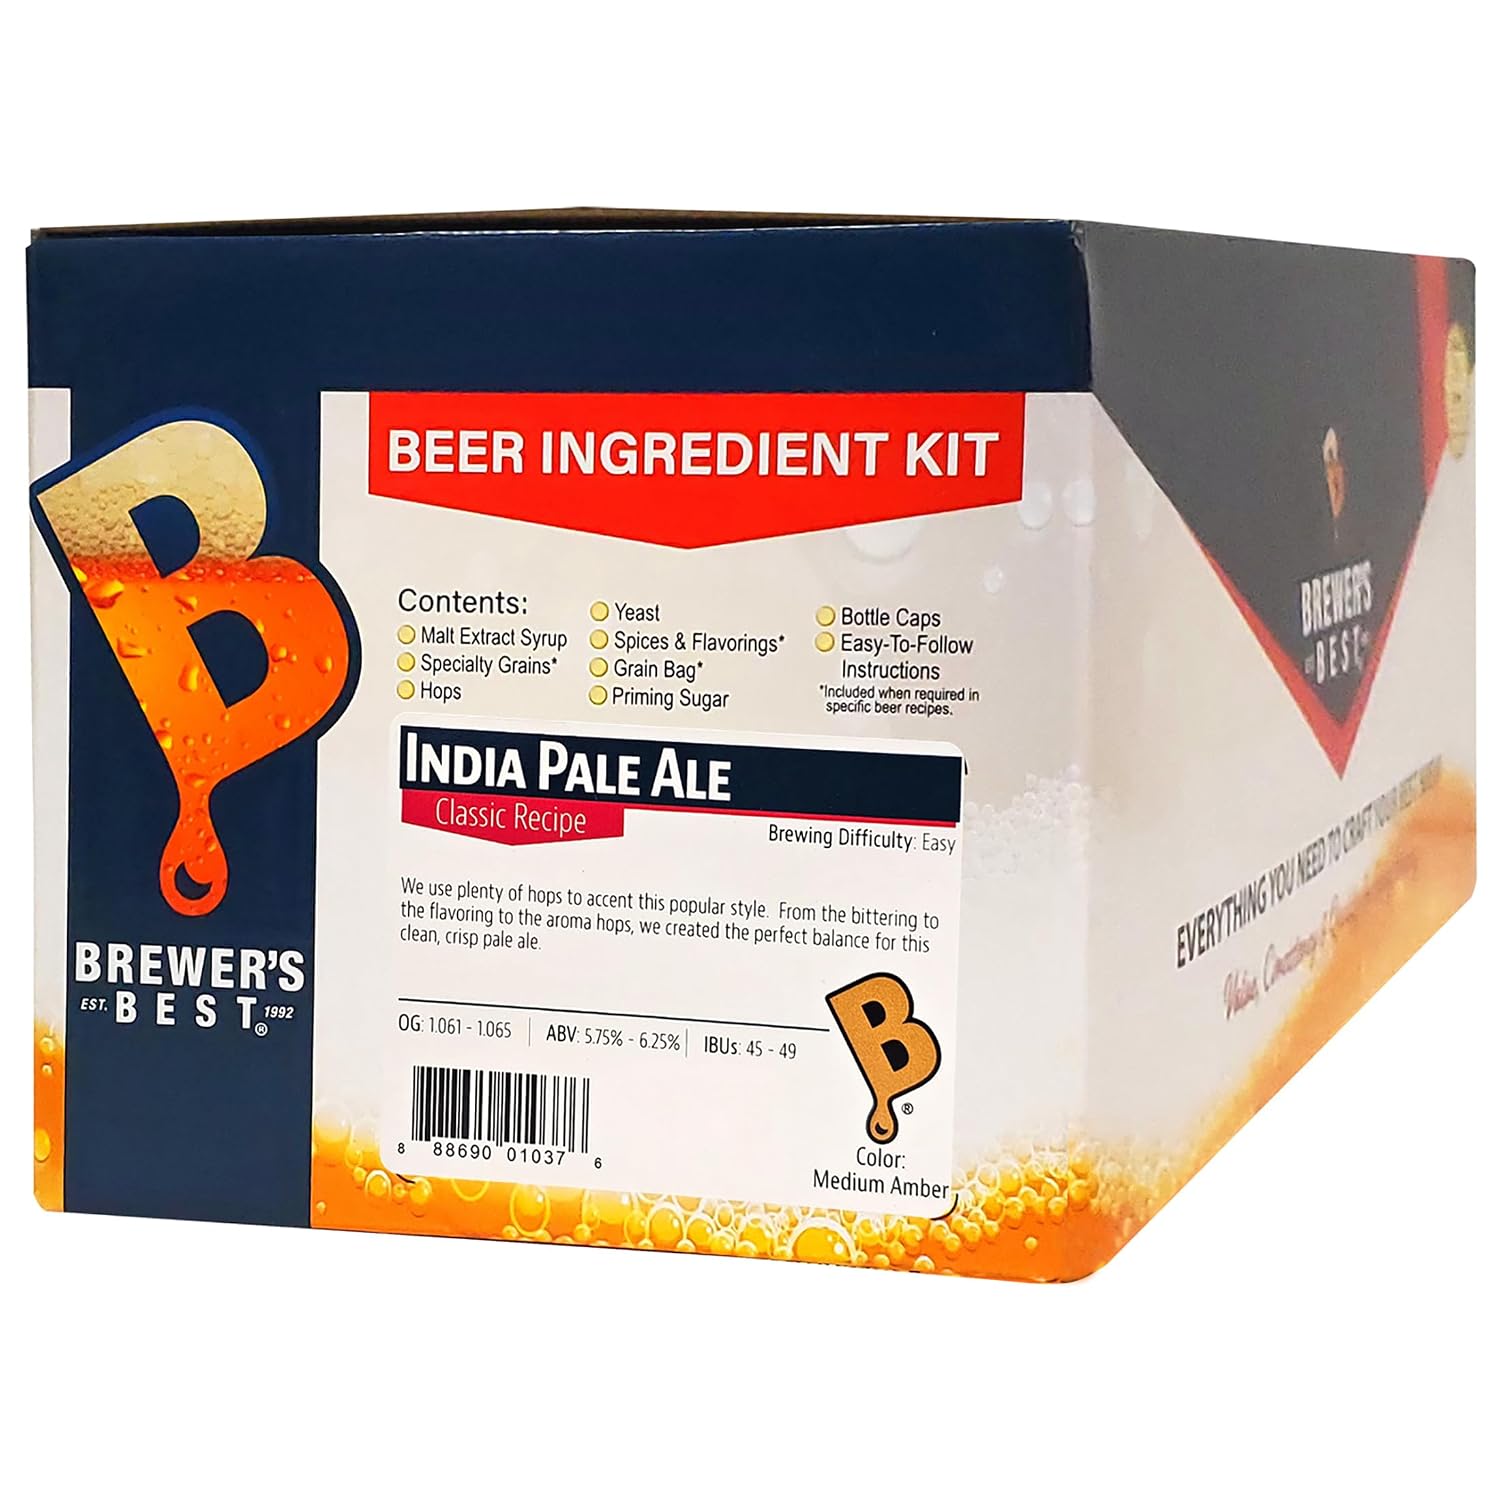
Digital Brix Refractometer with 0-55% Range, ±0.1% Accuracy
Two drops of wort and a few seconds gets you a Brix number, with a stated 0 to 55% range and a 0.1% scale
Brix is not specific gravity, and once fermentation starts the alcohol skews the reading until you apply a correction
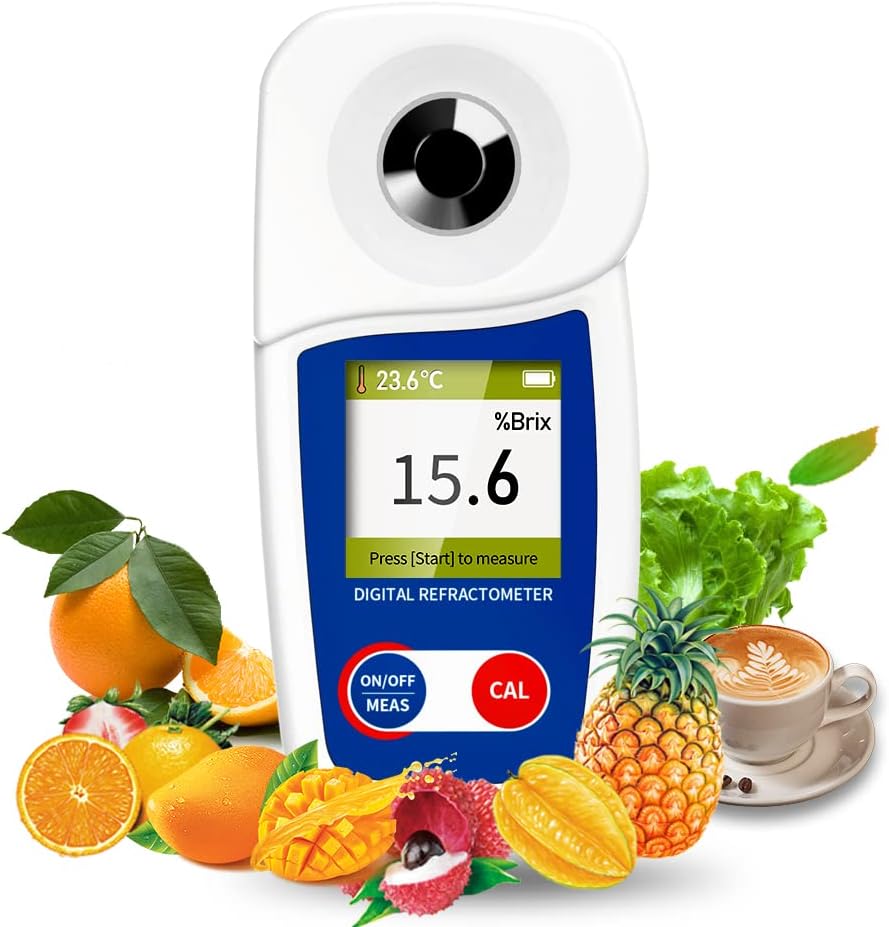
VEVOR Beer Kegerator, Single Tap Commercial Draft Beer Dispenser for D system, Full Size Keg Refrigerator with 5lbs CO2 Tank, Hold 2 Sixth / 2 Ball lock keg, Black
Full-size keg fridge with a single tap and a 5 lb CO2 tank included, and it holds two sixth barrels or two ball lock kegs
One tap means one beer on draft, and the D system coupler suits commercial kegs rather than the ball lock kegs most homebrewers own

meross Smart Temperature Controller Work with Apple HomeKit, 15A 1800W
15A and 1800W of switching capacity plus HomeKit automation, which is enough to run a chest freezer or a heat mat
On/off switching instead of PID, a single probe, and full remote control depends on an Apple home hub
Prices and availability were captured from Amazon Creators API and may change.
How I judge gear in this category
I spent three years as an assistant brewer at a 7-barrel brewpub, where every tank got a gravity check and a pH reading whether anyone felt like it or not. The habit came home with me. Every batch on my stand gets an OG and FG read on a hydrometer I calibrate in distilled water at 60°F, plus strike temps, packaging losses, and the actual garage temperature written in a spiral notebook.
So the filter for anything on this list is simple. Does it give me a number I can write down, and does it survive a full brew day without embarrassing itself? A kit that ships with no way to measure gravity, a kegerator with a leaking gas connection, a controller that overshoots its set point by four degrees: all of those cost you a batch. Price predicts marketing, not quality. I own great gear that cost $40 and bad gear that cost $400 and now lives in a box labeled "maybe sell."
The ingredient kit: where the batch starts
The Brewers Best India Pale Ale kit is ingredients, not equipment, and that distinction is the whole review. You still need a fermenter, an airlock, sanitizer, a way to package, and a hydrometer. If you already own the hardware and you want beer in a fermenter this weekend, this is the shortest path.
What it wins on is repeatability. A fixed recipe means the only variable left is you. That is exactly what you want on batch one through five, because you will make enough mistakes with temperature, sanitation, and volume without also improvising a grain bill. An IPA is a useful teaching beer too. It is hoppy enough that oxidation and warm fermentation show up early and obviously, which is a faster education than a forgiving brown ale will give you.
What it loses on is depth. You learn to follow a recipe, not to design one. If you have been brewing for a few years and you formulate your own all-grain recipes, you are paying extract prices for convenience you may not need. And the kit does not solve the thing I care most about, which is measurement. Budget for the hydrometer and the refractometer in the same order, because a kit with no gravity reading is a batch you cannot repeat.
Visit on Amazon → if you want the shortcut.
The refractometer: fast numbers on brew day
A Brix refractometer measures dissolved solids in a couple of drops of liquid, and it is the single biggest time saver on a brew day that does not involve a pump. The alternative is pulling a full test jar, cooling it to somewhere near 60°F, and floating a hydrometer in it. On a 60-minute boil that is three or four interruptions and a lot of wort you never get back in the kettle. Two drops on the prism and you are done.
The stated range here is 0 to 55% Brix with a 0.1% scale. Read that carefully: a 0.1% scale is a resolution claim, not a promise about your beer. What actually determines whether the reading is trustworthy is calibration, which you do with distilled water at the start of the day, and the wort correction factor, which you determine for your own instrument because refractometers read wort slightly differently than they read sugar water.
The real limitation is fermentation. Before yeast goes in, a refractometer reading converts cleanly to specific gravity. After fermentation starts, ethanol in the sample bends the light differently and the reading climbs higher than the actual gravity. You need an alcohol correction, and corrections are estimates. That is why the refractometer is my fast tool and the hydrometer is my referee. I keep both. The refractometer tells me whether the mash and the boil are on track. The hydrometer tells me what actually happened, and it is the number that goes in the notebook. Anyone who tells you a refractometer replaces a hydrometer has never argued with a stalled fermentation at 1.020.
Visit on Amazon → to see the current listing.
The kegerator: packaging and serving
The VEVOR single tap kegerator is the appliance answer to draft beer at home. It is a full-size keg refrigerator with one tap, and the listing includes a 5 lb CO2 tank, which matters because that is a separate purchase on most setups. It holds two sixth barrels or two ball lock kegs, so you can carbonate one keg while you pour from the other.
That two-keg capacity is the feature I would actually pay for. The jump from bottling to kegging is the biggest workflow upgrade in the hobby, and the jump from one keg to two is what makes kegging convenient instead of just different. You can have a beer on draft and a beer conditioning without touching a bottle capper.
Two things to check before you buy. First, the coupler. This unit ships with a D system coupler, which is the commercial Sankey standard. If you are serving ball lock corny kegs, the ones most homebrewers own, you will need the matching ball lock coupler or an adapter. Second, gas. A kegerator is a system, and systems leak. When I set up a gas line I pressure it, hit every connection with soapy water, and check the tank weight before and after. A 5 lb tank will hold pressure for months or drain in a week depending on one loose swivel nut.
The honest downside is the single tap. One line means one beer on draft, and if you are the kind of brewer who keeps three styles on hand, you will want a tower with more shanks eventually. Also budget the floor space, because a full-size fridge is a full-size fridge. If you would rather build a keezer from a chest freezer, you will save money and spend a weekend. If you want draft beer this month, this is the shorter route.
Visit on Amazon → for the full spec sheet.
The temperature controller: the cheapest real upgrade
The meross smart temperature controller is rated at 15A and 1800W and works with Apple HomeKit. In practice that means it can switch a chest freezer, a mini fridge, or a heat mat, and it can do it on a schedule you control from your phone.
Here is why I put this first. Fermentation temperature control is the highest-value dollar in homebrewing. My first batch fermented in a dorm room at 82°F and tasted like banana bubblegum, and I did not know enough to be embarrassed. Esters are temperature-driven, and a garage in Michigan swings twenty degrees between an October afternoon and an October night. A controller plus a used chest freezer turns that swing into a set point. If you brew ales, you hold them in the mid to upper 60s. If you lager, you hold them cold. Either way you stop guessing, which is the entire point.
The trade-offs are real and worth stating plainly. This is on/off switching, not PID, so the compressor cycles around your set point by design. The probe reads one place, either the air in the chamber or the side of the fermenter, and the beer itself always lags behind what the probe says. HomeKit remote access wants an Apple home hub on the network, and a smart controller is only as smart as your Wi-Fi. And it is single stage: if you need heat and cooling from one device with independent set points, that is a different product.
None of that changes the ranking. A $40 to $60 controller that holds a fermentation chamber within a couple of degrees will improve your beer more than any other purchase on this page, including the kegerator. Buy it before you buy anything shiny.
Visit on Amazon → to check compatibility with your setup.
The trade-offs I would weigh
Priority order, if you are starting from nothing. Temperature controller first, because it fixes flavor. Gravity measurement second, and that means a hydrometer before a refractometer. Kegging third, because bottling works and draft is a luxury. The ingredient kit is not in that ranking at all, because it is a consumable, not a tool. You will buy it once and then buy it again, or move to all-grain and stop buying it.
Also worth noting: three of these four are durable goods and one is a box of ingredients. The controller and the kegerator will still be on your bench in five years. The refractometer will too, if you calibrate it and do not drop it. The kit will be gone in six weeks.
The one thing I would not do is buy the refractometer instead of a hydrometer, and I would not buy the kegerator before I had fermentation temperature under control. Both of those purchases feel like progress and neither one makes the beer in the glass taste better.
What I am testing next
I am building a survivability score for my 2026 rankings, which weights how many full brew days a product survives before it leaks, breaks, or foams over. Right now the pressure fermenters are on the bench, and the question is whether they actually shorten the pipeline from brew day to glass or just add a new set of seals to worry about. A full report is coming once they have enough batches behind them.
Quick answers
Can a refractometer replace my hydrometer? No. Use it during the mash and the boil, then confirm final gravity with a hydrometer and a correction-free sample.
Do I need the kegerator to keg? No. A used chest freezer, a CO2 tank, a regulator, and a picnic tap will pour beer for a fraction of the cost. The kegerator is convenience, not capability.
Is a smart controller overkill for a fermentation chamber? It is the opposite of overkill. It is the cheapest way to hold a set point, and HomeKit automation means you can watch it from work instead of wondering what your garage is doing at 3 p.m.