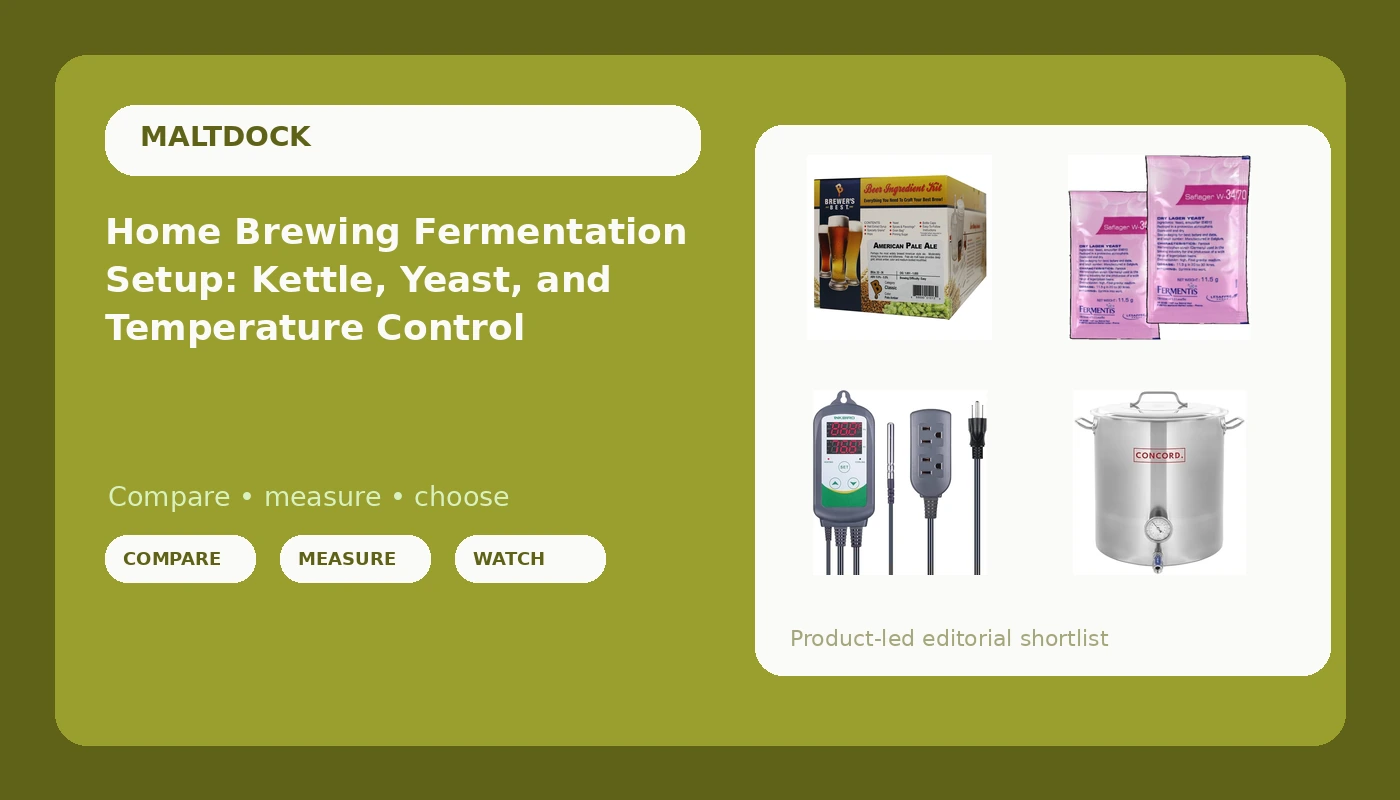
A home brewing fermentation setup is four decisions stacked on top of each other: what you ferment, what does the fermenting, how you hold the temperature, and what you boil in. Most people buy the fun part first, the ingredient kit, and then find out that the same recipe held at 65°F and at 78°F produces two completely different beers. The gear list is short and none of it is glamorous, but a batch almost never fails at the exciting step. It fails at the boring one: a fermenter sitting in a garage that swings ten degrees overnight, a kettle that cannot hold a rolling boil without foaming over, or a gravity reading nobody bothered to take.
Related: How to Read a Hydrometer and Log Every Batch →
Quick answer
Four pieces cover the core of a first serious home brewing fermentation setup: an ingredient kit that hands you a known recipe, a dry lager yeast if you want to brew cold, a plug-in temperature controller to hold the fermenter steady, and a stainless kettle large enough for a full volume boil. If you buy only one thing beyond the kit, buy the controller. Fermentation temperature is the variable most likely to turn a good recipe into a disappointing beer, and it is also the easiest one to control.
Four useful options
| Model | Best fit | What stands out |
|---|---|---|
| Brewers Best American Pale Ale Home Brewing Ingredient Kit | A first batch or a repeatable house pale ale | A complete ingredient kit built around one named style |
| 2x Fermentis Saflager W34/70 Beer Yeast | Cold fermented lagers and pilsners | Dry lager yeast in two 11.5 g sachets listed for 10 to 15 L each |
| Inkbird ITC308 Temperature Controller | Holding a fridge or freezer at fermentation temperature | Plug-in controller with separate heating and cooling outlets and a probe |
| CONCORD Stainless Steel Home Brew Kettle (30 QT / 7.5 Gal) | Full volume boils on a burner or large stove | 7.5 gallon stainless kettle with weldless fittings |
The starting point: Brewers Best American Pale Ale Home Brewing Ingredient Kit
The case for starting with a kit is not that it makes better beer than an all grain brew day. It is that a kit removes recipe design, grain crush, mash temperature, and sparge behavior from the equation all at once, which leaves you with a much shorter list of things that can go wrong. American pale ale is a sensible first style for the same reason: ale yeast does the work at room temperature, so you can brew it without a fermentation chamber while you decide whether you want one. The trade off is that a kit teaches you the process but not the formulation. Once you have three or four logged batches behind you, you will start wanting to change the hops or the gravity, and that is the point where the kit has done its job and you move on.
The yeast: 2x Fermentis Saflager W34/70 Beer Yeast
Lager yeast is where the temperature conversation stops being theoretical. Ales give you a wide band to work with, and even a sloppy ale fermentation usually lands somewhere drinkable. Lagers do not extend that courtesy. Cold fermentation in the 48 to 55°F range is the entire point of the style, which means a lager brewer needs a way to hold a fermenter cold before the yeast ever matters. That is the honest trade off with this product: the sachets themselves are simple, but they only pay off if the rest of your setup can hold a steady cold temperature for the two to three weeks a lager needs. Pay attention to the listed pitch volume as well. A 10 to 15 L rating per sachet is not the same as a full 19 L batch, and underpitching lager yeast is one of the most common reasons a cold fermented beer comes out with off flavors.
The temperature control: Inkbird ITC308 Freezer Thermostat Heating Cooling Plug Temperature Controller
This is the piece that changes what you can brew. A used chest freezer is cheap, but a freezer on its own thermostat runs far colder than any fermenter wants, so the controller is what turns it into useful equipment. The heating outlet matters more than people expect in a Michigan garage, where a fridge holding 50°F in January is fighting an ambient temperature in the twenties. The probe placement is the part worth thinking about: taped to the side of the fermenter under a piece of foam, it reads something close to the beer, while dangling in the air it reads the chamber. Both are legitimate, but they produce different results, and the number on the display only means something if you know which one you are measuring. Whatever you choose, measure it the same way every batch so the log is comparable.
The kettle: CONCORD Stainless Steel Home Brew Kettle Stock Pot (30 QT / 7.5 Gal)
Kettle capacity is the most commonly underestimated number in home brewing. A five gallon batch does not start as five gallons in the kettle, because an hour long boil drives off volume and you are typically starting closer to six or six and a half gallons to finish where you want to be. A 7.5 gallon kettle gives you that starting volume plus the headroom that keeps a hot break and a hop addition from climbing over the rim. Weldless fittings are a maintenance question rather than a performance one: they can be removed, cleaned, and resealed, which matters on a vessel you plan to keep for years. The counterpoint is weight and footprint. A kettle this size needs a burner or a very large stove, and it does not fit neatly into a small kitchen.
Prices and availability may change. Product images, names, and retailer links are matched to verified listings. No current price, rating, stock status, or measured result is stated here without current evidence.
Why temperature is the variable that matters most
Yeast is a living organism working inside a narrow band, and the temperature of the wort drives which flavor compounds it produces. Ferment too warm and ale yeast throws esters and fusel oils that read as banana, bubblegum, or solvent in the finished beer. Ferment too cold and the yeast slows down, stalls before it finishes the sugar, and leaves you with a beer that is sweeter and weaker than the recipe intended. The gap between original gravity and final gravity is how you prove which of those happened. If the gravity has not moved in two or three days, the batch is not finished, it is stuck, and the fix is usually temperature and a gentle rouse rather than more yeast.
That is why the controller belongs in the first purchases rather than the fifth. It converts a stable appliance into a stable fermentation environment, and stability is what the yeast responds to. A fermentation that drifts six degrees across a day does not produce an average beer. It produces a beer with the off flavors from both ends of that range.
The second thing worth understanding is pitch rate. Dry yeast sachets carry a listed volume for a reason, and pitching one sachet into a batch twice that size means the yeast has to multiply before it can ferment, which costs you the clean start that a proper pitch gives you. Lager strains are less forgiving here than ale strains, so if you are brewing cold, count the sachets against the volume before brew day rather than after.
The order to buy in
- Buy the ingredient kit first, so you have a recipe and a reason to run a brew day.
- Add the kettle next, sized for a full volume boil rather than exactly your batch size.
- Take a gravity reading before you pitch and again when fermentation looks finished.
- Buy the temperature controller before your second batch, and pair it with a used fridge or freezer.
- Add lager yeast only once you can actually hold a cold, steady fermentation temperature.
Practical notes before you buy
- Match the kettle to your heat source, not just your batch size. A 7.5 gallon kettle needs a burner or a wide stove.
- Read the listed pitch volume on every yeast sachet and multiply before you decide how many you need.
- Decide where the controller probe lives and keep it in the same place every batch.
- Sanitize everything that touches wort after the boil ends, including the probe and its cable.
- Log the ambient temperature alongside the gravity reading, because it explains the gravity reading later.
Which option should you choose?
Choose the Brewers Best American Pale Ale Home Brewing Ingredient Kit when you want a first or repeatable batch with the recipe already decided. Choose the 2x Fermentis Saflager W34/70 Beer Yeast when you already have a way to hold a fermenter cold and want to brew lager or pilsner styles. Choose the Inkbird ITC308 Temperature Controller when you have a fridge or freezer available and need it to hold a fermentation temperature instead of a freezer temperature. Choose the CONCORD Stainless Steel Home Brew Kettle when your current pot is too small to start a five gallon batch at full boil volume.
One caveat applies across all four. None of these products fixes a process problem on its own, and none of them is a substitute for measuring. A controller set to the wrong probe location, a kettle that is too large for your stove, or a yeast pitch sized for the wrong volume will all produce a batch that looks fine on brew day and disappoints three weeks later.
The bottom line
A workable home brewing fermentation setup is not expensive, but it is specific. You need a known recipe, a vessel large enough to boil in, yeast pitched at the right rate for the volume, and a way to hold temperature steady for the length of fermentation. Of those four, temperature is the one most home brewers underbuild first and the one that shows up most clearly in the finished beer. Start with the kit and the kettle, add the controller before batch two, and treat lager yeast as a reward for having solved cold fermentation rather than a shortcut around it.