All-grain brewing at home is where the hobby stops being a kit and starts being a process. Instead of a can of syrup and a bag of sugar, you start with malted barley, you decide the mash temperature, and you own every number between the grain bill and the glass. That is more control than extract brewing gives you, and it is also more places to lose a brew day.
The first all-grain batch is intimidating for a reason that has nothing to do with skill. You are doing four jobs at once: mill, mash tun operator, boil kettle babysitter, and sanitation officer, and all four of them want your attention inside the same 90 minutes.
The way through it is not better instincts. It is a written plan and a hydrometer you trust. What follows is the whole day, in the order it actually happens, plus the two pieces of gear I would start with depending on whether you want to learn on one gallon or go straight to a full-size system.
Why you should trust me
I brewed my first batch in 2014 on a dorm-room hot plate with a Mr. Beer kit that scorched so badly I invented a style I still call burnt adjunct lager. Since then I have logged more than 50 batches, from a 1.030 session bitter to a 1.100 barleywine, and I spent three years as the assistant brewer at a 7-barrel brewpub in Grand Rapids, scrubbing heat exchangers, harvesting yeast, and running gravity and pH checks on every tank, every day.
That job taught me the habit that runs this site: measure everything and write it down. Every batch here gets an OG and an FG read on a hydrometer I calibrate in distilled water at 60°F, plus strike temps, mash pH, and the garage temperature. A hydrometer does not lie and a spec sheet does.
How I picked and how I tested
Two rules decide what shows up in a MaltDock gear section. The first is that gear has to survive a full brew day, not a product photo: a 90-minute boil with hop sludge, a boilover, a stuck sparge, and a cleanup that involves a hose. The second is that every number I quote comes off a calibrated instrument or out of my notebook, never off a manufacturer's box.
For this guide the split is simple. One product is the smallest honest way to run an all-grain batch in a kitchen. The other is the biggest single purchase most homebrewers ever make. Neither one makes beer for you, and the cheap one is not a lesser version of the expensive one. They are for two different points in the hobby.
The gear that gets you through brew day
You can brew all-grain with a kettle, a bag, and a fermenter. What the two picks below change is how much of the day you spend babysitting temperature and how much you spend cleaning.
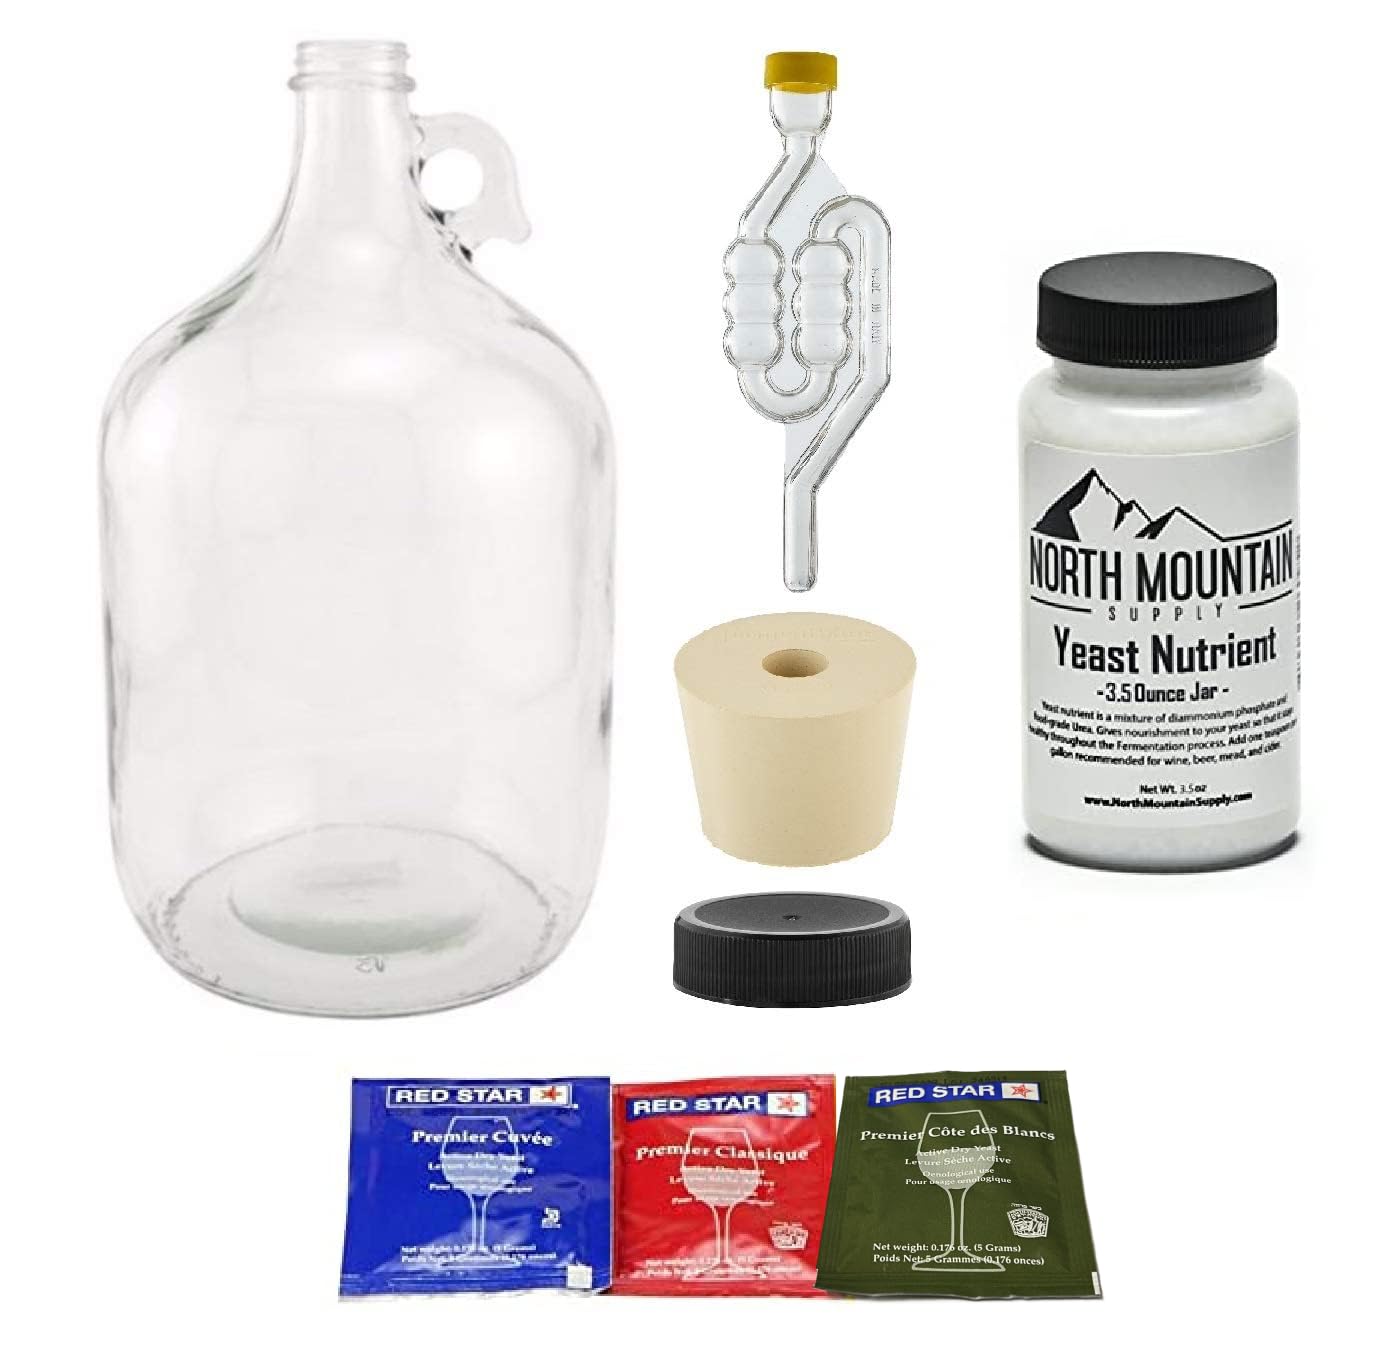
Budget pick: North Mountain Supply Fermenting Jug Starter Kit, 1 Gallon
 Visit on Amazon →
Check current Amazon price. A one-gallon kit is the cheapest way to learn all-grain without buying a system, because everything scales down. You can mash a small grain bill in a stockpot on the stove, boil it in the same pot, chill it in the sink, and ferment it in a jug that fits on a pantry shelf. If the batch goes wrong, you lost an afternoon and a couple of pounds of malt instead of an entire five-gallon brew day.
It earns its shelf space for a second reason: small batches are how you run experiments. Split a batch across two jugs, change one variable (a different yeast, a different dry hop, a warmer corner of the room), and you learn something about your process instead of guessing. One-gallon volumes are also handy for yeast starters, which is the cheapest upgrade in home brewing.
Flaws but not dealbreakers: One-gallon batches are small, and small batches punish sloppy sanitation because there is less beer to absorb a mistake. Most starter kits at this size also skip the hydrometer, the one tool you cannot brew consistently without, so budget for one on day one. And you will outgrow it by about batch three, which is fine. It is a teaching tool, not a forever fermenter.
Anyone who wants to learn the mash on a kitchen stove, or who wants a cheap second vessel for yeast and split batches, should start here.
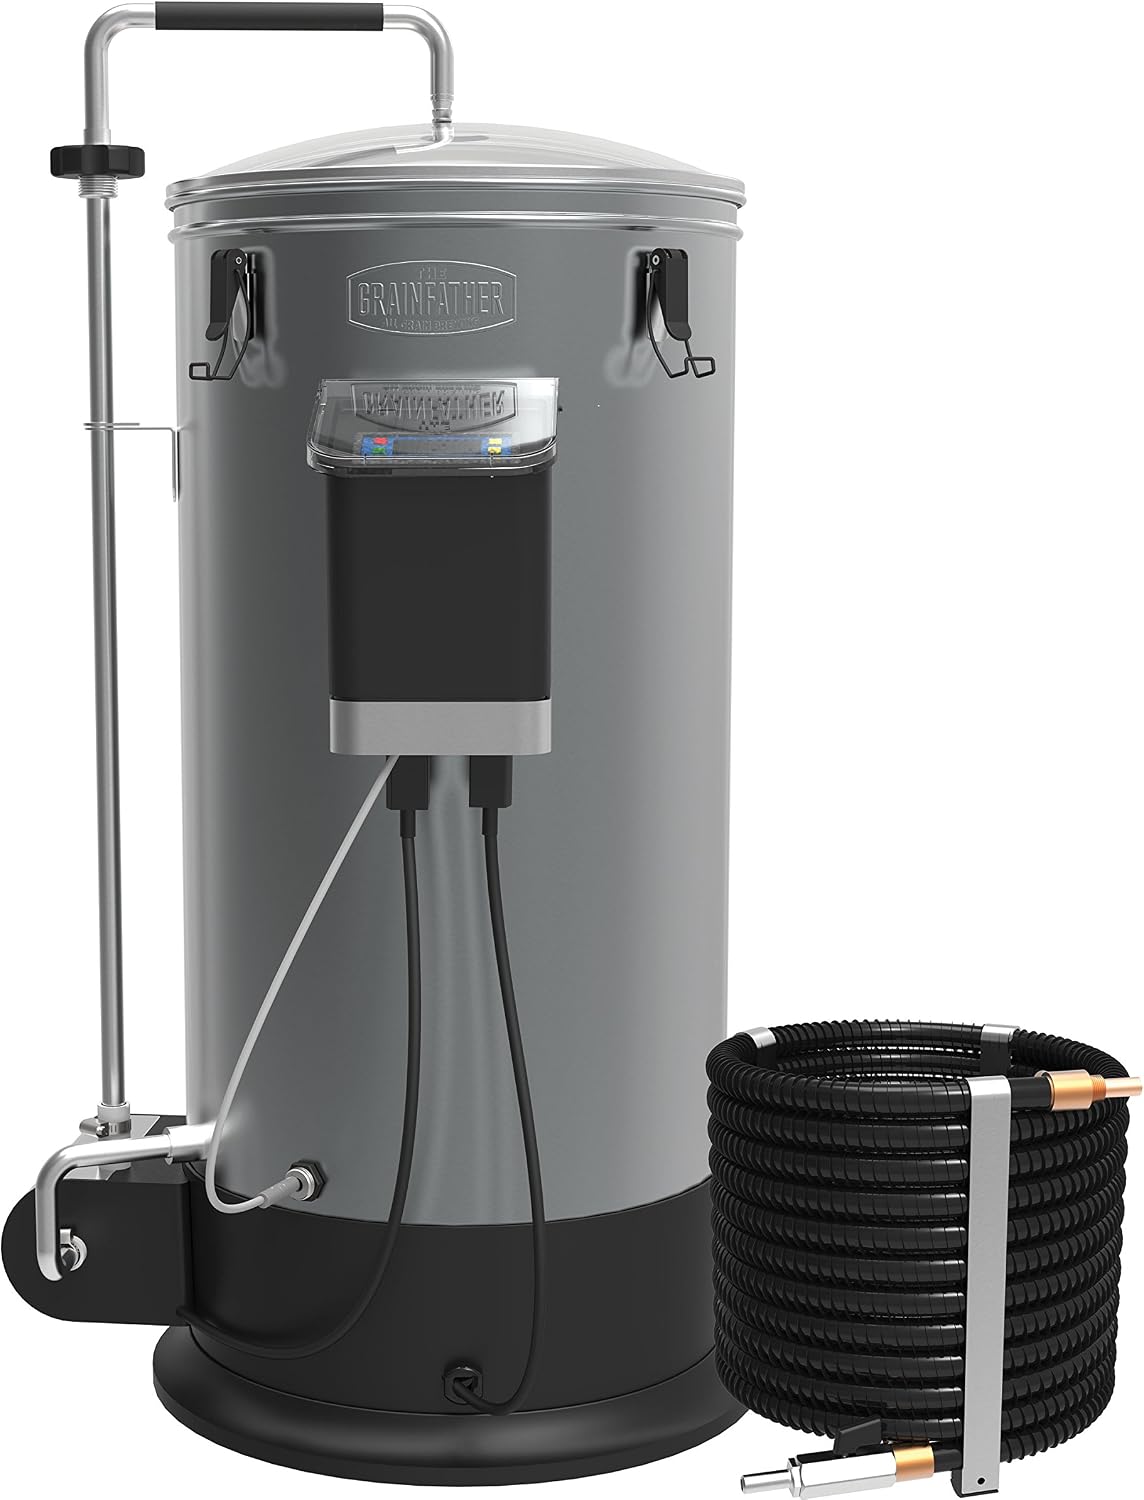
Upgrade pick: Strange Brew-BC-50900 The Grain Father - All Grain Brewing System (120V)
 Visit on Amazon →
Check current Amazon price. This is the other end of the hobby: a single electric vessel that handles mash, recirculation, and the boil, so your brew day becomes one thing to heat, one thing to clean, and one controller to watch. It runs on a standard 120V circuit, which matters if your brewing space is a garage with ordinary outlets and no dedicated 240V line.
The honest case for a system like this is not better beer. It is a shorter, more repeatable day. Temperature steps happen on a controller instead of on your attention span, and repeatable mash temperatures are how you make the same beer twice. If you have ever tried to hold 152°F on a propane burner in a Michigan October, you understand the appeal.
Flaws but not dealbreakers: Calling this a kit undersells the learning curve. It is a batch-five purchase, not a batch-one purchase. Learn the mash on cheap equipment first, so that when a number reads wrong you know whether it is your process or your controller. Be honest about the 120V tradeoff too: less power means heating takes patience, so plan the day around it instead of fighting it.
Anyone who has brewed a dozen batches, knows their numbers, and wants to stop babysitting a burner should look here.
The all-grain brew day, step by step
This is the order that works. Write the plan down before you heat anything.
Step one: Pick your batch size and your numbers first. One gallon if you are learning or experimenting, five gallons if you want a full keg. Decide your target OG, your mash temperature, and your boil length, and put all three on the brew sheet. A brew day with no target is a brew day where you cannot tell what went wrong.
Step two: Calibrate the hydrometer. Distilled water at 60°F should read 1.000. If yours reads 1.002, every reading that day is 0.002 high, so subtract it or note the offset. This takes two minutes and it is the difference between a real log and a fiction.
Step three: Build your water and calculate strike temperature. For a standard mash, plan roughly 1.25 to 1.5 quarts of water per pound of grain. All-in-one systems typically run a thinner, full-volume mash, so follow the system's own guidance there. Heat your strike water 10 to 12°F above your target mash temperature, because the grain and the vessel will pull heat out of it the second they meet.
Step four: Mash in and hold. Aim for 150 to 154°F for most ales. Add grain slowly and break up dough balls with your paddle, because dry pockets mean sugar you never extract. Check the temperature after five minutes, adjust with a small addition of hot or cold water, then leave it alone for 60 minutes. Stir once at the 20-minute mark.
Step five: Mash out and separate the wort. Raise the mash to about 168°F to thin it out, then sparge or lift the grain basket, depending on your setup. On a cooler mash tun that is the batch sparge or fly sparge step; on an all-in-one system it is a recirculation and a lift. Slow is fine here. Fast is how you get a grain bed that will not drain.
Step six: Boil, and watch the first ten minutes. A 60-minute boil is standard for most styles. The hot break, that foamy surge right as the wort starts rolling, is when boilovers happen, so stand there with a spray bottle of water and your hand on the heat control. Bittering hops go in at the start, flavor and aroma hops in the last 15 minutes or at flameout.
Step seven: Chill fast. Get the wort from boiling to pitching temperature as quickly as you can, 65 to 68°F for most ale strains. Fast chilling is about flavor and clarity, not just patience.
Step eight: Transfer, aerate, and take your OG. Everything that touches the wort after the boil has to be sanitized. Splash or stir the wort to get oxygen into it, then pull a sample for your original gravity reading and write it down before you pitch the yeast.
Step nine: Pitch and control fermentation temperature. Fermentation temperature matters more than mash temperature for how a beer tastes, so put the fermenter somewhere you can hold steady. A closet that stays 66°F beats a garage that swings 15 degrees. If you want the data, take a gravity reading at 24 hours to see how hard the yeast is working.
Step ten: Confirm the finish with two readings. When the krausen drops and the airlock slows, take a hydrometer reading. Take another 48 hours later. Two identical readings means fermentation is done, and only then do you have a final gravity. The gap between OG and FG gives you attenuation and ABV, which is the entire point of logging.
Step eleven: Package and taste the plan. Bottle or keg, carbonate, then compare the beer to the numbers you wrote down. If the beer is thin, look at your mash temperature. If it is sweet and flat, look at your attenuation. Every batch tells you which step to fix next time.
Where all-grain brew days actually go wrong
Stuck sparge. The grain bed clogs and the wort stops draining. Fix it with a slower lauter, a slightly coarser crush, and a handful of rice hulls in wheat-heavy or oat-heavy grists. Fighting it with more suction just compacts the bed harder.
Boilover. Most boilovers are a full kettle and an unattended hot break. Leave headspace, watch the first ten minutes, and keep a spray bottle within reach.
A hydrometer you never checked. A 0.002 error does not announce itself. It quietly ruins every recipe note you take that day.
Fermentation temperature swings. This is the most common reason a first all-grain batch tastes worse than the extract batch that came before it. The mash is not where most homebrew goes wrong. The fermenter is.
Sanitation after the boil. The boil sanitizes the wort. Everything downstream of it is your responsibility, including the fermenter, the siphon, the airlock, and your hands.
What I left off this list
Extract kits are not a lesser hobby, and I still keep dried malt extract in the pantry for starters and gravity corrections. A cooler mash tun and a kettle can make beer every bit as good as an electric all-in-one, and for a lot less money, which is why my own stand still has a converted mash tun bolted to it. Those are all legitimate routes.
What I left off are the kits that ship without a hydrometer and the instructions that tell you to trust your instincts on temperature. You cannot brew consistently if you cannot measure, and instincts are why my first batch hit 82°F and tasted like banana bubblegum.
What this all costs
There are two numbers in this guide, and neither one is the price of the beer. Check current Amazon price on the one-gallon starter kit, check current Amazon price on the all-in-one system, then compare both against what a year of extract kits would cost you.
The one-gallon kit is the smallest entry point in the hobby and the cheapest way to find out whether you enjoy mashing grain. The all-in-one system is the largest single purchase most homebrewers make, and it buys time and repeatability rather than flavor. Cost per batch, not sticker price, is the number that matters, and the cheap route wins that math for a long time.
Gear matters more than the recipe, but only in one direction: basic equipment used with control makes better beer than expensive equipment used sloppily. Learn the day on one gallon if you are unsure. Buy the system when you know your numbers and you are tired of babysitting a burner.
That is the job. Pick your size, calibrate the hydrometer, write it all down, and let the yeast finish the argument.