Most people who want to brew a lager quit before they start, because everything they read tells them they need a mash tun, a temperature-controlled fermentation chamber, and a decade of patience. An Oktoberfest lager extract kit removes the first problem entirely. The malt extract is already made, the recipe is already built, and your job narrows to three things: boil it correctly, keep the yeast cool, and measure what actually happened.
I have brewed more than 50 batches over twelve years, and I spent three years as the assistant brewer at a 7-barrel brewpub in Grand Rapids, where I ran gravity checks on every tank, every day. The one habit that separates brewers who improve from brewers who repeat the same mistakes is logging original gravity and final gravity on every batch. You cannot do that without a hydrometer.
This is the workflow I would hand a first-time lager brewer, plus the two pieces of gear that make it work.
Why you should trust me
I brewed my first batch in 2014 on a dorm-room hot plate and scorched it badly enough that I still call that style burnt adjunct lager. Twelve years and 50+ logged batches later, I have brewed everything from a 1.030 session bitter to a 1.100 barleywine. From 2019 to 2022 I worked as the assistant brewer at a 7-barrel brewpub in Grand Rapids, scrubbing heat exchangers, harvesting yeast, and running pH and gravity checks on every tank, every day.
That job gave me the habit this article is built on: measure everything and write it down. Every batch on my stand gets an original gravity and a final gravity reading from a hydrometer I calibrate in distilled water at 60°F, plus strike temps, the 24-hour gravity check, packaging losses, and the exact garage temperature. Cheap gear that fails mid-batch has cost me three ruined brew days, so nothing gets recommended here on the strength of a spec sheet.
How I picked and how I tested
This is not a lab report on two boxes I opened last week. It is the filter I run before anything earns shelf space in my own brewhouse, and it comes down to two questions, one for a kit and one for a gravity float.
For a kit, the question is whether it gives me numbers instead of adjectives. A kit that ships without a hydrometer is asking me to guess at the most important measurement in brewing. A kit whose instructions say to trust my instincts on fermentation temperature is the reason my first lager fermented at 82°F and tasted like banana bubblegum. I want a measured starting gravity, a stated fermentation range in degrees, and a packaging step that does not depend on vibes.
For a hydrometer, the question is whether it survives contact with a real brew day. Every hydrometer eventually rolls off a counter, so the case matters as much as the float. What also matters is whether the scale is printed where you can read it at eye level and whether the calibration is honest. I float mine in distilled water at 60°F before every brew day, and I recheck it after any batch where a number looks strange, because a float that reads 0.002 high will read 0.002 high all day long. That error is the difference between a 5.2% beer and a 5.4% beer in your log, and it compounds across every reading you take.
One more criterion specific to lager: temperature control. Extract brewing is forgiving in a way that all-grain is not, but lager yeast is not forgiving at all. If you cannot hold the low 50s for the first week, you are brewing an ale whether the box says Oktoberfest or not.
The gear that has to be right before you boil
Two items, and I would argue about the order of importance. You need the beer, and you need the tool that proves the beer finished.
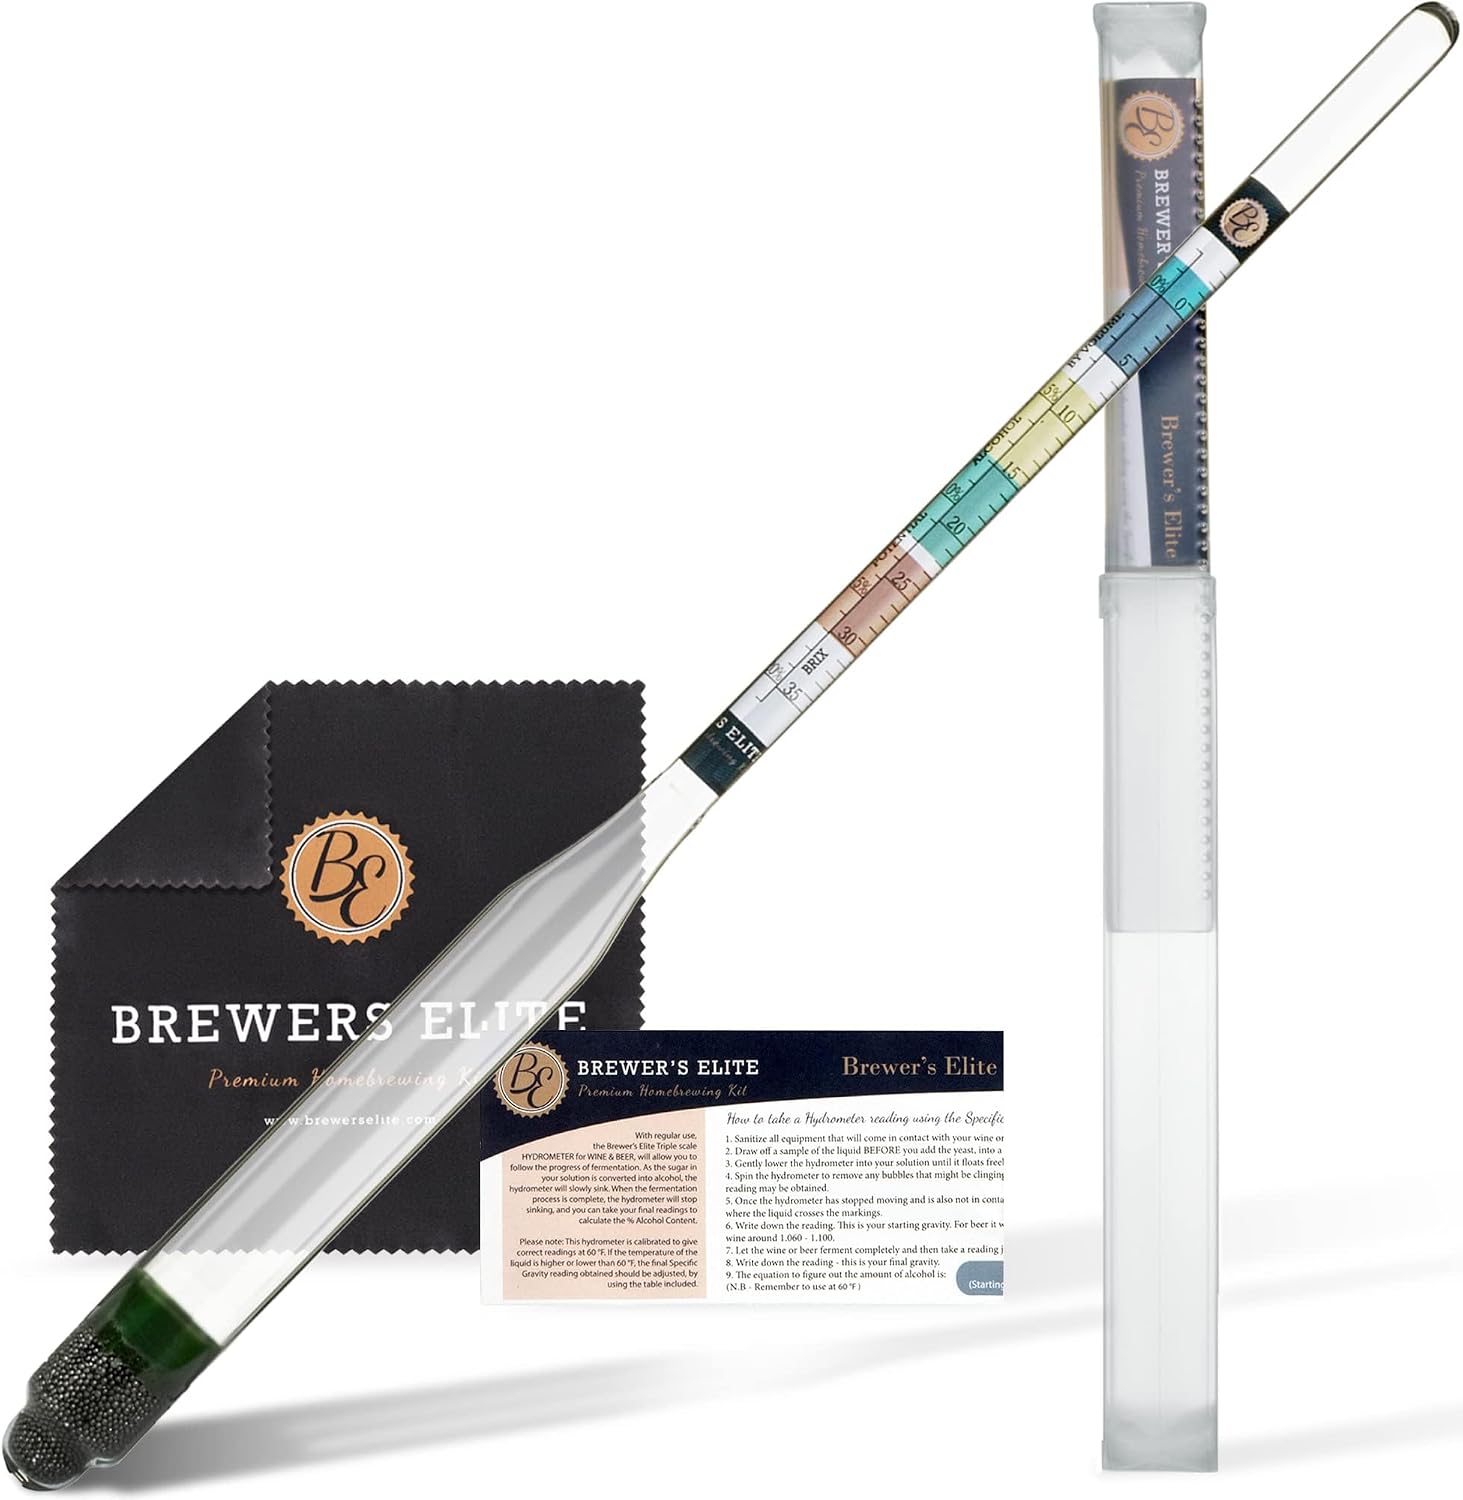
The measuring tool: Brewer's Elite Hydrometer for Home Brew Beer, Wine, Mead and Kombucha - Deluxe Triple Scale Set with Hardcase and Cloth - Specific Gravity ABV Tester
 Visit on Amazon →
A triple scale float reads specific gravity, potential alcohol, and Brix on the same instrument, and that combination matters more than it sounds. Specific gravity is the number you log and the number you compare batch to batch. The potential alcohol scale is a sanity check on brew day, so you know before you pitch whether you are looking at a session beer or something stronger. Brix is the scale you will want the first time you add fruit or brew a high gravity batch, and having it on the same float saves you from buying a second instrument later.
The hardcase and the cloth are the part most people skip and then regret. A hydrometer that lives loose in a drawer or in the bottom of a bucket is a hydrometer that breaks on the one morning you actually need a reading. I have lost two that way, and both times it was a $12 problem that turned into a two-week delay waiting on a replacement.
If you already own a hydrometer, the test is calibration, not replacement. Float it in distilled water at 60°F. It should read 1.000. If it reads 1.002, write the offset in your notebook and subtract it from every reading for the life of that float. If the offset drifts between readings in the same session, the tube is bent or the scale is printed wrong, and it goes in the trash.
Flaws but not dealbreakers: Glass breaks. That is the whole story. Buy the case, use the case, and never store the hydrometer in the same bucket as your stirring spoon.
Anyone who plans to brew more than two batches this year should own one before anything else on the wish list.
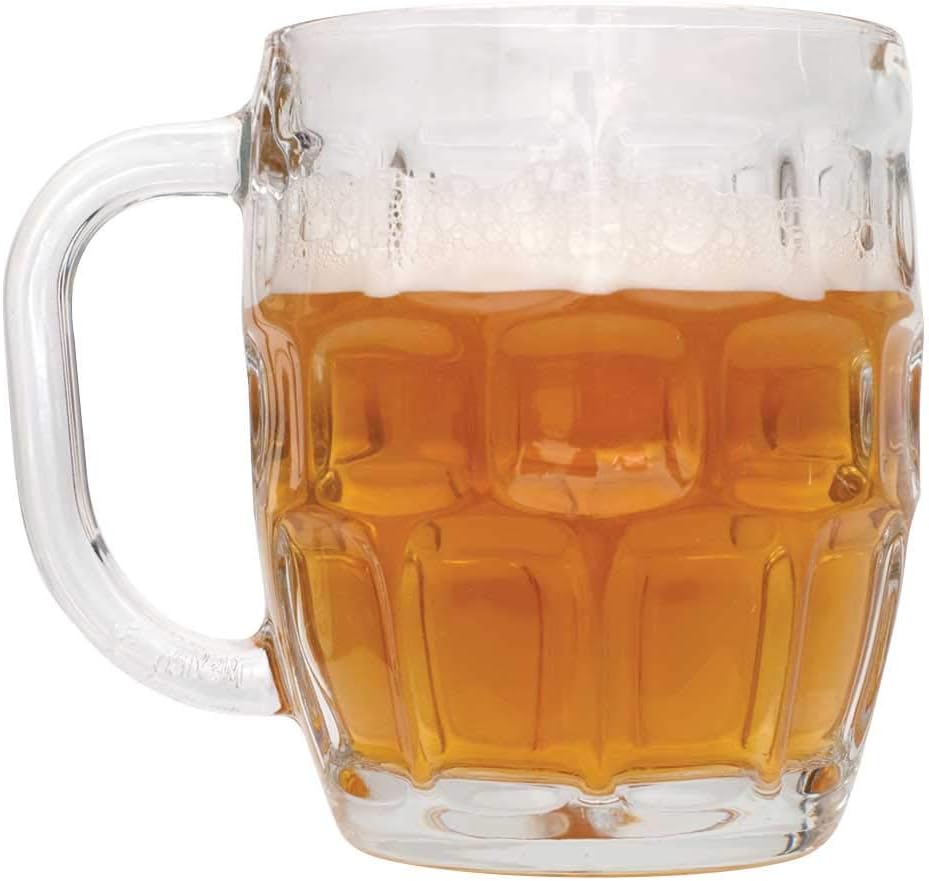
The batch itself: Northern Brewer Oktoberfest Lager Extract Beer Homebrewing Kit, 5 Gal
 Visit on Amazon →
This is five gallons of Oktoberfest built from malt extract, which means the recipe design problem is already solved for you. Oktoberfest is a malt-forward amber lager, and the style rewards a clean fermentation more than it rewards clever ingredient choices. That is exactly the kind of beer an extract kit handles well: the base character comes from the extract, the color and the toast come from the steep, and the hops are there to balance rather than to star.
What I care about in a kit is that it gives me a fermentation temperature range and a hop schedule with times attached, because those are the two places a first lager goes wrong. Follow the included instructions on the hop schedule and pitch temperature, and use the hydrometer above to confirm the starting gravity before you pitch and the final gravity before you package. Two readings, taken honestly, tell you the alcohol content and tell you the beer is done.
Flaws but not dealbreakers: Extract gives you less control over fermentability than an all-grain mash, and the kit still needs a cold place to ferment. If your garage sits at 65°F in October, plan on a fermentation chamber, a swamp cooler with frozen bottles, or brewing this in a colder month.
Anyone brewing a first lager, or anyone who wants a fall batch without dragging out the mash tun, is the right buyer for this.
The brew day workflow
Now the part you came for. This works with any lager extract kit, and it works better with a hydrometer in the mix.
Step one: Read the instructions all the way through before you turn on any heat. Twice. The mistakes that ruin brew days are scheduling mistakes, not technique mistakes.
Step two: Sanitize everything that touches wort after the boil. The kettle and the boil itself handle the hot side. Fermenter, lid, airlock, siphon, hydrometer sample tube, and anything else downstream gets sanitizer. No exceptions, and no shortcuts on the spigot, because a dripping plastic spigot is the most common preventable failure in this hobby.
Step three: Heat your water and add the extract off the heat. Take the kettle off the burner, stir the extract in completely, then return it to the flame. Extract that sinks and sits on the bottom of a hot kettle scorches, and scorched extract does not taste like toast, it tastes like burnt sugar and it never goes away.
Step four: Run the hop schedule exactly as written. The kit gives you times in minutes from the end of the boil. Set a timer. Do not improvise additions the first time you brew a style.
Step five: Chill the wort to the pitch temperature on the instructions. This is the step where lager kits separate from ale kits, because the target is colder than tap water in most of the country. An immersion chiller plus a bag of ice in a tub gets you there.
Step six: Take your original gravity reading. Pull a sample, cool it to the calibration temperature on your hydrometer, spin the float to knock off bubbles, and read at eye level. Write the number down. If it is off the kit's stated range by more than a few points, you either topped up unevenly or your volume is off, and both are worth noting for next time.
Step seven: Pitch the yeast and aerate. Shake or stir the wort hard before pitching. Lager yeast needs oxygen at the start more than ale yeast does.
Step eight: Hold fermentation in the low 50s. This is the number that makes or breaks the beer. Check the actual temperature of the liquid, not the air in the room, and keep it stable. A two-degree swing every day is worse than a steady 53°F.
Step nine: Take a gravity reading around day seven, then again two or three days later. When the two readings match, fermentation is done. Then let the beer warm to the mid 60s for a couple of days, which is the diacetyl rest, and it is the step that makes a homebrewed lager taste clean instead of buttery.
Step ten: Package, prime, and lager cold. Bottle or keg as usual, then give it four to six weeks cold before you judge it. A lager that tastes rough at two weeks tastes like a different beer at six.
The competition and why it lost
A refractometer is faster than a hydrometer, and I own one. It takes a couple of drops and gives you a reading in seconds, which is genuinely useful on a brew day when you are checking gravity during the boil. It loses on the reading that matters most, which is the final gravity after fermentation, because alcohol skews the refractometer reading and you have to run a correction to get back to something honest. I keep both, and the hydrometer is the one I trust for the number I write in the notebook.
An all-in-one electric system is the other thing people ask about. It is a great purchase, and it is a purchase for batch five, not batch one. The learning curve is real, and extract kits exist precisely so you can learn fermentation, sanitation, and gravity before you learn the mash.
One-gallon starter kits are a different category entirely. The beer is genuinely drinkable and the footprint is tiny, which means nobody quits after batch one, but you will outgrow them by batch three. That is fine, and it is also not what this article is about, because you cannot brew a five-gallon lager in a one-gallon jug.
And the kits that skip the hydrometer are not competition. They are the reason so many people brew the same mediocre beer for three years and never know why.
What this all costs
The honest cost math here is not about the sticker, it is about the structure. A hydrometer is a one-time purchase that outlives every other item in your kit, and it is the cheapest insurance you can buy against bottling a beer that was not finished. Check current Amazon price on it and compare that against the cost of dumping five gallons of flat, sweet lager three weeks from now.
The kit is a per-batch cost, and extract costs more per batch than buying base grain in bulk. What you get for that premium is time and predictability: no mill, no mash tun, no stuck sparge, and a recipe that was designed by someone else so you can focus on fermentation temperature and gravity readings. For your first two or three lagers, that trade is worth taking.
The gear that actually changes your results is not expensive. It is a hydrometer you calibrate, a notebook you actually write in, and a way to hold the low 50s. Everything else is a hobby purchase, not a brewing purchase.
Do the two readings. Write them down. The rest of the batch will tell you whether you were paying attention.