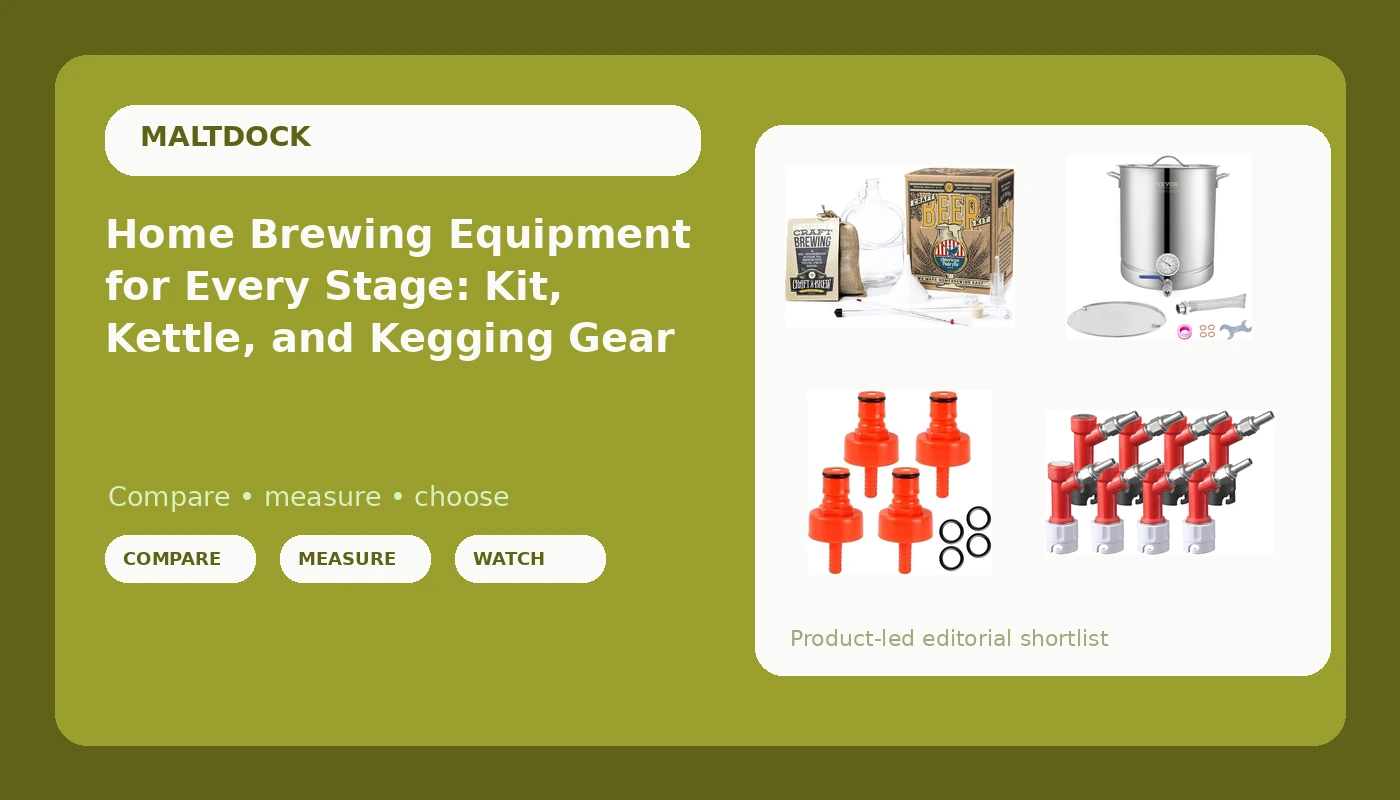
Home brewing equipment is a strange category to shop, because the right purchase depends entirely on which batch you are on. Batch one needs a fermenter, a kettle small enough for a kitchen stove, and a hydrometer. Batch twenty needs a kettle that can hold a rolling boil without foaming over the rim. Batch forty usually means you have stopped bottling and started kegging. Buy the batch-forty gear on day one and you spend money on capacity you cannot use yet. Buy batch-one gear forever and you spend every brew day fighting your own equipment.
This explainer walks through four pieces of home brewing equipment that sit at different points on that arc: a one-gallon starter kit, a 16-gallon stainless brew kettle, a set of carbonation caps for PET bottles, and a pin lock quick disconnect set for kegging. None of them is a complete brewery on its own. Together they cover the three transitions most brewers make in their first few years: from extract to full volume boils, from bottling to forced carbonation, and from a plastic fermenter to a draft system.
Related: Kegging Basics: Balancing CO2 on a Home Draft System →
Quick answer
Buy in the order your batch size grows. A one-gallon kit teaches the process with the least equipment and the smallest chance of a ruined brew day. A 16-gallon kettle is the upgrade for brewers moving to five- and ten-gallon batches who need headspace for a rolling boil. Carbonation caps let you force carbonate in a PET bottle without a full keg setup, and pin lock disconnects are the plumbing that connects a keg to its gas and liquid lines. Match the purchase to your batch size and your packaging method rather than to a brand name.
4 useful options
| Model | Best fit | What stands out |
|---|---|---|
| Craft A Brew American Pale Ale 1 Gallon kit | First batches and small kitchens | Complete equipment and supplies for a one-gallon batch, built around an American pale ale |
| VEVOR 16 Gal brew kettle | Brewers moving to full volume boils | Stainless pot with a tri-ply bottom, plus a filter and filter tray |
| FERRODAY 4 pack carbonation cap | Force carbonating in PET bottles | Four caps in one pack, made for PET bottles |
| PERA 4 pairs pin lock quick disconnects | Kegging and draft line setup | Four pairs with swivel nuts, 5/16 gas and 1/4 liquid barbs |
The starting point: Craft A Brew American Pale Ale 1 Gallon kit
The value of a one-gallon kit is that it removes the two things that kill a first batch: too much volume to chill and too many variables to track. You boil a small amount of wort, you cool it fast, and you are done in an afternoon. The trade-off is yield. One gallon finishes as roughly eight to ten bottles, so it is a teaching tool more than a supply plan. Most brewers get three or four batches out of a kit like this before they want a bigger fermenter, and that is the intended path, not a failure. If the kit ships with a hydrometer, read it before you pitch and again when you package, because those two numbers are the only honest record of what happened.
The big-boil upgrade: VEVOR 16 Gal brew kettle
A boilover is the fastest way to learn a kettle's real capacity, and it is 90 percent of the reason I care about headspace. A rolling boil of wort with hop material foams up hard, so a kettle that is filled to the rim will climb over the edge. A 16-gallon pot gives you room to boil five or ten gallons without babysitting the burner every thirty seconds. The tri-ply bottom is a layer of construction rather than a marketing word: a multi-layer base spreads heat across the bottom instead of concentrating it over one burner ring, which matters for extract scorching and for a steady boil. The filter and filter tray are there to catch hop debris before it reaches the fermenter, which makes the transfer cleaner and the cleanup less of a wrestling match. The trade-off is scale. Sixteen gallons is a large, heavy pot that needs a serious burner, a place to put it, and a chiller sized for the volume you actually boil.
The bottling shortcut: FERRODAY 4 Pack Carbonation Cap
Carbonation caps solve a specific problem: you want carbonated beer today, not in two weeks, and you do not want to set up a whole keg to get it. A cap screws onto a standard PET bottle, a gas line connects to it, and you can force carbonate a single bottle of beer from the fermenter. That makes them genuinely useful for tasting a batch before you commit to packaging the rest, for checking how a dry hop change landed, or for taking beer somewhere without dragging a keg along. PET bottles hold pressure, but they are not indestructible, so treat the cap as a tool for controlled carbonation rather than a way to make a bottle do something it was not designed for. The trade-off is that this is a bottle-scale solution. If you are carbonating five gallons at a time, the caps will not replace a keg, they will just make the keg less urgent.
The kegging connection: PERA 4 Pairs Corny Keg Pin Lock Quick Disconnects
Disconnects are the least glamorous purchase in kegging and the one that decides whether your draft system is pleasant or cursed. Pin lock kegs use pins rather than ball bearings, so a pin lock disconnect will not fit a ball lock keg, and the two are not interchangeable. The MFL threading is the part worth understanding: swivel nuts let you unscrew a line from the fitting without cutting it, which means you can swap a barb, replace a length of tubing, or move a disconnect between kegs without rebuilding the whole run. Having four pairs on hand means you can leave gas and liquid lines connected on multiple kegs instead of swapping one set back and forth, which is the kind of small friction that makes people stop kegging. The trade-off is compatibility homework. Confirm which post style your kegs actually use before you buy, because a set of beautiful fittings for the wrong post style is a set of fittings in a drawer.
Prices and availability may change. Product images, names, and retailer links are matched to verified listings. No current price, rating, stock status, or measured result is stated here without current evidence.
How these four pieces fit into one brew day
Think of the four products as a map of the pipeline rather than a shopping list. On brew day, the kettle is the center of gravity: you heat water, you boil wort, and everything downstream depends on how well that boil went. The filter and filter tray inside the kettle handle the debris, and the tri-ply base handles the heat. Once the wort is chilled and in the fermenter, the kettle is done and the other three products take over depending on how you package.
If you are packaging into bottles, carbonation caps let you pull a sample, carbonate it under gas, and taste the beer while the rest of the batch is still conditioning. If you are packaging into a keg, the pin lock disconnects are what connect that keg to your regulator and your tap. And if you are still on your first few batches, the one-gallon kit is the whole pipeline in miniature: a small boil, a small ferment, a small package, and a complete set of instructions for the process you will repeat at a larger scale later.
The mistake is buying these in the wrong order. A brewer with a one-gallon kit does not need a 16-gallon kettle yet, and a brewer who has never kegged does not need disconnects before they own a keg. Each product is a response to a specific bottleneck, and the bottleneck changes as your batch size and packaging method change.
A five-step way to decide what to buy next
- Write down your current batch size in gallons and your packaging method, bottles or keg, before you look at any product page.
- Identify the single worst moment of your last brew day. If it was the boil climbing over the rim, you have a kettle problem, not a recipe problem.
- Check compatibility before price. Pin lock and ball lock do not interchange, and a kettle needs a burner and a chiller sized for the volume you boil.
- Buy the smallest upgrade that removes the bottleneck. If one bottle of carbonated beer would answer your question, carbonation caps are cheaper than a keg setup.
- Log the result. Note your original gravity and final gravity on the batch where the new gear debuted, so you can tell whether the change actually helped.
Practical guidance for the garage
- Calibrate your hydrometer in distilled water before every brew day, and treat any reading as suspect until you do.
- Give a boiling kettle real headspace. Foam from hop material rises fast, and a full kettle is a boilover waiting to happen.
- Sanitize everything that touches wort after the boil ends, including the filter tray and any bottle or keg fitting.
- Respect pressure limits on PET bottles. Carbonation caps are for controlled force carbonation, not for improvising a pressure vessel.
- Confirm your keg post style and your tubing sizes before ordering fittings, and keep spare swivel nuts and o-rings on hand.
Which option should you choose?
Choose the Craft A Brew American Pale Ale 1 Gallon kit when you are brewing your first batches and want the entire process in one box without committing to a burner and a large pot. Choose the VEVOR 16 Gal brew kettle when your bottleneck is the boil itself and you need capacity, a tri-ply base, and a filter for the wort side. Choose the FERRODAY 4 Pack Carbonation Cap when you want carbonated beer from a PET bottle without setting up a keg, and choose the PERA 4 Pairs Corny Keg Pin Lock Quick Disconnects when you already own pin lock kegs and need gas and liquid fittings with swivel nuts to build out the draft lines.
One caveat applies to all four: a listing name tells you what a product is, not how it will behave on your system. Capacity, post style, and thread type have to match the equipment you already own, and no product page can verify that for you. Check the listing details against your own gear before you buy, and measure the result on your next batch rather than trusting a description.
The bottom line
These four products are not competing with each other. They are four answers to four different bottlenecks: getting started, boiling full volume, carbonating without a keg, and connecting a keg to gas and liquid lines. Buy the one that matches your current batch size and packaging method, use it for a full brew day, and write down your gravity readings so you know whether it actually changed anything. That is the whole method, and it works at one gallon or sixteen.