Most homebrewers stop taking gravity readings somewhere around batch three. The beer still turns out fine, mostly, so the hydrometer goes back in the box and the whole hobby turns into a vibe check: a few bubbles in the airlock, a sniff at the bucket lid, and a guess about when to package.
That is not brewing. That is gambling with three weeks of your time and a full afternoon of cleaning.
Learning how to monitor fermentation with a hydrometer and an airlock is the cheapest upgrade in this hobby. One tool tells you exactly how much sugar the yeast has eaten. The other tells you whether the yeast is still working. Together they turn a bucket of cloudy wort into a batch you can actually repeat, because you have numbers instead of feelings.
The routine below is the one I run on my own batches, start to finish, and it has not changed in years. It takes about ten minutes of actual work spread across two weeks.
Why you should trust me
I brewed my first batch in 2014 on a dorm-room hot plate with a kit that scorched so badly I thought I had invented a new style. Twelve years and more than 50 logged batches later, I have brewed everything from a 1.030 session bitter to a 1.100 barleywine. I also spent three years as the assistant brewer at a 7-barrel brewpub in Grand Rapids, where I scrubbed heat exchangers, harvested yeast, and ran gravity and pH checks on every tank, every day.
That brewery job is where the habit came from: measure everything and write it down. Every batch I make gets its original gravity and final gravity read on a hydrometer I calibrate in distilled water at 60F, plus strike temperature, mash pH, the 24-hour gravity, packaging losses, and whatever the garage was doing that day. It all goes in a spiral notebook with a spreadsheet backup, because the notebook is what I actually reach for when a batch tastes wrong.
Nothing in this guide is sponsored, and no gear earns a mention here until it has survived real brew days instead of a photo shoot.
How I picked and how I tested
This is not a roundup of every gadget in the hobby. It is two tools that do two completely different jobs, and you need both of them.
A hydrometer has to be readable. That sounds obvious until you own one with a scale so crowded you need a flashlight and a steady hand to tell 1.012 from 1.014. It has to cover the range you actually brew, which for most people means dry beers under 1.010 on one end and a big barleywine on the other. And it has to be honest: a hydrometer that reads 0.002 high will read 0.002 high all day, which means your recipe log is wrong from the first entry.
An airlock has to do three things. It has to seal, it has to let gas out without letting air in, and it has to come apart for cleaning without cracking. A stopper that pops loose on day two of a vigorous fermentation is not a small annoyance, it is an oxygen and contamination problem wearing a friendly face.
Here is the number I trust more than any spec sheet: distilled water at 60F reads 1.000. That is the calibration check, and it happens before every brew day. If the hydrometer is off by a point or two, I write the offset on a piece of tape and subtract it from every reading. If it is off by more than that, the hydrometer is finished, no matter what it cost.
The other number people trust too much is the bubble count in the airlock. Bubbles are not a measurement. They are a yes or no answer to a yes or no question.
The two tools that do the work
You can brew beer without either of these. You just cannot brew the same beer twice. Here is what belongs in the kit.
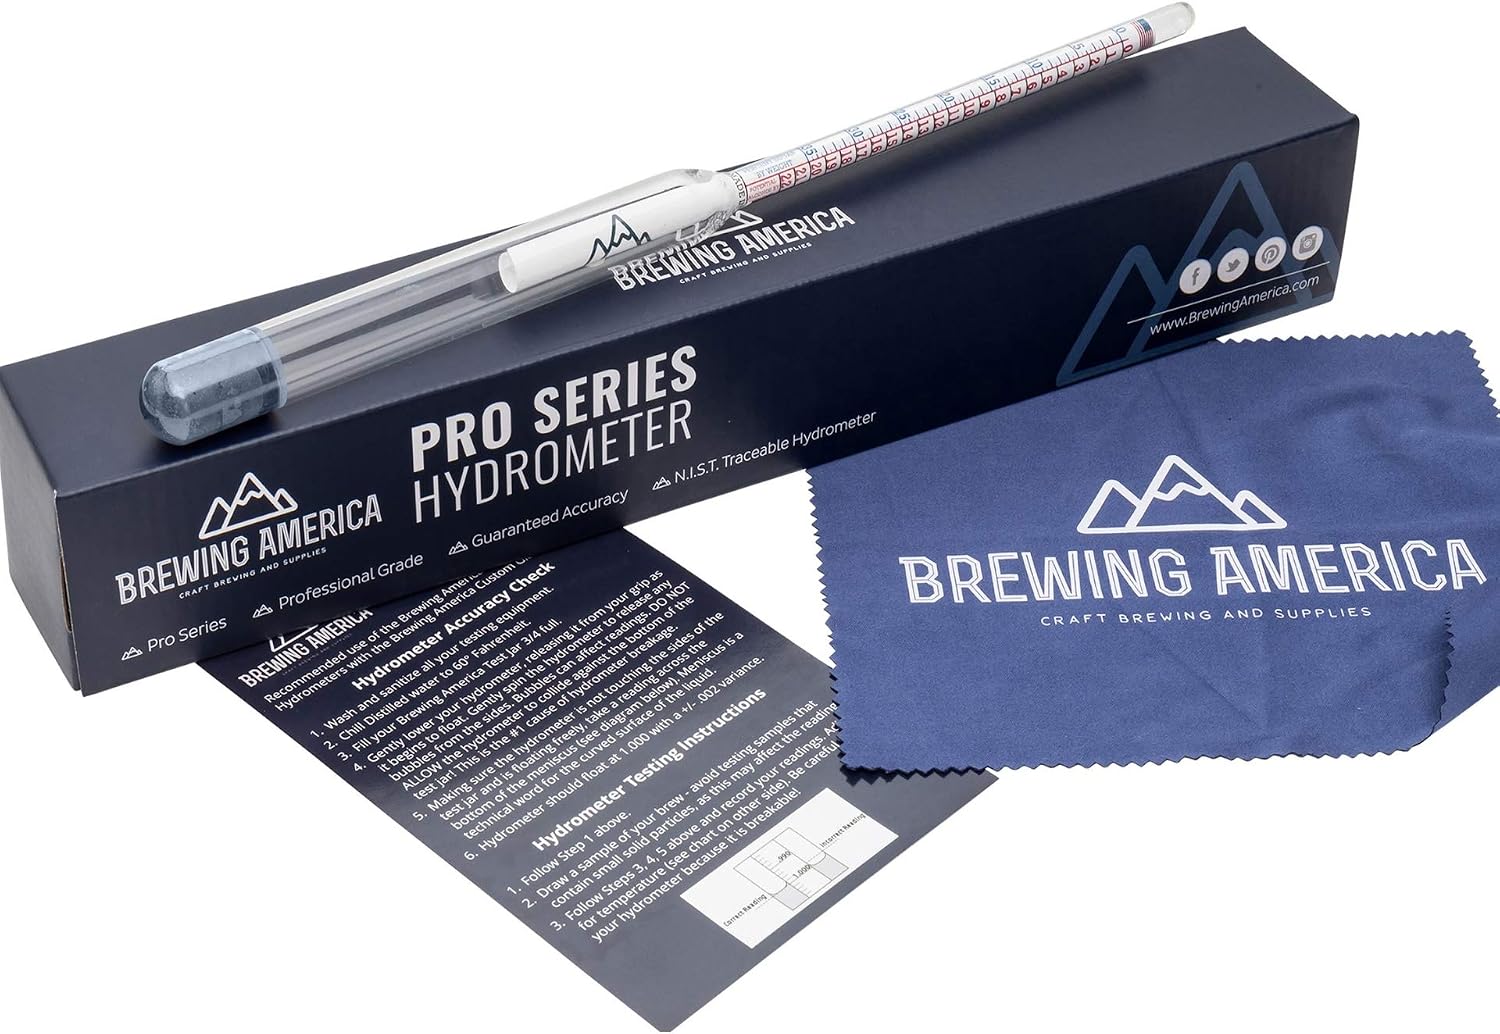
The number that matters: Brewing America American-Made Specific Gravity Hydrometer Alcohol ABV Tester - Pro Series Fermentation Testing Homebrew: Beer, Wine, Cider, Mead - Triple Scale Hydrometer
 Visit on Amazon →
This is the tool the whole article is about. A triple-scale hydrometer reads specific gravity, potential alcohol, and Brix on the same float, which means you can track a beer, a cider, a mead, or a wine batch without buying a second instrument. It goes in a sample tube, it floats, and it tells you the truth about where fermentation stands.
Using it properly is the part people skip. Fill your sample tube to within an inch of the top so the hydrometer floats free and does not touch the bottom. Spin the hydrometer gently as you drop it in to knock loose bubbles off the glass, because a bubble clinging to the stem will push your reading high. Read it at eye level at the bottom of the meniscus, the curved surface where the liquid meets the glass. Then correct for temperature, since the scale is calibrated for a specific sample temperature and hot wort will read low.
What to watch for: it is glass, and garage floors are concrete. A hydrometer that hits the floor becomes a pile of glass and a bad word. Store it in its tube, and buy a spare if you brew often, because the day you break your only hydrometer is the day you need a final gravity reading.
Check current Amazon price at the link above before you commit, and make sure your sample tube is tall enough to float it without scraping.
Flaws but not dealbreakers: You need a decent volume of wort to float it, which means you are pulling a sample out of the fermenter every time. Pour that sample into a glass and taste it instead of dumping it back in.
Anyone who is still guessing at packaging day by counting bubbles needs this before they buy anything else.
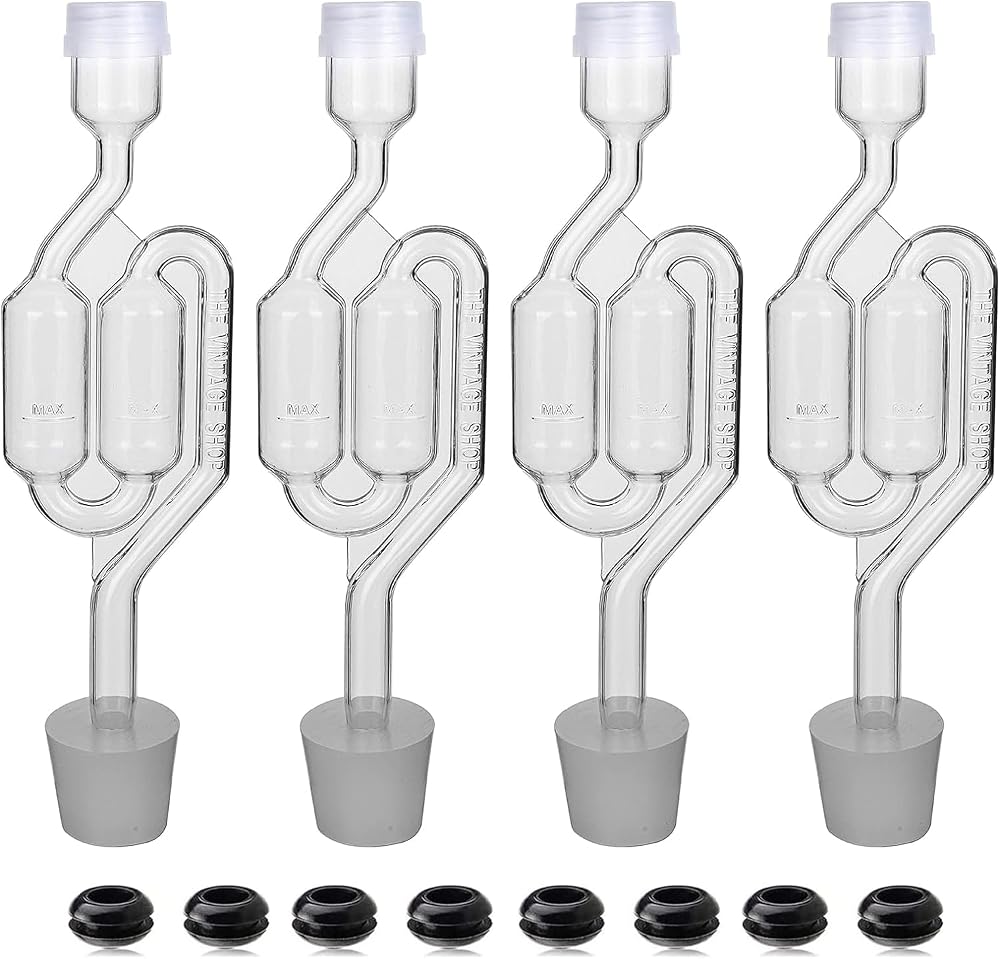
The cheap insurance: Bubble Airlock Set, 4 Airlocks for Fermenting, 4 Drilling #6 Stoppers and 8 Airlock Grommets, Used for Brewing Wine, Beer, Sauerkraut, Pickles, Etc. Fermentation Bubbler Airlock
 Visit on Amazon →
The airlock is a one-way valve. Carbon dioxide leaves, air does not come back in. That is the entire job, and it is the difference between a clean fermentation and a batch of beer that tastes like wet cardboard because oxygen got in while the yeast was still working.
This set covers the whole job at once: four airlocks, four number 6 drilled stoppers, and eight grommets. The stoppers seat in a standard glass carboy neck and in most drilled bucket lids. The grommets are what you press into a plastic lid you drilled yourself, so you can run a fermenter with a lid that did not come pre-fitted with a hole.
Four is the right number, not one. You will want one for the fermenter, one for a second batch, one for a growler of yeast starter, and one spare for the day a stopper goes missing under the workbench. A set of airlocks is also the kind of thing you lend to a friend who is starting out and never get back, which is a cost of doing business in this hobby.
How to run it: fit the stopper snugly, fill the airlock to the marked line with sanitizer solution or cheap vodka, and top it up if it goes dry. Dry airlock equals open fermenter. During high krausen, a very active fermentation can push foam up into the airlock. If that happens, swap in a blowoff tube running into a jar of sanitizer and clean the airlock afterward.
What to watch for: a stopper that is slightly damp will pop loose on its own, especially on a glass carboy when the temperature drops and the air inside contracts. Dry the neck and the stopper before you seat it. Also remember that a bucket lid with a bad seal will not bubble at all even while fermentation is ripping along, which is exactly why the hydrometer is the tool that gets the final vote.
Check current Amazon price at the link above and buy enough that you are never cleaning one airlock at 11 p.m. because it is the only one you own.
Flaws but not dealbreakers: The plastic on this style of airlock stains over time, and krausen residue is stubborn in the inner tube. A soak in warm cleaner followed by a soft brush handles it.
Anyone running more than one fermenter, or anyone who has ever had a stopper pop out at 2 a.m., should keep spares on the shelf.
The actual fermentation monitoring workflow
Here is the routine, in order. It works for extract, partial mash, or all-grain, and it works whether you ferment in a bucket, a carboy, or a conical.
Step one: calibrate the hydrometer. Fill your sample tube with distilled water at 60F and take a reading. It should read 1.000. If it does not, write down the offset and note it on the log sheet for that batch. Do this before every brew day, not once a year.
Step two: sanitize anything that touches post-boil wort. That means the wine thief or turkey baster, the sample tube, the hydrometer, the stopper, and the airlock. Everything on the cold side of the boil gets sanitizer, no exceptions.
Step three: take your original gravity. Chill the wort to pitching temperature, take a sample, and read it before you pitch the yeast. Take two readings if the first one looks strange. This is your OG, the single most important number of the batch, because every calculation afterward depends on it.
Step four: pitch, seal, and fill the airlock. Get the yeast in, fit the stopper and airlock, and fill the airlock to the line with sanitizer or vodka. Then leave it alone for a day, because nothing useful happens in the first 24 hours.
Step five: watch the airlock, but do not trust it. In the first 72 hours, bubbling tells you CO2 is being produced. No bubbling can mean the fermenter is sealed and lazy, or it can mean the lid is leaking and everything is fine. Cold temperatures slow fermentation and reduce bubbling without stopping it. The airlock answers one question: is gas moving? It does not answer how far along the beer is.
Step six: take a gravity sample at day three. Open the fermenter, pull a sample, and read it. Do not do this daily. Every time you open the lid you let oxygen in and dust settle, and the reading will not change meaningfully in 24 hours. Day three and day seven are enough for most ales.
Step seven: look for two identical readings. When the gravity gets close to your target final gravity, take a reading, then wait 48 to 72 hours and take another. If the numbers match, fermentation is done and it is safe to package. If the second reading is lower, the yeast is still eating and you wait. The airlock may still be bubbling during a cold crash because CO2 is coming out of solution, and that is not a reason to delay packaging. Two matching hydrometer readings are.
Step eight: write it all down. Date, temperature, gravity, and one line about how the sample tasted. That log is what turns brewing from a series of one-off batches into something you can actually improve, because next time you will know that the beer finished at 1.010 in six days at 66F rather than guessing.
What the numbers actually mean
Once you have OG and FG, two pieces of math tell you almost everything.
Attenuation is the percentage of sugar the yeast ate: OG minus FG, divided by OG minus 1, times 100. A beer that goes from 1.052 to 1.012 has fermented about 77 percent of the way. A stout that stalls at 1.020 is not a sweet stout by design, it is under-attenuated, and the fix is usually warmer temperature and a gentle rouse of the yeast, not more time.
ABV is OG minus FG, times 131.25. That same 1.052 to 1.012 batch is about 5.2 percent alcohol. If you keg and want to know how much CO2 you need, you need the final gravity and the temperature. Every one of these calculations starts with the hydrometer reading you took on brew day.
The competition and why it lost
A refractometer is the other tool people ask about. It takes two drops of wort and gives you a reading in seconds, which is genuinely nice on brew day when you are checking pre-boil gravity. The catch is that alcohol skews a refractometer reading, so once fermentation starts you need a correction factor to make sense of it. That makes it a brew-day tool, not a fermentation tool. I keep both, and the hydrometer still decides when the beer is done, because a bad reading on a batch you waited three weeks for is a mistake you only make once.
Blowoff tubes, spigots, and lids with poorly sealing grommets are all part of the same conversation. A spigot that drips slowly onto the floor of a fermentation chamber is the most common preventable failure in this hobby, and it is also the reason some brewers never see a single bubble in an otherwise healthy fermentation. Never judge a batch by the airlock alone.
For anything else, the rule is simple: if a tool does not help you measure something, it does not belong on the bench until the basics are covered.
What this all costs
The two tools in this guide are the cheapest part of your brew day, and that is the point. Compare them to a single ingredient kit, a fermenter, or a batch of hops, and the math stops being interesting.
The way I think about it: a hydrometer pays for itself the first time it stops you from packaging a beer that was not finished and bottle-bombing a case of glass. An airlock set pays for itself the first time it keeps oxygen out of a beer you spent a month making. Everything after that is free.
You do not need a lab-grade setup to brew consistently. You need a hydrometer that reads 1.000 in distilled water, an airlock that seals, and a notebook you actually write in. The rest is practice.
That is the job. Your beer has been giving you the answers the whole time. Start writing them down.