Most homebrewers do not quit because of a bad recipe. They quit because of one bad bottling day. Home brewing gravity readings are the part of the hobby nobody posts about, and they are the part that decides whether the beer in your closet is drinkable or dangerous. Two numbers, an original gravity and a final gravity, tell you how much sugar you started with, how much the yeast ate, and whether the beer is safe to bottle.
This guide covers the measuring and packaging end of a brew day: how to take a hydrometer reading you can trust, how to confirm fermentation actually finished, and how to move the beer into bottles without oxidizing it or building a bottle bomb. It is not a recipe guide. It is the part where a batch either becomes beer or becomes a story.
Why you should trust me
Twelve years, more than fifty logged batches, and three years as the assistant brewer at a 7-barrel brewpub in Grand Rapids. That job taught me to run gravity checks on every tank, every day, because a brewery cannot sell beer it cannot measure.
At home I calibrate my hydrometer in distilled water at 60°F before every brew day and log OG, FG, strike temps, and packaging losses in a spiral notebook with a spreadsheet backup. I have also lost three brew days to cheap gear that failed mid-batch, which is why nothing here gets recommended until it has survived a full brew day.
How I picked and how I tested
The list below is short on purpose. There are exactly two jobs in this article: measure the beer, and package the beer.
For the hydrometer, I checked it against distilled water at 60°F, compared it against a second hydrometer on the same sample, and read it across a full fermentation to see whether the numbers tracked what the airlock and the taste were doing. A hydrometer that reads high by a fixed amount is usable if you know the offset. One that reads inconsistently is scrap.
For the bottles, I looked at three things: whether the gasket sealed on the first try, whether the glass survived a normal bottling session, and whether the beer inside was still carbonated after three weeks in a closet. Amber glass matters because light skunks beer, and clear bottles on a garage shelf are how a decent pale ale turns into a skunked mess.
The two tools that carry the batch
Everything else on a brew day is a kettle, a fermenter, or a cleaning product. These two are the tools that decide whether you know what you made.
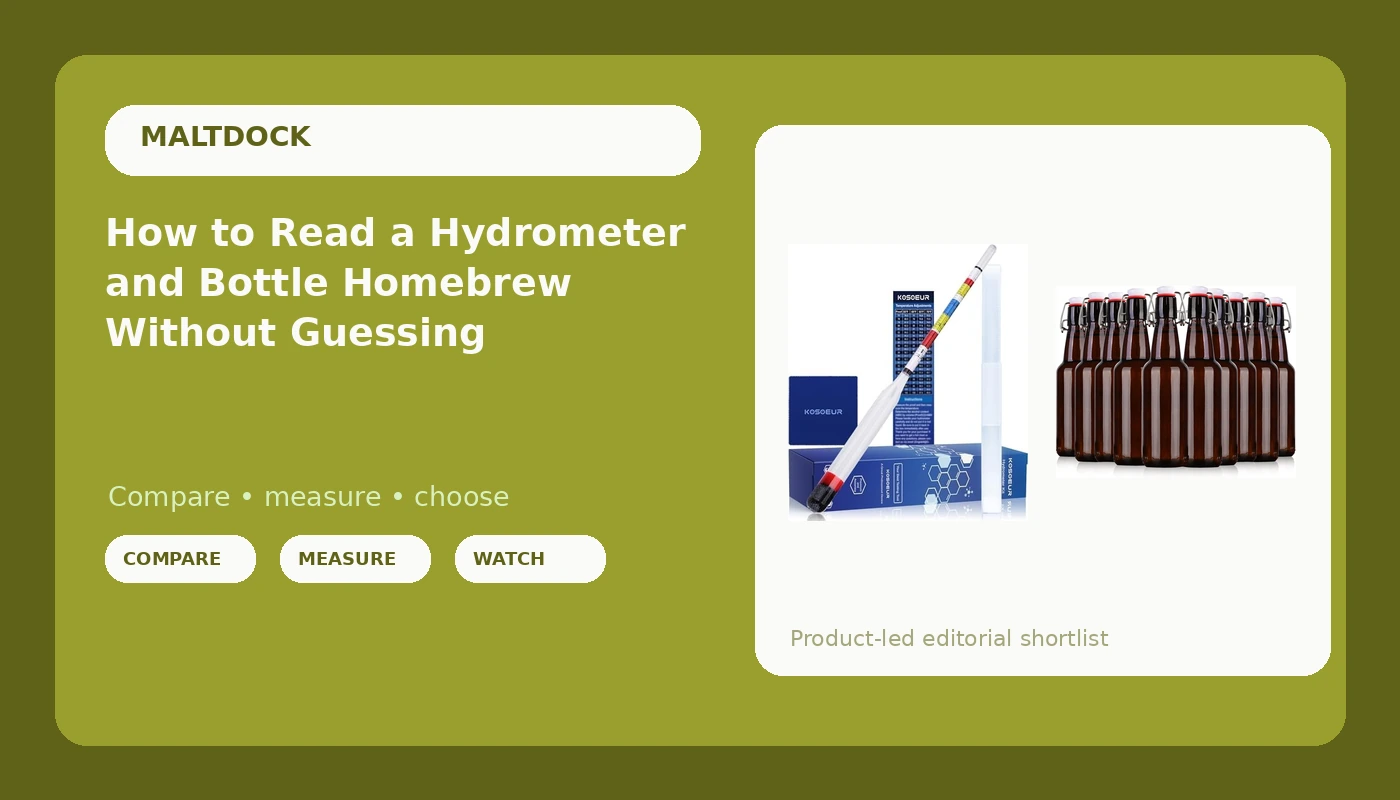
The measuring tool: Kosoeur Triple Scale Hydrometer, Alcohol Hydrometer for Wine, Mead, Kombucha & Beer, Mead Making Kit, (ABV Tester, Brix, Specific Gravity Hydrometer), Hydrometer Alcohol Kit for Wine Brewing Supplies
 Visit on Amazon →
A hydrometer is a glass float with a weighted bulb and a paper scale inside. Drop it into a sample of wort and it settles at the depth where its weight matches the density of the liquid around it. More sugar means denser wort, which means the float rides higher and the scale reads a bigger number. That is the whole principle, and it is why a hydrometer does not lie the way a spec sheet does.
The triple scale covers specific gravity, Brix, and potential alcohol, which is more than a beer brewer needs and exactly right if you also make wine, mead, cider, or kombucha. I live on the specific gravity scale. Brix is handy for fruit and juice, and potential alcohol is a quick sanity check, but your real ABV comes from the gap between your first and last readings, not from a printed estimate.
Two practical notes. Read at eye level with the float hanging free, not resting against the side of the jar, and give it a spin to knock loose the bubbles that cling to the glass. Temperature matters too: these are calibrated for a sample around 60°F, so wort pulled from a hot kettle reads low until it cools.
Flaws but not dealbreakers: The glass is thin enough that it belongs in the plastic tube it ships in, not loose in a drawer with a stirring spoon. The sample jar is not included either, so plan on a tall narrow vessel you can fill deep enough to float it.
Anyone who wants one honest number per batch, beer or otherwise, will get years out of this.
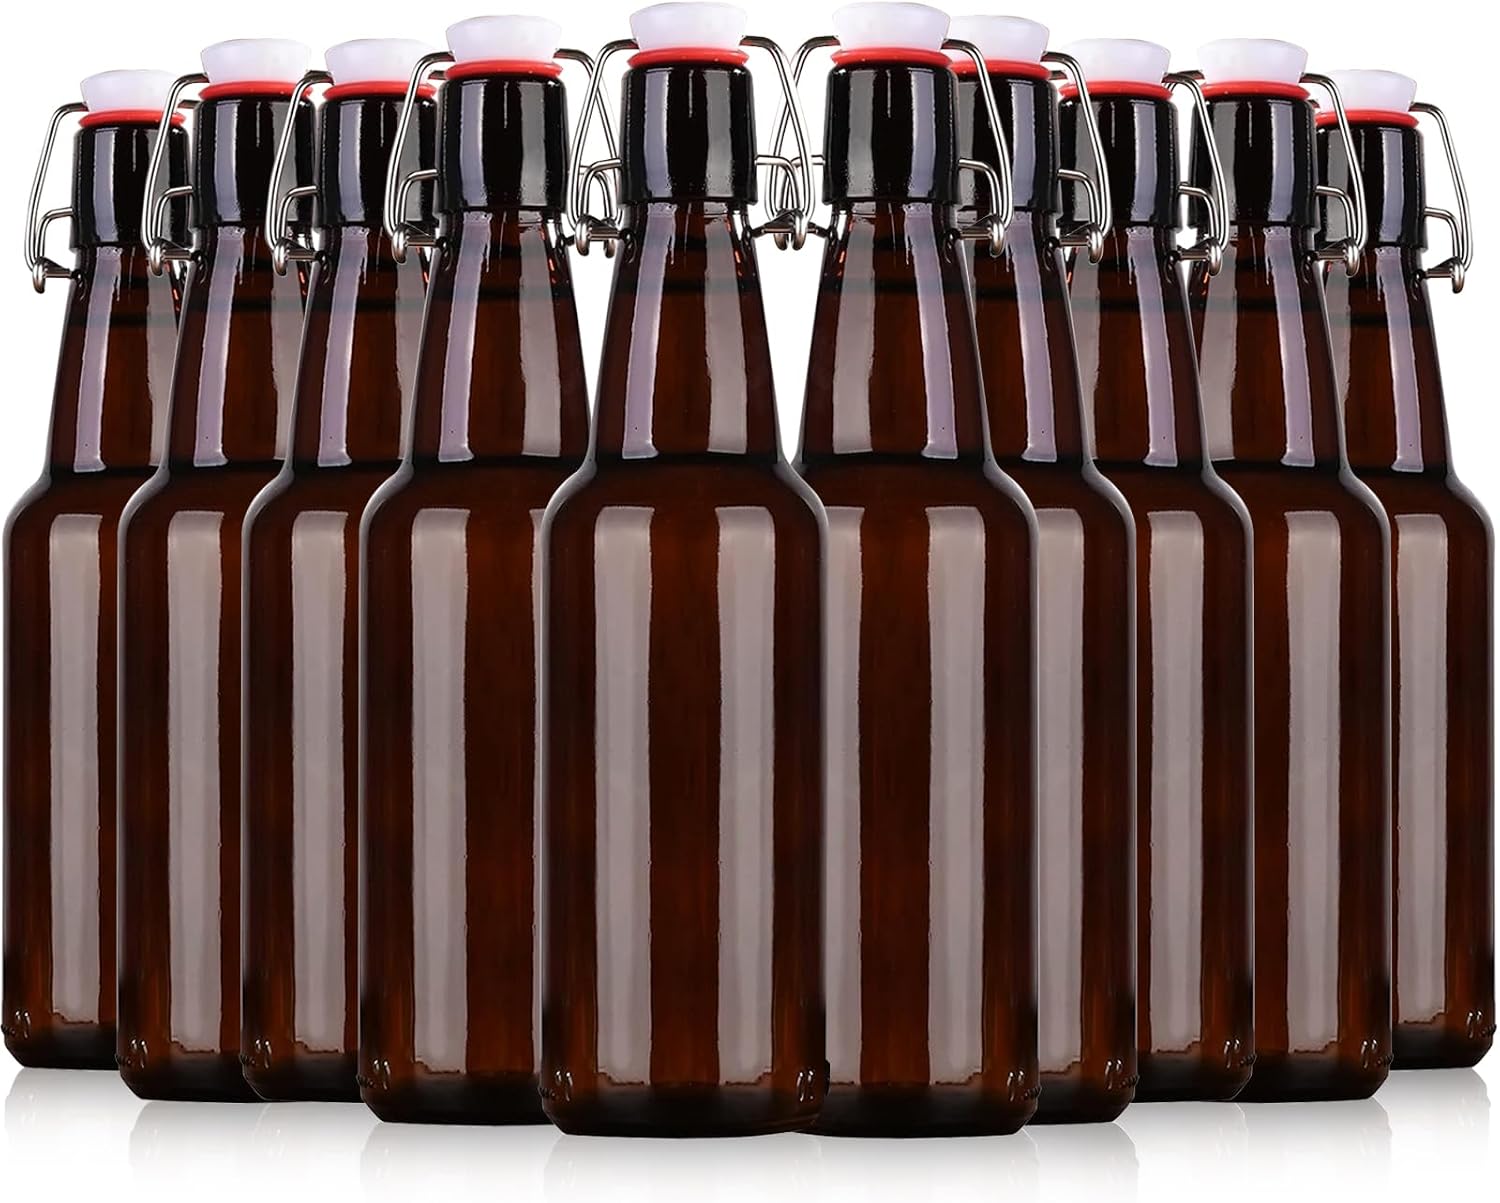
The packaging tool: 16.5oz Amber Swing Top Glass Bottles for Airtight Lids, Home Brewing and Fermentation Kombucha, Vanilla Extract, Beverage, Water, Kefir (10 Pack)
 Visit on Amazon →
Swing top bottles replace the capper, the crown caps, and the bucket of sanitizer you keep them in. The wire bail clamps a rubber gasket against the lip, and when the gasket seats right, that seal holds carbonation for months. I have used both routes, and the swing top wins for anyone bottling ten or twenty bottles at a time instead of five cases.
Amber glass is the other half of the argument. Hop compounds react with light, and that reaction is what brewers call skunking. Brown glass blocks most of the wavelengths that cause it, which is why nearly every commercial beer bottle is brown. If your bottles live on a shelf in the garage, amber is not a style choice, it is protection.
16.5 ounces is a good size for a homebrewer. It is a little more than a standard 12-ounce bottle, so a five-gallon batch fills fewer of them, and it pours into a pint glass with room to spare. The gaskets are the wear item: inspect them each time, replace any that look flattened or cracked, and store the bottles with the bail open so you are not compressing rubber for months.
Flaws but not dealbreakers: Swing tops are heavier than crown bottles and they eat more room in a crate. They are also not the bottles to hand to a friend who never returns things.
Anyone bottling kombucha, kefir, cider, or small batches of beer will find these easier to live with than a capper and a bag of caps.
The actual workflow
This is the part that decides whether the batch works.
Step one: Sanitize everything that touches the beer after the boil. The kettle and the chiller can be clean. Anything downstream of the boil, including the hydrometer, the sample jar, the siphon, the bottling bucket, and every bottle, gets sanitizer. This is not optional and it is not a place to save ten minutes.
Step two: Pull your sample before you pitch the yeast. Fill your sample jar deep enough that the hydrometer floats free, roughly two thirds full in a tall jar. Cool the sample to around 60°F before you read it, either in an ice bath or by letting it sit while you finish cleanup.
Step three: Read the original gravity. Spin the hydrometer to shake off bubbles, wait for it to stop bobbing, and read the number at the bottom of the meniscus at eye level. Write it down with the date and the batch number. That is your OG.
Step four: Pitch, seal, and walk away. Do not open the fermenter to peek. Every time you open it, you trade a little oxygen protection for curiosity.
Step five: Take a final gravity reading when the airlock slows. Not when it stops, when it slows. Sanitize a thief or a siphon, pull a sample, and read it the same way. Then wait 48 hours and read it again.
Step six: Compare the two readings. If they match, fermentation is done. If the second reading is lower, the yeast is still working and you wait. This is the single rule that prevents bottle bombs: two matching readings, 48 hours apart, before anything goes into a bottle.
Step seven: Do the math, once. Subtract FG from OG and multiply by 131 for approximate ABV. Divide the difference by the original gravity to get attenuation, which is how you learn whether a recipe finished where it should have. A stout that stalls at 1.020 is not sweet, it is under attenuated, and now you know.
Step eight: Prime, fill, and clamp. Dissolve your priming sugar in a cup of boiling water, cool it, add it to the bottling bucket, and rack the beer on top so it mixes without stirring in oxygen. Fill each bottle to about an inch below the rim, then clamp the bail down. Amber glass, filled and sealed, into a dark closet.
Step nine: Wait two weeks, then chill one and open it. Warm conditioning carbonates the beer. Two weeks at room temperature is a reasonable starting point for an average strength ale. Chill a bottle for a day before you open it, because cold beer holds carbonation in solution and warm beer foams out of the bottle. If it is flat, give the rest another week. If it gushes, you bottled too early and you now understand why step six exists.
The competition and why it lost
A refractometer is faster than a hydrometer and uses two drops instead of a jar of beer. It is also inaccurate once alcohol is in the sample, which is exactly when you care most about the reading. I keep one in the kit for brew day and still finish every batch on the hydrometer.
Crown caps and a bench capper work fine and cost less per bottle. They also mean buying caps forever, sanitizing them, and owning a capper that wants a countertop to clamp onto. For ten or twenty bottles at a time, the swing top is simply less friction.
Plastic PET bottles are the budget route, and you can squeeze one to feel carbonation. They also let oxygen in over months of storage, and beer stored in them tastes older faster.
A bottling bucket with a spigot is convenient until the spigot drips, which is the most common and most preventable failure in home brewing. If yours drips, replace the spigot before it drips into a batch you waited three weeks for.
What this all costs
Check current Amazon price on the hydrometer. Check current Amazon price on the ten pack of bottles. That is the entire spend for this article, and both items are reusable batch after batch, which is the only reason the math works in this hobby. A hydrometer that lasts five years costs you almost nothing per batch. Bottles you refill forty times cost almost nothing per bottle.
What it costs you to skip them is a batch. Three weeks of waiting, a few hours of work, and a closet that smells like stale hops and regret.
Buy the hydrometer first. Read two numbers, write them down, and bottle only when they match. That habit is the difference between a hobby and a pile of equipment.