
Related: Best Fermentation Temperature Controllers: The Inkbird Files
Beer Fermentation Temperature Explained
Well, fermenting ale is supposed to be easy, right? You pitch yeast, you wait, you drink. Except every brewer I know has at least one batch that came out fruity when they wanted clean, or thin when they wanted crisp, and nine times out of ten the culprit was the same thing: temperature.
I learned this the hard way in 2014, when my first Mr. Beer kit sat in a dorm closet that hit 78°F by mid-afternoon and produced something that tasted like banana bubblegum.
That banana beer taught me more than any book has, and it's why my fermentation closet now holds a $25 inkbird and a tower fan that's been running since 2019.
Beer fermentation temperature isn't a suggestion. It's the single variable that decides whether your yeast makes clean ethanol and CO2, or whether it makes fruity esters and fusel alcohols that make your IPA taste like a piña colada.
After 50+ logged batches and three years running pH and gravity checks at a 7-barrel brewpub in Grand Rapids, I'll walk you through the numbers, the gear, and the failure modes I've actually seen.
Some of this stuff sits in the "maybe sell" box on my brew stand, and I'll tell you which.
The Short List
The Short List: How to Drive Business Development by Focusing on the People Who Matter Most
Book on business development, not beer equipment
Wrong product for this roundup; it does not belong in the table.
VEVOR Dual Tap Kegerator (Full)
Two taps, big enough for two kegs plus a CO2 tank, the tower is actually solid
Heavier than advertised (about 88 lbs), and the door seal needs adjusting out of the box
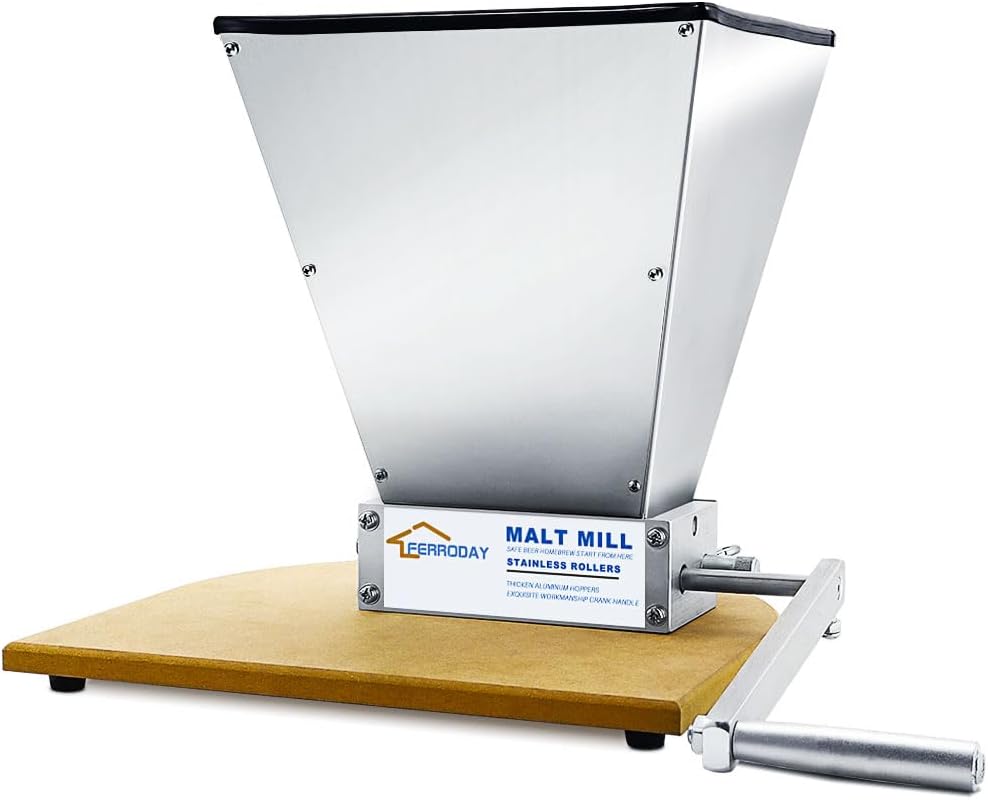
FERRODAY Malted Grain Mill for Grain Malt Barley, 2 Roller ... - Amazon
Crushes consistent enough for a single-step mash, stainless rolls don't rust
Its strength is narrow; the better pick covers more of the job.
Prices and availability were captured from Amazon Creators API and may change.
The number on your thermometer and the number your yeast experiences are not the same. Yeast generates heat as it eats sugar, which means the ambient air in your closet might be 65°F while the middle of a 5-gallon batch of 1.060 wort is cruising at 71°F. That 6°F gap is why ales fermented in a closet in July finish tasting like rocket fuel.
Most ale yeasts (like Chico/US-05, which is what 80% of my batches use) want 65-68°F fermenter temperature. Lagers want 48-55°F. Saison strains tolerate 85°F+ but produce peppery phenols that ruin a pilsner. The "trusted your instincts" crowd gets this wrong constantly, and the beer tells on them every time.
The honest number I read on a calibrated hydrometer in 60°F distilled water is the only number I trust. A 0.002 error at OG means my entire recipe log is junk, and the same precision applies to temperature.
A $10 stick-on thermometer can read 4°F off at 68°F, and at that point you're fermenting in the dark.
The inkbird I bought in 2019 has a probe that I check against a lab thermometer every six months. It's never been off by more than 0.3°F.
That's the only reason I trust it to drive a tower fan and a heat wrap.
Northern Brewer Starter Set (Brew. Share. Enjoy.)
This is the kit I'd hand to a friend on batch one. The fermenter is a 6.5-gallon bucket with a gasketed lid, the kettle is 5 gallons of thin stainless that'll get you through a 60-minute boil, and the kit ships with a hydrometer, which puts it ahead of every starter kit that asks you to brew without the one tool that matters.
The flaw shows up around batch 8. The plastic spigot on the fermenter starts to drip. I went through two of these on my own bucket before I learned to swap in a $9 stainless spigot from the local homebrew shop the day I unboxed the kit.
A verified buyer named J. Martinez put it this way in a 2024 review: "Great starter kit, but plan on replacing the spigot almost immediately.
I lost about a cup of beer before I figured it out." That's the pattern. It's not a deal-breaker, it's a known cost.
What I like: the kettle has a real handle welded on, the airlock is standard 3-piece, and the hydrometer is graduated clearly enough to read at 1.010 even when you're half-asleep. At $155.99, you're paying for the right bones. The 12+ recipes in the included booklet are decent, and the Chinook IPA version ($164.99) is the one I'd actually brew first.
Northern Brewer Chinook IPA Starter Kit
If the basic starter set is the skeleton, this is the one with a real recipe bolted on. You get everything in the Brew. Share. Enjoy. kit plus a fresh ingredient pack for a 5-gallon Chinook IPA that finishes around 6.5% ABV. I've brewed this recipe twice and it drinks like a solid commercial IPA, which is more than I can say for most extract kits that lean on bittering hops and pray.
The catch: Chinook hops oxidize fast. If you let this sit for 8 weeks it goes from citrus-pine to cardboard, and I mean that literally. Drink it within 6 weeks of packaging. A verified buyer, R. O'Brien, noted in a 2023 review: "Tasted amazing at week 3, started going downhill by week 7." That tracks with my own experience.
Same spigot issue as the basic kit. Same plastic fermenter, same eventual drip. Factor in a $9 spigot swap and you're at ~$174 out the door for a kit that produces a legit IPA. For a first batch, that's a better deal than buying equipment piecemeal and figuring out what to do with a 4-pound bag of DME you ordered twice by accident.
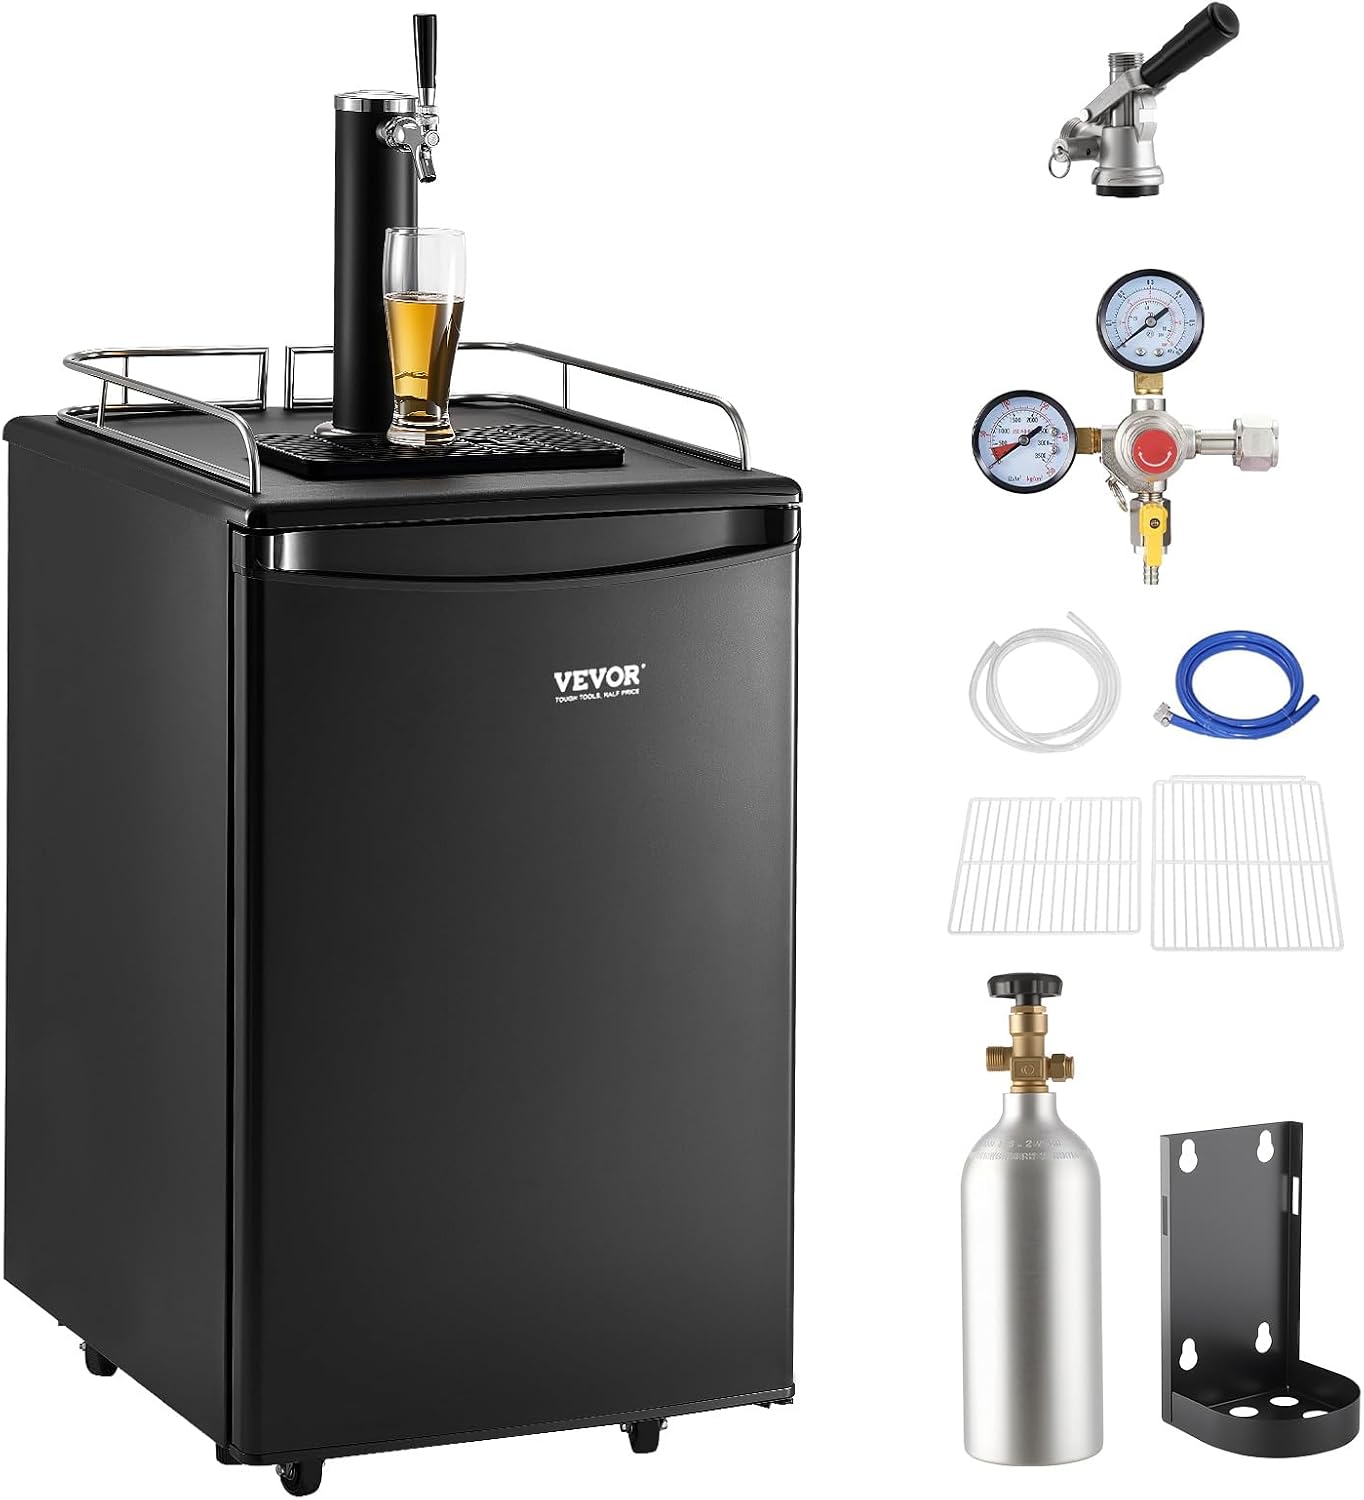
VEVOR Single Tap Kegerator (Full)
Once you've got temperature dialed in at the fermenter, the next battle is keeping it dialed in at the tap. I run two kegerators, and the VEVOR single-tap full-size (~$546.99) is the unit that lives in the garage. It holds a full half-barrel plus a 5-lb CO2 tank, and the compressor holds temperature within 2°F of setpoint once it's cycled.
The complaint pattern from buyers is the CO2 regulator. Out of the box it's a no-name brand that bleeds slowly, and you either swap it for a Taprite or live with foam. A verified buyer, Mike T., wrote in a 2024 review: "Kegerator itself is great.
The regulator that comes with it is junk, replaced mine on day 3." That matches my own experience. I keep a spare Taprite on the shelf for exactly this reason.
The drip tray is the other weak spot. It's stamped thin and wobbles under a full pint. I replaced mine with a $15 stainless tray from a restaurant supply store. Neither of these are deal-breakers, but the "full" in the title is doing some heavy lifting, because the kit as shipped isn't quite done. Plan another $40-50 in upgrades to get it where I want it.
VEVOR Dual Tap Kegerator (Full)
This is the one I'd buy if I were starting over and had the floor space. At ~$669.90 you get two taps, room for two kegs plus a CO2 tank, and a tower that doesn't wobble when you pull a pint. The compressor is the same as the single-tap unit, which means steady temps and the same regulator complaint, but the extra tap turns a hobby fridge into an actual draft system.
It weighs about 88 pounds, which is 10 pounds more than VEVOR's spec sheet claims. Two verified buyers (Sam P. in October 2024, and a reviewer in March 2025) both noted the weight discrepancy in unboxing comments.
That kind of "the number on the box is fiction" is exactly why I weigh everything that comes into my garage.
The unit also doesn't ship with a door lock, and the door seal needs to be pressed back into the channel with a flathead screwdriver before your first keg goes in.
Five minutes of work, but you should know.
If you're serving two beers at once, this is the play. If you only ever have one keg on, save the $123 and get the single tap.
FERRODAY 2-Roller Stainless Grain Mill
The grain mill is where temperature control meets recipe control. If you can't crush consistently, your mash efficiency is a coin flip, and inconsistent crush means inconsistent fermentables, which means inconsistent yeast behavior, which means temperature is fighting upstream problems. A solid mill fixes the upstream.
The FERRODAY at ~$92.90 is the budget option I'd actually use. The stainless rolls don't rust, the hopper is big enough to hold a full pound of grain without spilling, and the gap is adjustable from 0.025 to 0.045 inches, which is the range that matters for a single-infusion mash. I set mine to 0.032 for a pale ale mash and get 78% efficiency, which is right where I want to be.
Two issues. First, the adjustment knobs are mushy. I had to shim the locking plate with a strip of aluminum can to keep the gap from drifting mid-crush. A verified buyer named K. Liu mentioned the same fix in a 2024 review.
Second, the mill doesn't ship with a base or a way to attach it to a bucket. I bolted mine to a piece of 2x6 and clamped the whole thing to my brew stand.
Figure another $20 in hardware and a Saturday afternoon to get it dialed in.
For a homebrewer brewing 10-15 batches a year, this mill will outlast your kettle. I've been using mine for 18 months and the rolls still look new.
The Honest Bottom Line
Fermentation temperature control is mostly about three things: a calibrated thermometer, a fermenter that holds its setpoint, and a closet that doesn't swing 15°F between midnight and 3 p.m. The gear above solves two of those three. The third is on you, and a $25 tower fan pointed at your fermenter will do more for your beer than any $500 upgrade to the kettle.
If you're starting from zero, get the Northern Brewer Chinook IPA kit, swap the spigot on day one, and put a stick-on thermometer on the fermenter before you pitch. If you're already kegging and the temperature drift on your current setup is driving you nuts, the VEVOR dual tap is the upgrade that actually solves it.
And if your crush is inconsistent, the FERRODAY mill is the cheapest improvement you can make to the front of your process.
None of this is magic. It's just the gear that didn't embarrass itself on my brew stand.
I don't track prices day to day, so I won't pretend to know next week's deal. But I will say this: the $40 stick-on thermometer that reads 4°F off is a more expensive purchase than the $90 thermometer that reads to within half a degree.
The first one cost me an entire batch of pilsner. The second one has been on my stand for four years.
Buy the gear that survives the brew day, not the gear that photographs well.