Root beer is the fastest way to learn how a sealed bottle behaves when sugar and yeast are still talking to each other. You mix a gallon, you fill the bottles, you set them on the counter, and then you wait. That wait is the whole hobby in miniature, and it is also where beginners get hurt. A batch that carbonates faster than you expected does not send a polite notification. It sends glass. Learning to make root beer at home is really learning to control three variables, sugar, temperature, and time, and to write all three of them down.
I have brewed more than 50 batches of beer in twelve years, and I spent three years as the assistant brewer at a 7-barrel brewpub in Grand Rapids, where I ran gravity and pH checks on every tank, every day. Soda is a shorter project than beer, but it is not a simpler one. There is no mash, no hop schedule, no wort chiller. There is a sweet liquid, a container, and a clock. Get the clock wrong and the batch is either flat or it is a hazard.
This guide walks the 1-gallon path from empty counter to cold bottle: what you need before you mix anything, the bottle-cleaning chore that decides whether you ever brew a second batch, and the exact sequence I follow.
Why you should trust me
I calibrate my hydrometer in distilled water at 60°F before every batch, and I recheck it because a 0.002 error ruins a recipe log. By day I work as a process technician at a regional food and beverage plant, which means sanitation and measurement are not hobbies for me, they are the job. The brewing side of my life has been the same story since 2014, when I scorched a Mr. Beer kit on a dorm hot plate so badly I thought I had invented a new style.
Root beer does not need a hydrometer reading the way an all-grain batch does, because there is no mash to convert and no attenuation to calculate. What it needs is the same discipline in a different costume. If you are not logging the mix date, the room temperature, and the day the bottles went into the fridge, you are not brewing, you are gambling. I keep a spiral notebook for exactly this reason, and the soda pages sit right next to the beer pages.
How I judge gear for a one-gallon project
A 1-gallon batch lives in a kitchen, not a garage brewery, so the filter is different than it is for a kegging setup. I run every kit and appliance through the same five questions.
Does it ship complete? A kit that hides a required purchase in paragraph nine of the instructions is not a kit, it is a scavenger hunt. Can you measure with it? If nothing in the box lets you measure volume or sugar, you are guessing, and guessing is how flat batches and gushers both happen. How does it fail? Every piece of equipment fails eventually, and the question is whether the failure is a drip, a leak, or a loud noise in the pantry. How long does cleanup take? The gear that takes 40 minutes to clean gets used twice and then lives in a box labeled maybe sell. And does it fit? A gallon jug, a funnel, and a case of bottles have to coexist with whatever else you keep on the counter.
The two products below are the ones that map to this specific job: getting a gallon of root beer made, and getting the bottles clean enough to trust.
The kit that covers the whole batch
A first batch should not require three separate orders from three separate sellers. That is the argument for a kit, and it is the only argument that matters at this stage.
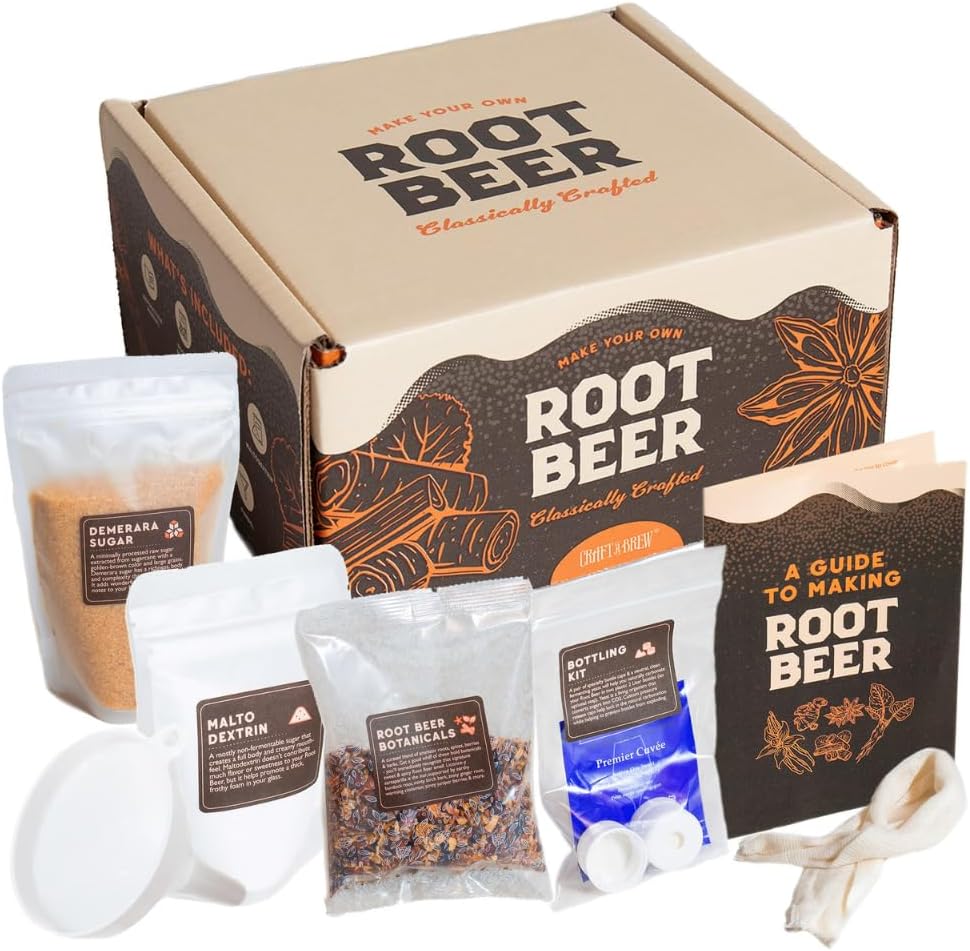
Starter kit: Craft A Brew - DIY Make Your Own Craft Root Beer - Complete Equipment and Supplies - Starter Home Brewing Kit - 1 Gallon
 Visit on Amazon →
This is the piece that turns the project from an idea into a gallon of soda on your counter. It is sold as a complete equipment and supplies kit for a 1-gallon batch, which is the size I recommend for a first run, and here is the number behind that recommendation: a gallon is about ten 12-ounce pours. That is enough to know whether you like the process, and small enough that a mistake costs you an afternoon instead of a weekend. A 5-gallon batch of anything is a commitment. A gallon is a Tuesday.
When the box arrives, do the boring thing first. Open it, lay everything out, and check it against the packing list before you mix a single ounce. Missing parts are easiest to catch before the liquid is sweet and sticky. Read the instructions end to end too, not just step one, because the timing window at the end of the process is the part that actually matters.
Flaws but not dealbreakers: A kit is a starting point, not a permanent setup. You will outgrow the 1-gallon size if you find you like doing this, and that is fine, that is what the size is for.
Anyone who wants to try homemade root beer once before investing in a bigger system should start here.
The chore that decides whether you brew a second batch
Nobody talks about bottle washing in the same breath as flavor, and that is a mistake, because bottle washing is the reason most people quit after one batch. Every bottle has to be clean, and then it has to be sanitized, and then it has to be dry enough that you are not diluting your own soda with the water left inside it. By hand, that is three passes over every bottle.
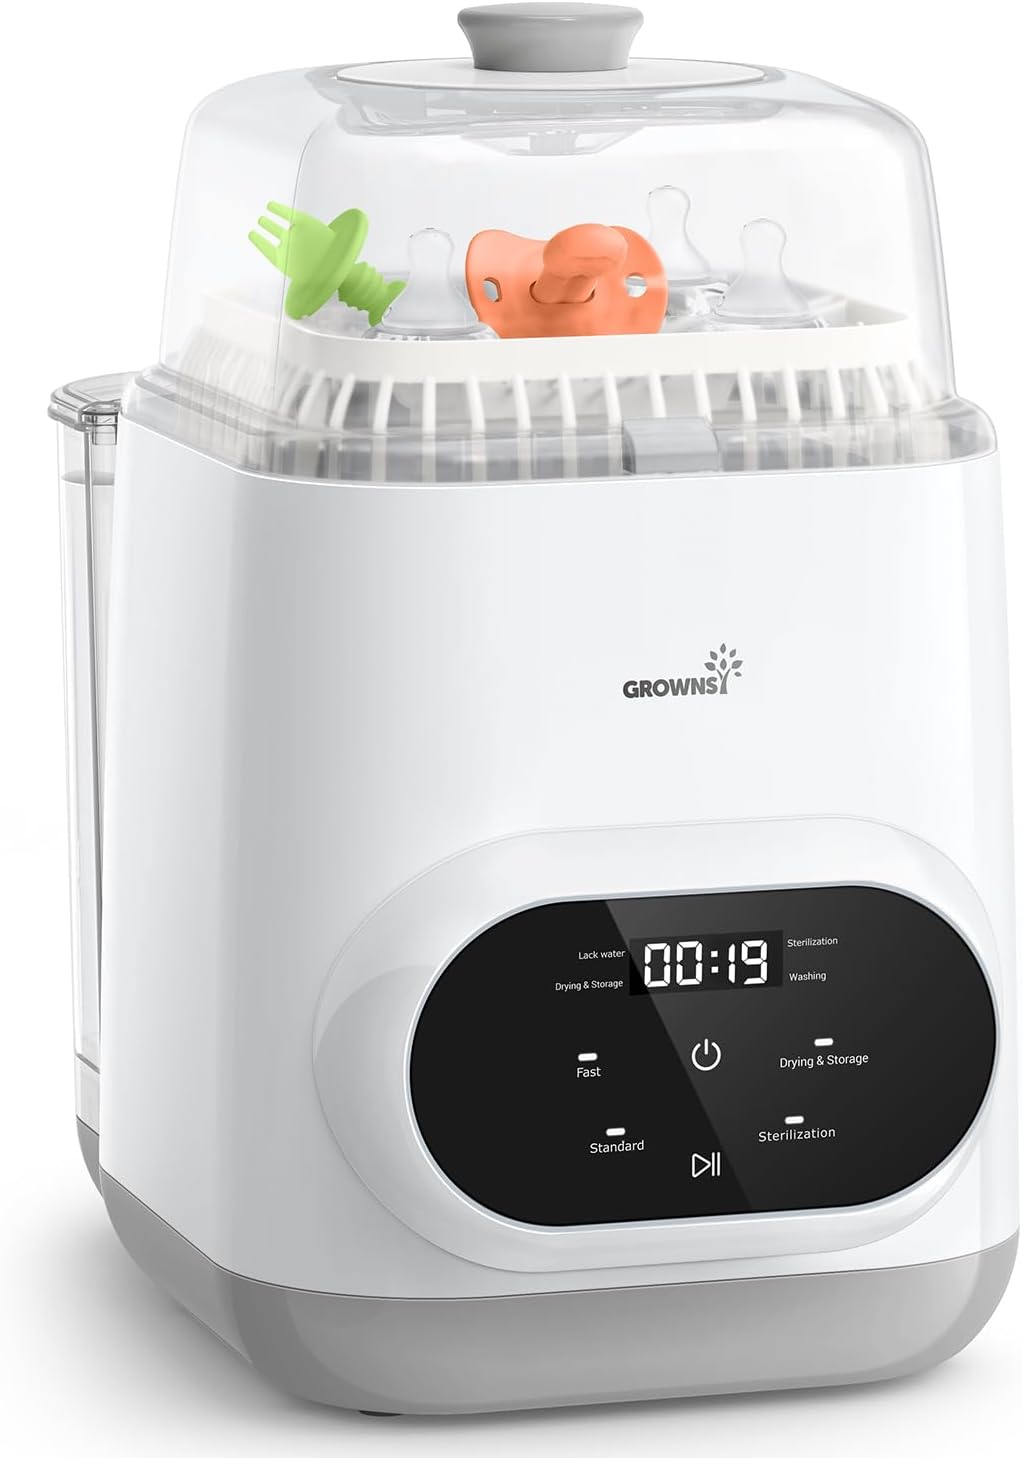
All-in-one bottle care: Grownsy EaseClean Bottle Washer All-in-One Washer and Sterilizer and Dryer
 Visit on Amazon →
This is the appliance answer to that chore. The name tells you the job: it washes, sterilizes, and dries in one machine, which collapses three passes into one. Narrow-neck bottles are the worst hand-washing job in this hobby, and a machine that handles all three steps is the difference between bottling being a chore you dread and bottling being twenty minutes of setup you walk away from.
Here is where I would slow down before buying. The capacity number, meaning how many bottles fit per cycle, is the spec that decides whether this saves you time or just moves the work around. That figure is on the product page, and it matters more than any feature list, so read it against how many bottles your batch actually fills. A machine that runs a small load is a great fit for a 1-gallon batch and a poor fit for a 5-gallon bottling day.
Flaws but not dealbreakers: This is the largest spend in this guide by a wide margin, and it does not replace basic sanitation habits. It cleans bottles. It does not clean your hands, your counter, or your mixing vessel, and it does not make up for skipping the sanitizer on the parts that touch the finished soda. If you bottle once a year, a bottle brush and a bucket of sanitizer is the cheaper answer. If you bottle monthly, or if there are baby bottles in your house competing for the same sink, the math changes fast.
Anyone who bottles regularly and hates the sink will get their money's worth out of it.
The step-by-step process
Here is the sequence. It is short, and every step has a number attached to it for a reason.
Step one: Sanitize everything that will touch the liquid. That means the mixing vessel, the spoon, the funnel, the bottles, the caps, and your hands. Soap is for washing, not for the final pass. Use a no-rinse sanitizer for the last contact surface and let the parts drain, do not towel them dry with a kitchen towel that has been sitting on the counter since breakfast.
Step two: Mix to the ratio printed in your kit. Measure the water by volume and the sugar by weight if you have a scale, because weight is the repeatable number and volume is the approximate one. This is where I lose patience with instructions that say to trust your instincts. Instincts are why my first batch hit 82°F and tasted like banana bubblegum. Follow the printed number, then write down what you actually did.
Step three: Get the temperature right before you seal anything up. Temperature is the throttle on the whole process. A batch sitting in a 78°F kitchen in July will carbonate faster than the same batch in a 66°F basement in October. Note the room temperature in your log on day one, because that single number explains most of what happens next.
Step four: Fill the bottles and leave the headspace the instructions call for. Overfilling and underfilling both cause problems, and neither one is worth improvising. Cap them snugly and wipe down the outside of each bottle, because dried sugar on the glass makes the whole case sticky and makes it impossible to spot a slow leak.
Step five: Store the bottles somewhere you can afford to lose. A cooler, a heavy plastic tub, a closed cabinet with nothing above it. Not the pantry shelf over the dog food, and not a cardboard box on the good hardwood. This is the cheapest insurance in the hobby, and it costs nothing but a decision.
Step six: Check carbonation every day, starting on day one. If your kit uses plastic bottles, squeeze one. When it goes from soft to firm, you are close. With glass, you have to open one to test it, which means sacrificing a bottle, which is a small price for knowing where the batch stands. Do not skip a day because you are busy. The window between nicely carbonated and too much pressure is measured in hours, not weeks.
Step seven: Chill the batch the moment carbonation is where you want it. Cold slows the yeast down and stops the pressure from climbing. Move every bottle into the refrigerator at once, not half of them, and give them a night to get cold. This is the step that ends the risk.
Step eight: Log the batch. Date mixed, room temperature, mix ratio, days to carbonation, and how it tasted. My notebook has twelve years of entries and the soda pages are the shortest and most useful ones, because a root beer batch is repeatable in a way a barleywine never is. Next time you will know exactly what to change.
Where homemade root beer goes wrong
Three things cause almost every bad batch, and all three are controllable.
Warm storage is the first. A bottle that carbonates in two days at 80°F can be dangerous by day four. If your kitchen runs warm in the summer, shorten your check interval, not your patience.
Too much sugar at bottling is the second. The sugar you add at packaging is not for sweetness, it is fuel, and the yeast will consume all of it. Extra sugar does not make a sweeter soda, it makes a harder bottle. Use the amount the kit specifies.
Dirty bottles are the third, and they are the sneaky one. A bottle that was rinsed but not sanitized can taste like whatever was in it last time, and a bottle with dried residue in the bottom gives bacteria a place to sit. This is exactly the chore the machine above exists to remove, and it is the reason bottle care deserves its own line in the budget.
One more note: soda flavor compounds linger in plastic. If you are using plastic bottles, keep a set for root beer and do not rotate them into anything else.
What this costs
I am not going to quote you prices, because they move and a stale number is worse than no number. Check current Amazon price on the kit and on the washer before you decide.
The way to think about it is cost per bottling day. The kit is a small one-time spend that covers a single gallon. The washer is a much larger one-time spend that either pays for itself over a couple of years of monthly bottling or does not, depending on how many bottles you run through it and how much you hate the sink. Divide the washer's cost by the number of bottling days you will realistically do in two years. If that number is small, buy it. If you are bottling twice a year, buy a brush.
The short version
Mix a gallon, follow the printed numbers, keep the bottles in a tub, check them every single day, and chill the batch the moment carbonation lands. The kit gets you a complete batch without a scavenger hunt. The washer removes the chore that ends most people's hobby after one gallon.
That is the whole job. Measure it, write it down, and do it again.