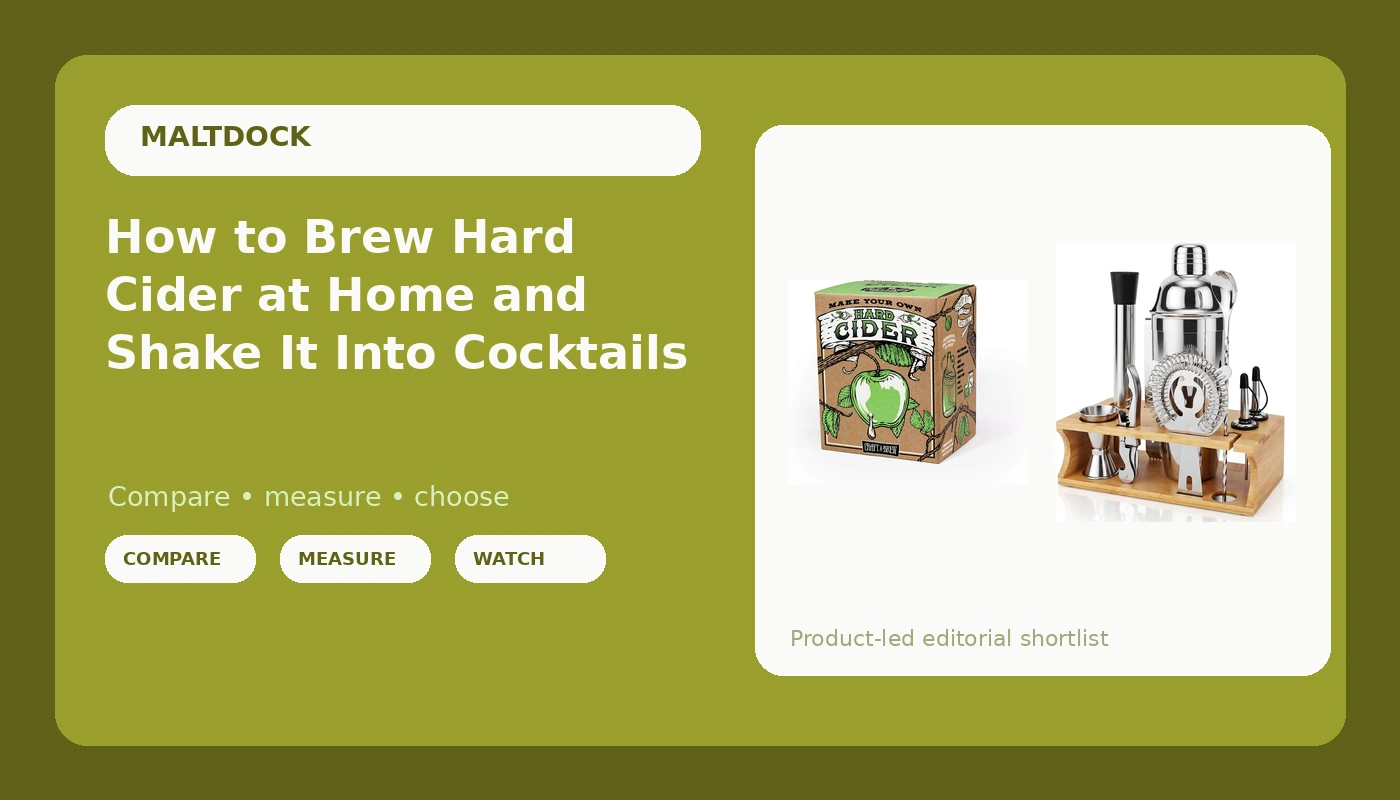
Hard cider is the most forgiving fermented beverage you can make at home. It does not need a mash tun, it does not care about your water chemistry, and it will not punish you for a sloppy chill. A hard cider brewing kit takes that forgiveness and removes the guesswork: one gallon of juice, one packet of yeast, one airlock, and a hydrometer to tell you the truth when the bubbling stops.
I have brewed everything from a 1.030 session bitter to a 1.100 barleywine, and I spent three years as the assistant brewer at a 7-barrel brewpub in Grand Rapids. In that job, nobody cared about my instincts. They cared about the gravity reading, the pH number, and whether the tank was clean. Cider is the same. The kit gets you to the finish line. Your habits get you across it.
The catch is that most first-time cider makers stall at the last step. They brew a dry, still cider, pour it into a glass, and shrug. That is fine, but it is not the whole hobby. A dry cider poured over ice with ginger beer and lime is a different drink. A dry cider shaken with bourbon and maple syrup is a fall drink. If you plan to serve cider to friends, a shaker set is the one non-brewing piece of gear that earns its counter space.
Why you should trust me
I am Drew Calloway. I have been brewing in Grand Rapids, Michigan for twelve years, and I keep a spiral notebook with more than fifty logged batches. Every batch gets an OG and FG reading on a hydrometer I calibrate in distilled water at 60°F. I write down strike temps, mash pH, packaging losses, and the exact garage temperature. My wife keeps threatening to recycle the notebook. I keep telling her it is the only honest record I own.
That brewery job taught me the habit that defines how I review gear: I measure everything and write it down. Cheap equipment that fails mid-batch has cost me three ruined brew days, including a $35 pump that died during a sparge on batch 41. I am still sore about it. So nothing gets recommended here unless it makes sense for the job, and I will tell you where the corners are cut.
How I picked and what I checked
For this guide I looked at the two pieces of gear a first-time cider maker actually needs to buy: the fermentation kit and the serving gear. I did not test these exact units on my own bench, so I am not going to pretend I did. What I checked was simpler and more useful: what is in the box, what the kit asks you to supply, and whether the tools match the job.
For the kit, I looked for three things. First, a hydrometer. Most starter kits skip it, and that is the single most common mistake in the hobby. You cannot know when cider is done if you are guessing. Second, a fermenter small enough to fit on a counter and large enough to make a batch worth bottling. Third, instructions that give you numbers instead of instincts. If a kit tells you to trust your gut on fermentation time, it is not a kit. It is a gamble.
For the shaker set, I looked at material, piece count, and whether the set would survive being used more than once. A cider cocktail shaker does not need to be fancy. It needs to be stainless, it needs a strainer that will not shed wire into your drink, and it needs a stand so the pieces are not rolling around in a kitchen drawer.
The gear you need before you start
You can brew cider with a jug, a balloon, and a prayer. People do it. But if you want a repeatable result, you need a fermenter with an airlock, a hydrometer, a siphon, and bottles. The kit below covers the first four. The shaker set covers the last five minutes of the process, which is the part your guests actually see.
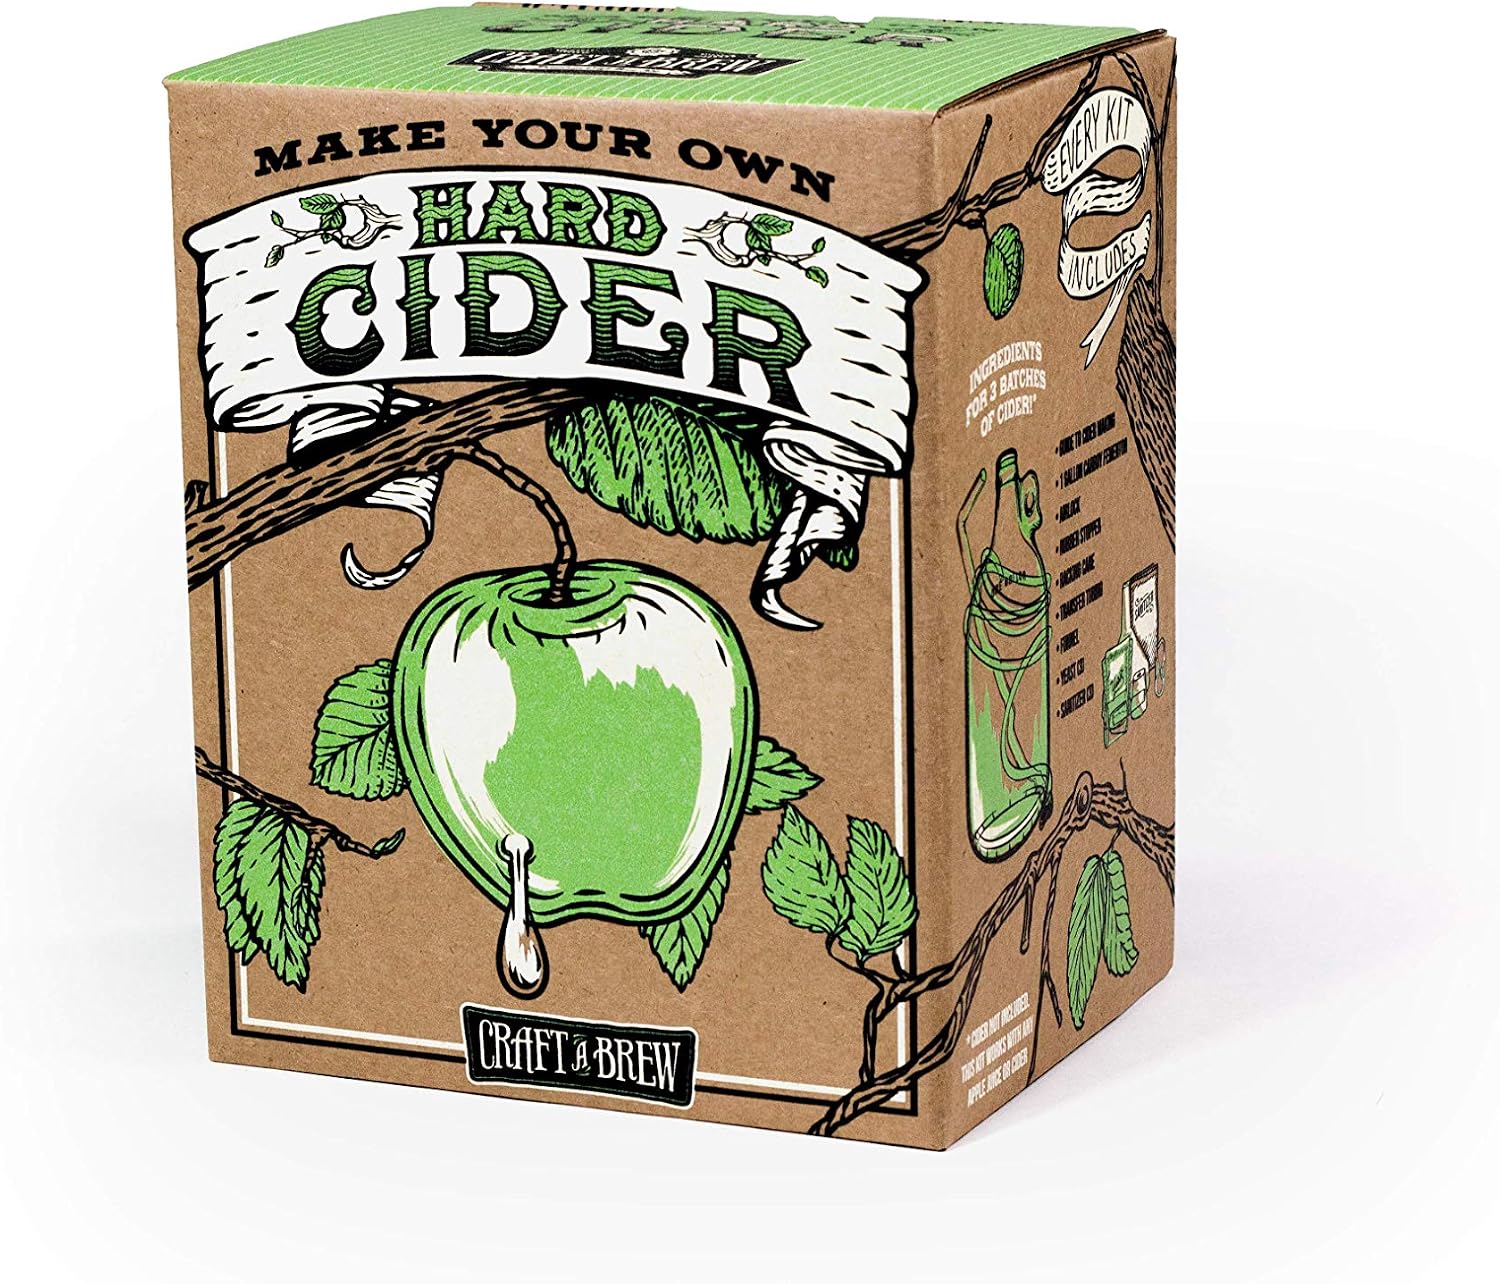
The starter kit: Craft A Brew - Hard Cider Kit - Beer Making Kit - Make Your Own Craft Beer - Complete Equipment and Supplies - Starter Home Brewing Kit - 1 Gallon
 Visit on Amazon →
This is the kit I point first-time cider makers toward. The one-gallon format is the right size for a first batch. It fits on a kitchen counter, it does not need a temperature-controlled fermentation chamber, and it produces enough cider to learn from without committing you to five gallons of something you might not love. The kit ships with the equipment and supplies for a one-gallon batch, and Craft A Brew includes a hydrometer, which puts it ahead of every starter kit that skips the single most important measuring tool in the hobby.
The one-gallon size is also the limitation. You will outgrow it by batch three. That is fine. Most brewers do. The point of a small kit is to teach you the rhythm: sanitize, pitch, wait, measure, bottle. Once you know the rhythm, you can scale up. The other thing to know is that the plastic fermenter spigot is the weak point on any kit in this class. Buy a replacement spigot on day one so a drip does not ruin your first batch.
Flaws but not dealbreakers: The batch size is small, so the per-bottle cost is higher than a five-gallon setup. If you already know you want to brew every month, skip this and buy a larger fermenter plus a hydrometer separately. This kit is for learning, not for volume.
Anyone who wants to try cider without buying a five-gallon system will be happy here. Anyone who wants to make cider for a party next month should size up.
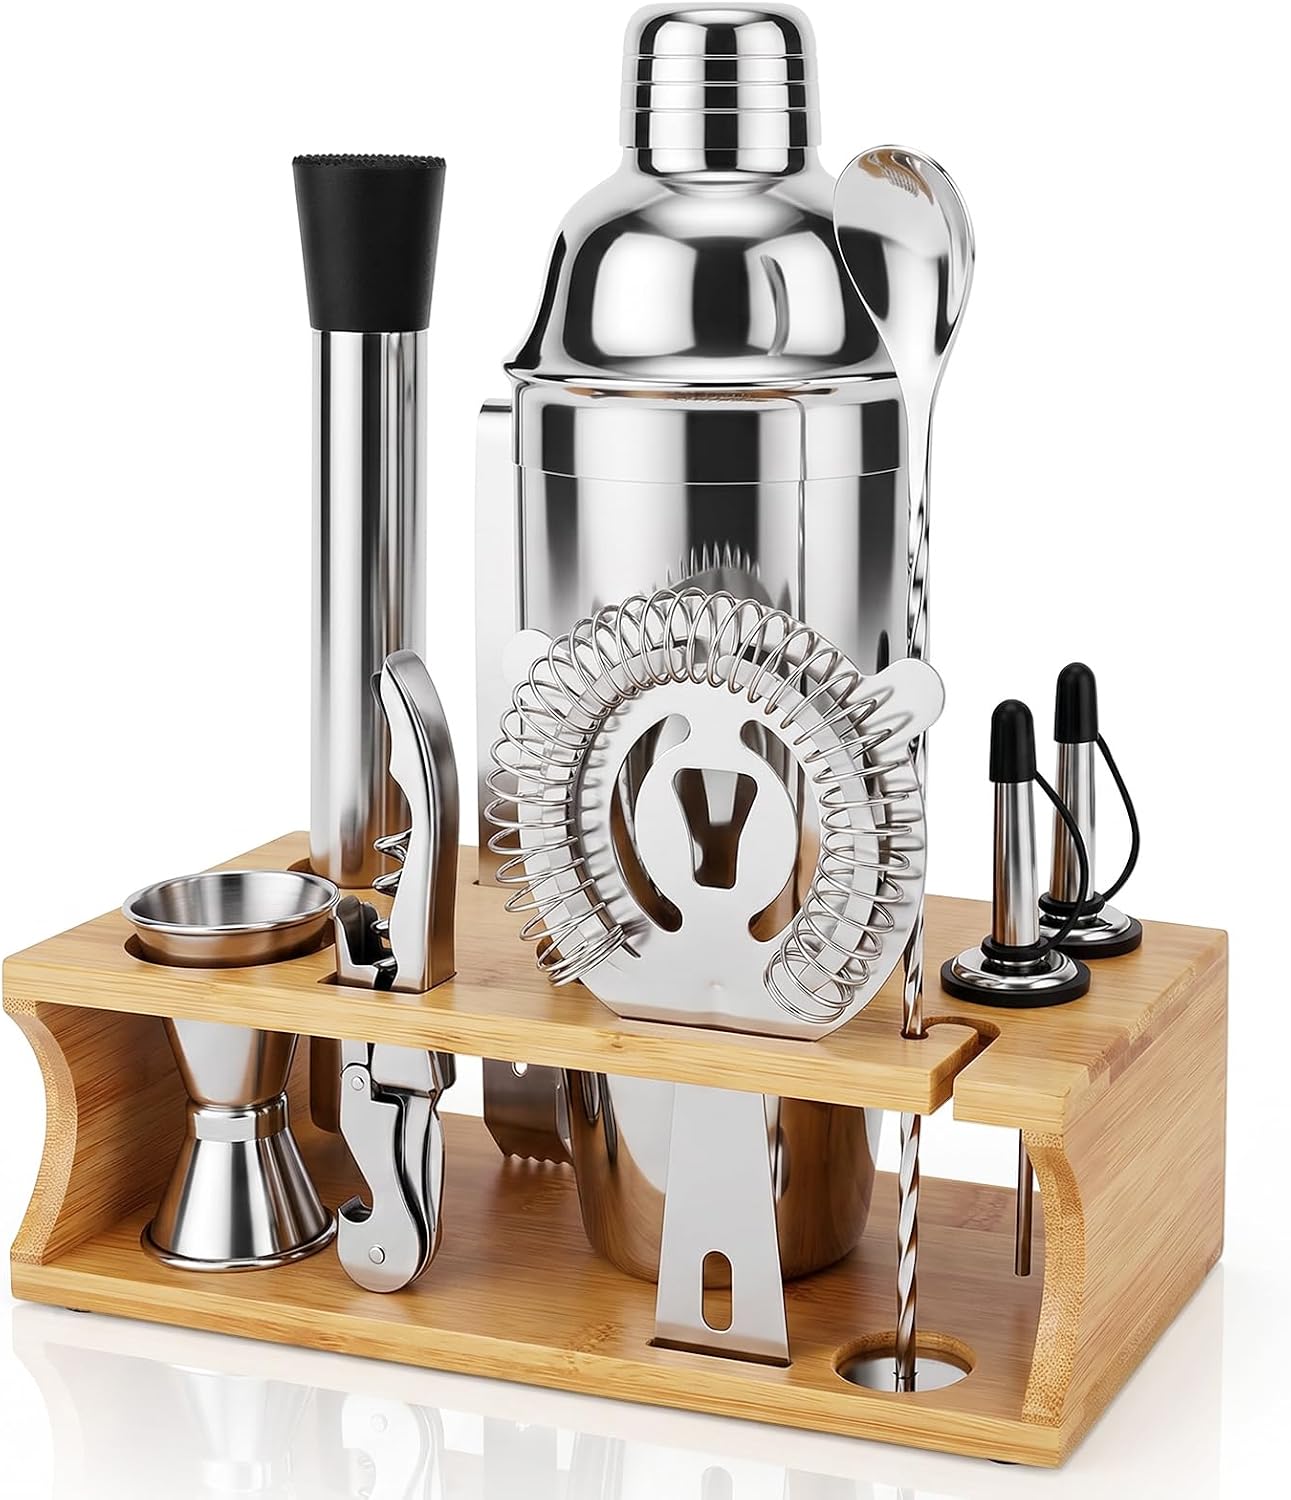
The serving gear: 10PCS Stainless Steel Cocktail Shaker Set Bartender Kit with Stand
 Visit on Amazon →
This is not brewing equipment, and I am not going to pretend it is. It is the serving gear that turns a dry home-brewed cider into something you can hand to a guest who does not like beer. The set includes ten stainless steel pieces and a stand. For cider, you need three of them: the shaker, the strainer, and the jigger. The rest is for the cocktails you will make when the cider runs out.
A cocktail shaker set will not fix a bad batch. If your cider tastes like sulfur or vinegar, no amount of shaking will save it. Fix the fermentation first. The shaker is for the last five minutes of the process, not the first five. Also, stainless steel is not indestructible. Do not put the shaker in the dishwasher if you want the finish to last. Hand wash and dry it.
Flaws but not dealbreakers: You do not need ten pieces to make a cider mule. You need a shaker and a strainer. If you already own a cocktail shaker, skip this and spend the money on a second fermenter. If you do not own one, the stand keeps the pieces together, which matters more than it sounds like it should.
Anyone who plans to serve cider to friends, or who wants a home bar setup that does not look like a yard sale, will get use out of this.
The actual cider brewing workflow
Now the part you came for. This works with the kit above or with a jug and a packet of yeast. The process is the same. The tools change.
Step one: Sanitize everything. Everything that touches the cider after the juice goes into the fermenter has to be clean and sanitized. That means the fermenter, the lid, the airlock, the hydrometer, the siphon, and the bottles. I use a no-rinse sanitizer and I mix a fresh batch every brew day. Sanitizing is the cheapest insurance in the hobby. A dirty siphon has ruined more batches than cheap yeast ever will.
Step two: Add the juice. Pour the apple juice into the sanitized fermenter. If you are using a kit, use the juice it specifies. If you are building your own batch, use preservative-free juice. Potassium sorbate and sodium benzoate will stop fermentation dead, and no packet of yeast will overcome them. Leave headspace. Cider foams during the first few days, and a full fermenter will push foam through the airlock.
Step three: Pitch the yeast. Open the yeast packet, sprinkle it over the juice, and seal the fermenter with the airlock. Do not stir it in with a dirty spoon. Do not add nutrient unless the kit tells you to. Dry yeast is forgiving, but it is not magic. If the kit includes yeast, use it. If you are substituting, use a cider or wine yeast, not bread yeast.
Step four: Wait and measure. Fermentation will start within a day or two. You will see bubbles in the airlock. Bubbles are not a measurement. They are a sign. When the bubbling slows, take a hydrometer reading. Write it down. Wait two more days and take another reading. When the reading is the same two days in a row, fermentation is done. If the reading is still dropping, wait. The hydrometer is the only tool that tells you the truth. The calendar does not.
Step five: Rack and clear. Once fermentation is done, siphon the cider off the yeast layer at the bottom and into a clean, sanitized vessel. This is called racking. It leaves the sediment behind and gives you a clearer cider. If you want a still cider, you can bottle now. If you want bubbles, move to step six.
Step six: Prime and bottle. Boil a small amount of priming sugar in water, cool it, and add it to the cider. Stir gently. Do not splash. Splashing introduces oxygen, and oxygen makes cider taste like cardboard. Fill your sanitized bottles, cap them, and let them sit at room temperature for about two weeks. Then chill them for at least a day before you open one. Warm cider foams over. Cold cider does not.
Step seven: Serve. If you are drinking the cider straight, pour it into a glass and stop. If you want a cocktail, fill the shaker with ice, add the cider, add a modifier, and shake. A dry cider with ginger beer and lime is a cider mule. A dry cider with bourbon and a little maple syrup is a fall drink. The shaker set is there so you can make both without digging through the kitchen drawer.
What to expect from your first batch
Your first cider will probably finish drier than you expect. Apple juice ferments out almost completely, and the result is closer to a dry white wine than to the sweet commercial cider on the grocery shelf. That is normal. If you want sweetness, you have to stop fermentation or backsweeten with a non-fermentable sugar. Both are batch-two conversations. Batch one is about learning the process.
Your first cider will also be cloudy. That is fine. Time and cold will clear it. If you rush it, you will pour sediment into your glass and wonder why the last inch tastes like yeast. Rack it once, chill it, and give it a week. Patience is an ingredient.
The other thing to expect is that the airlock will lie to you. It will bubble like crazy for three days and then stop, and you will think fermentation is done. It might be. It might not be. The hydrometer is the only way to know. This is why I keep saying the same thing. The kit that includes a hydrometer is worth more than the kit that does not.
The competition and why it lost
Two other routes exist, and both are worse for a first batch. The first is the DIY route: buy a gallon of juice, a jug, an airlock, and a packet of yeast. It can work. It usually costs less than a kit. But you have to source every piece, you have to read a recipe, and you have to buy a hydrometer separately, which is the step most people skip. The kit wins because it removes the sourcing problem and includes the measuring tool.
The second route is the five-gallon all-grain system. It makes excellent cider, and it makes excellent beer, but it is the wrong purchase for batch one. A five-gallon system needs space, temperature control, and a lot of cleaning. If you quit after one batch, you have a garage full of equipment and a fermenter you cannot give away. The one-gallon kit wins because it is small enough to finish.
The cocktail shaker set does not really have competition in this guide. You either serve cider straight or you serve it mixed. If you serve it straight, save the money. If you serve it mixed, a shaker and a strainer are the minimum.
What this all costs
Prices move. I do not quote them. Check current Amazon price on both items before you buy. The kit is a one-time purchase, and the only consumable is the juice and the yeast. The shaker set is also a one-time purchase, and it will outlast the kit if you take care of it.
Think about cost per batch, not cost per item. A one-gallon cider kit makes a small batch, so the per-bottle cost is higher than a five-gallon batch. That is the tradeoff. You are paying for a smaller learning curve. If you brew ten batches, the per-batch cost drops. If you brew one batch and quit, you spent money on a hobby you did not enjoy. That is not a failure. That is information.
Check current Amazon price on the kit and the shaker set, then decide. The kit is the part that makes cider. The shaker set is the part that makes cider fun to serve. Buy the kit first. Buy the shaker set when you have a batch that tastes good enough to share.
The best cider I ever made was a one-gallon batch that fermented in a closet while I was working nights. I measured the gravity before and after, wrote both numbers in the notebook, and bottled it on a Sunday. It was dry, it was clear, and it was better than anything I could buy at the grocery store. You do not need a brewery to make that. You need a kit, a hydrometer, and the discipline to write down what happened. The rest is just waiting.