Essential home brewing gear is a short list, and almost none of it is fun to buy. I brewed my first batch in 2014 on a dorm hot plate with a kit that scorched so badly I still call that style burnt adjunct lager, and I have logged more than 50 batches since, including three years as the assistant brewer at a 7-barrel brewpub in Grand Rapids where I ran gravity and pH checks on every tank, every day. The gear that survived all of that is not the gear with the loudest label on the box. It is the gear that handed me a number I could write down in the notebook.
This comparison covers four products that do four different jobs inside one brew day: an all-in-one electric brewing system, a plug-in temperature controller, a dry lager yeast, and a hydrometer. They are not rivals in the usual sense. They are the four purchases that decide whether a batch tastes like the recipe you designed or like a mistake you have to drink anyway.
If you buy only one item here, buy the hydrometer. If you buy two, add the temperature controller, because a warm, swinging fermentation has ruined more homebrew than any other variable I have ever measured.
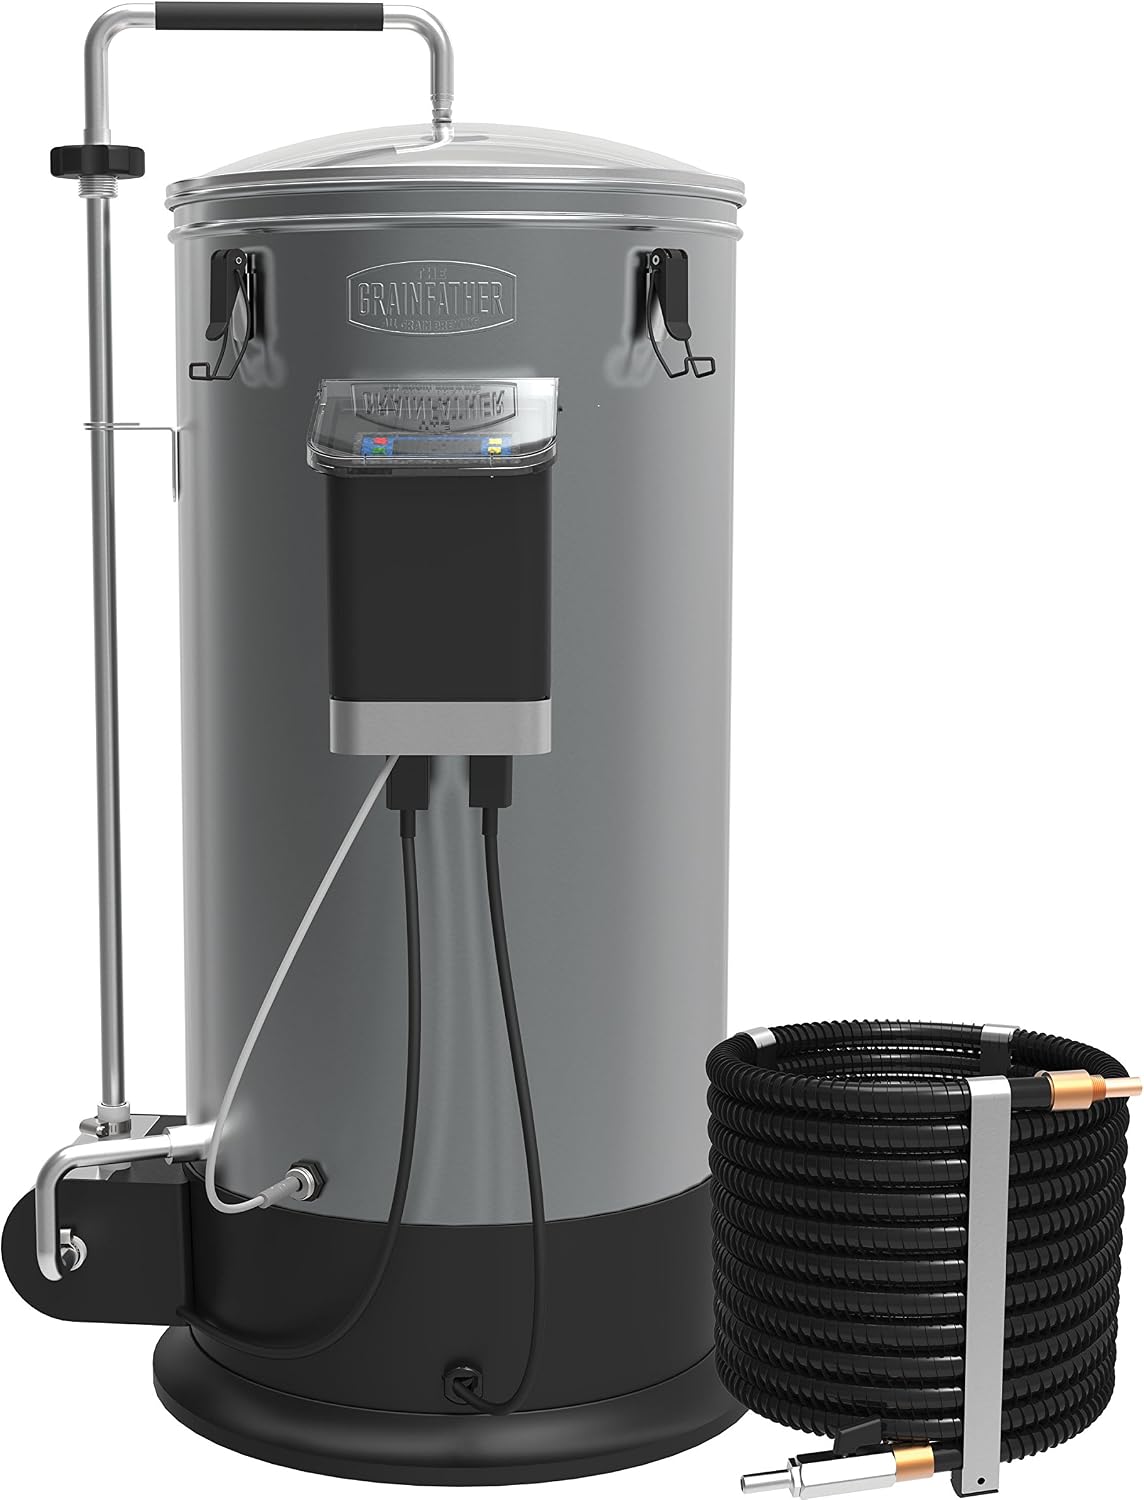
Strange Brew The Grain Father all grain brewing system (120V)
Recirculating electric system that holds mash temperature without me hovering over a burner, one vessel from mash through boil
Steepest learning curve and the largest single purchase in this group, a batch-five buy, not a batch-one buy
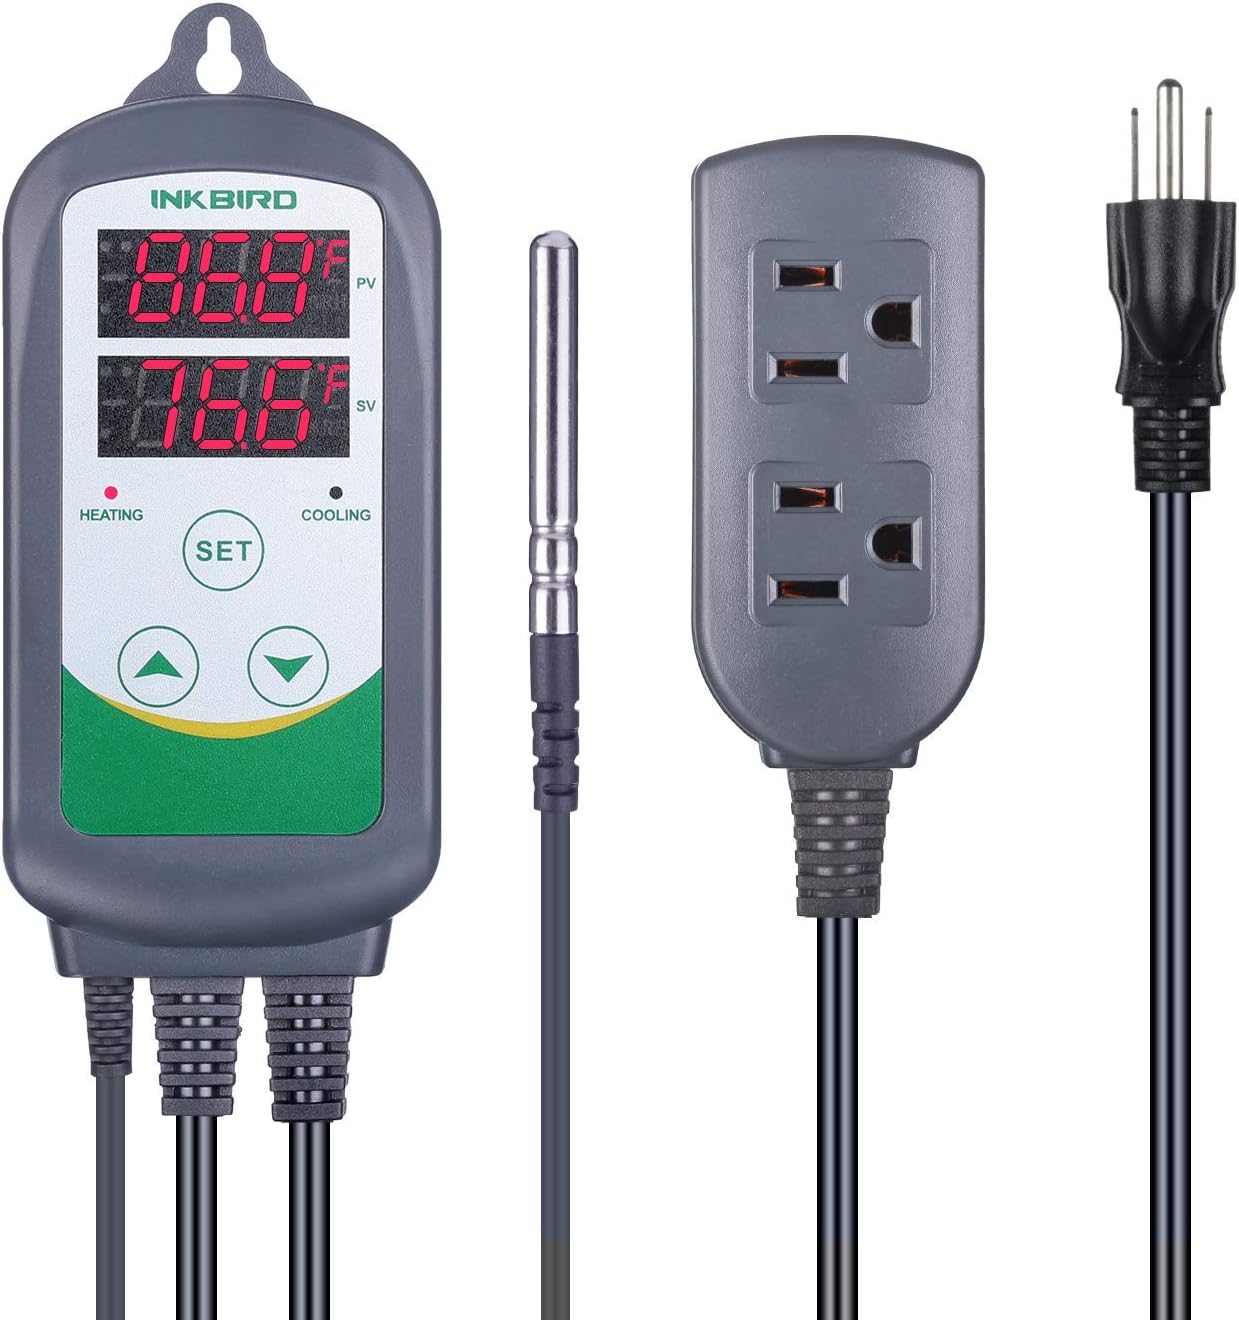
Inkbird ITC308 freezer thermostat and temperature controller
Turns a chest freezer or a heat mat into a real fermentation chamber, probe based, 110V and 1200W rated, heating and cooling
You still have to supply the freezer, probe placement is on you, and it is one more cord in the garage
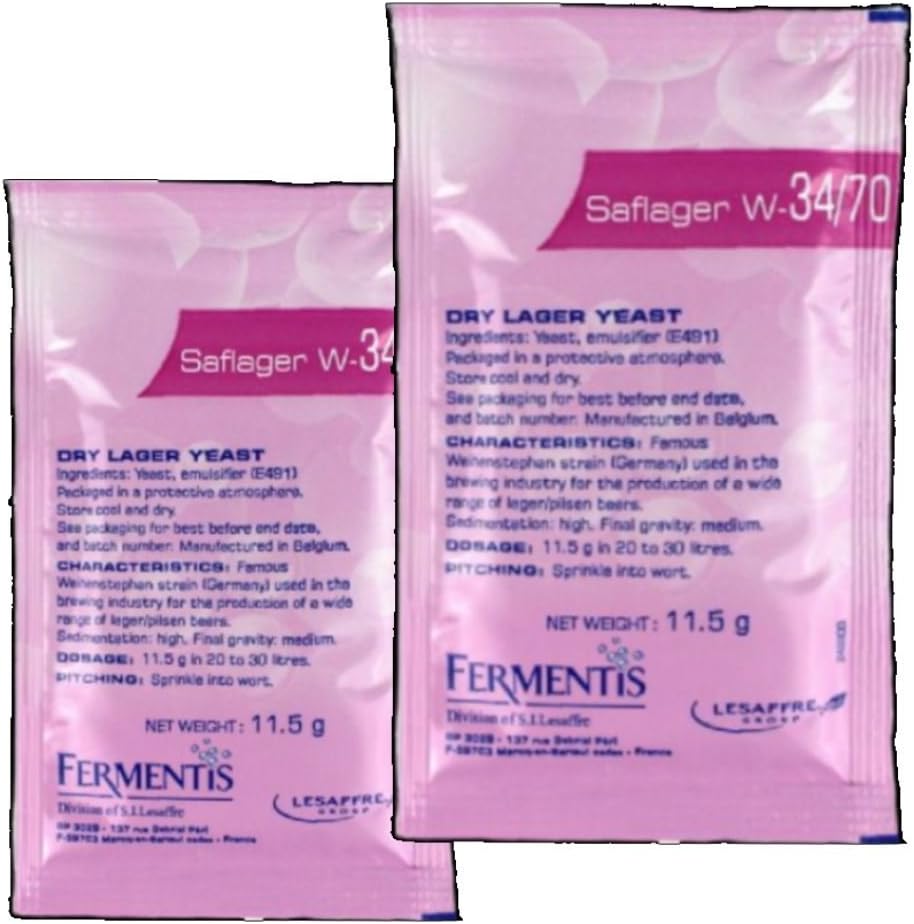
2x Fermentis Saflager W34/70 lager yeast, 11.5 g packs
Two packs at an 11.5 g pitch for 10 to 15 liters each, so one order covers a standard batch with yeast to spare
Dry lager yeast still needs a proper pitch rate and stable, cool wort, it will not rescue a warm ferment
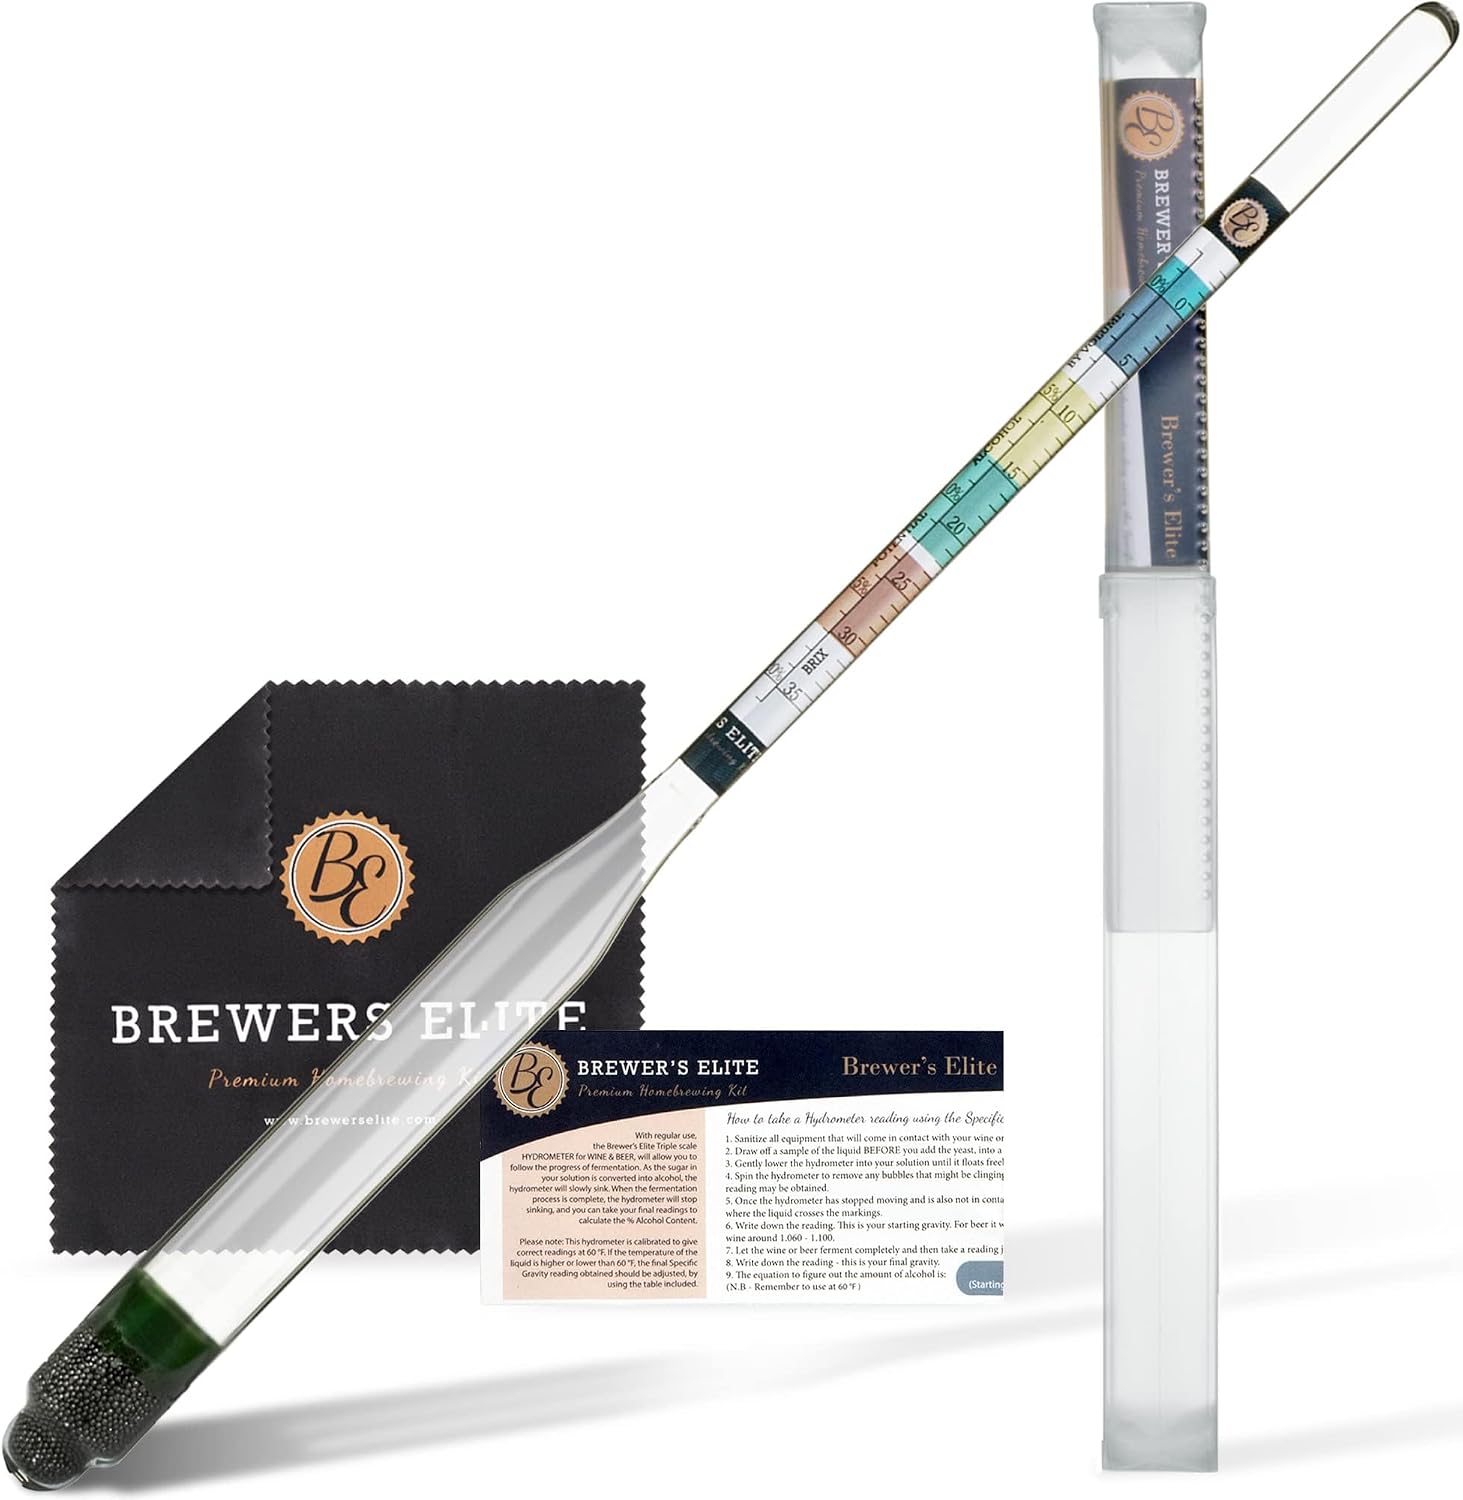
Brewer's Elite triple scale hydrometer set with hardcase and cloth
Reads specific gravity and potential ABV on a triple scale, and the hardcase plus cloth give a glass float a fighting chance
Glass is still glass, and a triple scale gives you three sets of numbers to misread at 2 a.m.
Prices and availability were captured from Amazon Creators API and may change.
One note on that price column. I do not quote prices in comparisons because they move, and a number I write today is wrong by the time you read it. The link takes you to the current listing, and "Check current Amazon price" is the only price claim I am willing to make.
How I test before anything earns a recommendation
The rule on my bench is three full brew days. A product that fails on day one gets exactly one more chance, and then it is out. Nothing on my stand has ever broken once and then behaved, and I have the "maybe sell" box in the garage to prove it.
The other rule is that every number in a review comes from my notebook or from a calibrated instrument, never from a spec sheet. My hydrometer gets checked in distilled water at 60°F before every batch, because a 0.002 error at the start of the day is a 0.002 error all day, and it turns a recipe log into fiction. That habit came from the brewpub job, where a bad gravity reading on a tank was a problem with a deadline attached.
So when I say a product won or lost, I mean it won or lost a brew day, not a beauty contest. The four products here do not all get judged the same way, because they do not all do the same job.
The all-in-one system: The Grain Father
The Grain Father is an all grain electric brewing system, and the listing notes the 120V configuration, which matters if you are planning to run it in a garage or a basement without a dedicated 240V line. It recirculates and holds mash temperature in one vessel, and that single fact is the whole argument for it.
I spent years fighting a cooler mash tun and a cheap pump, and I still remember the $35 pump that died mid sparge on batch 41. A stuck sparge is the exact moment that convinced me to stop patching cheap equipment together. An electric all-in-one does not remove the skill from brewing, but it removes a dozen small mechanical chances for the day to go sideways, and it does it in one footprint instead of a shelf of parts.
The honest criticism is the learning curve. Calling this a kit undersells what it asks of you. You still have to learn your system's boil off, its dead space, and how it behaves with a hop heavy wort. That is why I keep saying this is a batch-five purchase. If you are on batch one, spend the money on fermentation control and a hydrometer, brew ten batches on simple gear, and then buy the electric system once you know what you want it to do.
The cheapest way to fix bad beer: temperature control
If you have ever wondered why your beer tastes like banana bubblegum or green apple, the answer is almost always fermentation temperature. My first batch hit 82°F in a closet, and I have been chasing that mistake out of my process ever since.
The Inkbird ITC308 is a plug-in temperature controller. You plug the controller into the wall, plug a freezer or a heater into the controller, drop the probe where you want to read temperature, and set a target. The listing rates it for 110V and 1200W with heating and cooling modes, which is enough for a chest freezer used as a fermentation chamber, a heat mat in a cold garage, or a kegerator you want to keep steady.
That last part is the real value. It converts gear you already own into a controlled chamber, and it works for ales, lagers, keg lines, and the kegerator in the corner. The trade-offs are honest ones: you still have to own the freezer, you have to tape or thermowell the probe where it actually reads wort temperature rather than air, and it adds one more cord to a garage that already has too many. None of that changes the math. This is the highest return per dollar in this entire article, and it is not close.
The yeast: Fermentis Saflager W34/70
This listing is two 11.5 g packs of Fermentis Saflager W34/70, a dry lager strain, and the name states the pitch range: 10 to 15 liters per pack. Two packs therefore cover a standard 5-gallon batch with room to spare, which is the practical reason to buy the two-pack instead of a single sachet.
Lager is where homebrewers quit, and the reason is almost never the yeast. It is temperature. A dry lager strain removes the step where you babysit a liquid starter, and it gives you a predictable pitch without a stir plate. What it cannot do is fix warm wort. If your garage is at 70°F, no sachet on earth will hand you a clean pilsner, and that is why the temperature controller above and this yeast belong in the same conversation.
A few practical notes from my own logs. Rehydrating dry yeast is cheap insurance if you have sanitized water and five minutes. Pitching enough cells matters more than any nutrient addition, which is why the two-pack format is the right one for a lager. And write down the date you pitched. When fermentation looks stalled at 48 hours, the first question is always "how much yeast did I actually pitch," and the notebook answers it.
The honest tool: Brewer's Elite hydrometer
The hydrometer is the least glamorous object in home brewing and the one I would replace first if mine broke. This Brewer's Elite set is a triple scale hydrometer with a hardcase and a cleaning cloth, and it reads specific gravity and potential ABV.
Two things make this the right version of the tool. First, the hardcase. A hydrometer lives on a shelf next to kettles and carboys, and a bare glass float in a drawer is a hydrometer with a countdown timer on it. Second, the triple scale gives you specific gravity, potential alcohol, and a sugar scale on one float, which means one reading serves your recipe log and your ABV estimate without a second instrument.
The criticism is the flip side of the triple scale. Three rows of numbers on a narrow float is a lot to read by flashlight at 2 a.m. while you are also watching a boil. My own habit is to read the specific gravity scale only during brew day and take my time on the FG reading when the batch is done, because the gap between OG and FG is the number that matters most. If the OG and FG disagree with what you expected, you have a real answer about attenuation instead of a guess.
What the numbers say about the order to buy
I have watched enough gear come and go to see the pattern clearly. Price predicts marketing budget, not quality. Some of the best tools I own cost less than a pizza night, and some of the worst cost ten times that and now sit in a labeled box in the garage.
The strongest predictor of long-term value is day-one build quality. A kettle with a thick base and a properly welded fitting will still be on my stand at batch 100. The gear that needed babying at batch 10 is retired by batch 30. That pattern has held on every piece of equipment I have logged.
Applied to this group, the order is straightforward:
- Hydrometer first. You cannot brew consistently if you cannot measure, and this is the cheapest way to start measuring.
- Temperature controller second. It fixes the most common cause of bad beer in a home garage.
- Yeast third, once you have somewhere stable to ferment it.
- All-in-one electric system last, once you know your process well enough to know what you want the system to solve.
The trade-offs I will say out loud
The Grain Father is excellent and expensive, and it rewards a brewer who has already learned the fundamentals. The Inkbird needs a freezer or a heat source to be useful, and probe placement is your job. The Saflager packs are a smart two-pack format, but lager yeast is unforgiving of a warm garage. The hydrometer is the most important tool here and the most fragile, which is why the case is not a bonus, it is the feature.
None of these four is a gimmick, and none of them is a magic fix. Together they cover the four things that actually decide a batch: how you control the mash, how you control fermentation, what you pitch, and what you measure.
What I am testing next
The pressure fermenters are still on my bench, and I am partway through building a survivability score for the next gear ranking, which weights how many full brew days a product lasts before it leaks, sticks, or foams over. The short version so far: gear that survives a 90-minute boil with hop sludge and a boilover is the gear that stays, and gear that never got a full brew day gets the boilover every time.
If you take one thing from this comparison, take the habit behind it. Write down your OG and your FG. Log the garage temperature. Calibrate the hydrometer in distilled water at 60°F before you brew. The gear matters, but the notebook is what turns four purchases into repeatable beer.