Related: How to Read OG and FG Without Lying to Yourself
Most home brewing gear lists are sorted by price, and price is the least useful number in this hobby. I keep a spiral notebook with more than 50 logged batches and a spreadsheet backup, and the pattern in it never changes: the equipment that stays on my stand is the equipment that survives a full brew day without asking for anything in return. Nothing below is here because it photographs well.
These four products cover the pipeline in the order a batch moves through it. The ingredient kit starts the beer. The fermenter holds it while the yeast does the work. The draft tower pours it. The campden tablets are the cheap insurance that protects your water and your cold side from the two most preventable failures in the hobby. I will tell you where each one fits, who it is for, and where it will annoy you.
One house rule before we start: I do not quote prices. Retail moves every week, and a stale number in a guide is worse than no number at all. Every link below goes to the live listing so you can check current Amazon price yourself before you commit.
Best Overall: VEVOR 8 Gallon Stainless Steel Fermentation Tank
The fermenter is the piece of home brewing gear you touch more than any other, and it is the one most people buy last. That is backwards. This VEVOR unit is an 8 gallon stainless steel fermentor with a conical base, and both of those details matter for reasons that show up on brew day, not on the spec sheet.
Headspace is the first reason. Eight gallons means a five or six gallon batch ferments with room for the krausen to climb. I have mopped a krausen off a garage floor at midnight, and it is the least fun part of this hobby. The conical base is the second reason. Trub and yeast settle to a single low point instead of spreading across a flat bottom, so racking off the cake is cleaner, and harvesting slurry for a future starter turns into a real option instead of a scooping exercise.
Stainless also answers the failure I complain about most: plastic. A scratched bucket holds onto everything, and a plastic spigot that drips is the most preventable leak in home brewing. Stainless cleans up, shrugs off a sanitizer, and does not care about dried hop sludge.
What to know before you buy: stainless is heavier than plastic, it hides the fermentation instead of letting you watch it, and a conical base wants clearance underneath for dumping plus a stand that carries the weight. Temperature control still matters more than the vessel, so plan the fermentation space around the footprint.
Best for Finishing the Job: VEVOR Kegerator Tower Kit
The last mile of home brewing gear is packaging, and that is where most setups get lazy. Kegging removes bottle conditioning variance from the equation, and a dual tap tower turns a batch into something you can actually serve to people without opening a single bottle.
The kit bundles a stainless steel dual tap tower, a dual gauge regulator, a D-system keg coupler, and a drip tray. The regulator is the part I care about. One gauge reads tank pressure, the other reads the pressure you are actually pushing to the keg, and that second number is what you balance your draft lines around. Serving pressure and temperature decide whether you pour a beer or a glass of foam, and guessing at either one is how people end up with a pitcher of foam and a bad attitude.
The honest caveat is the coupler. A D-system coupler is built for commercial Sankey kegs, the kind a brewery fills. If you are serving homebrew from corny kegs, you will need the matching disconnects, so buy this for the taps, the regulator, and the drip tray, and plan the connection around the kegs you actually own. Also decide where the tower mounts before it arrives, because a tower needs a kegerator, a keezer collar, or a counter you are willing to drill.
The drip tray is the small piece that keeps the whole thing from turning into a sticky mess, and small pieces are usually the ones that get skipped.
Best Cheap Insurance: Craft A Brew Campden Tablets
This is the least glamorous item here and the one I would replace first if I had to choose. Campden tablets are sodium metabisulfite, and in a home brewery they do two jobs that have nothing to do with each other.
Job one is water. If your tap water smells like a swimming pool, that is chlorine or chloramine, and it will follow you all the way into the finished beer as a plastic, medicinal note. Sulfite scavenges it before the yeast ever sees it. Job two is the cold side of wine, cider, and fruit additions: sulfites knock back wild yeast and bacteria so your batch ferments with the yeast you chose, not whatever was riding in on the fruit.
Two caveats, because this is the product people misuse. These are sodium metabisulfite tablets, so they contribute sodium, and winemakers often reach for the potassium version for that reason. And a sulfite tablet is not a no-rinse acid sanitizer for your beer equipment. It is a tool for water and must, not a replacement for the sanitizer you use on a fermenter. Follow the dose on the label instead of a forum post, and keep the tablets sealed, because they lose punch with moisture and age.
Fifty tablets is a lot of insurance for a small outlay, and it is the cheapest way to fix a problem you would otherwise spend a full brew day diagnosing.
Best First Batch: Brewers Best Whiskey Barrel Stout Ingredient Kit
Every piece of gear above sits downstream of one decision: what are you brewing. This kit is a whiskey barrel stout, an extract recipe with specialty grains, hops, yeast, and priming sugar, built to land in the neighborhood of a barrel aged stout without a barrel or a year of patience.
What I like about it as a first dark beer is the style itself. A stout gives a new brewer somewhere to hide, because roasted malt and body cover small process sins that a pale ale will broadcast to anyone who takes a sip. What I do not like is any kit that leaves you measuring by feel. Buy a hydrometer the same day if you do not own one. An original gravity reading and a final gravity reading are the difference between knowing your beer finished and hoping it did. A stout that stops high is not sweet, it is under attenuated, and you cannot tell the difference without a number.
One process note that matters more with a dark, high gravity wort than with a session beer: hold fermentation temperature steady. Big beers generate their own heat in the middle of active fermentation, and a warm ferment on a dark wort is how you end up with solvent and banana notes in a beer that should taste like roast and oak.
How I evaluate home brewing gear
Every product I recommend has to clear the same bar, and the bar is a full brew day, not a spec sheet.
Three brew days minimum. A product that fails on brew day one gets exactly one more chance, then it is out. Nothing on my bench has ever broken once and then behaved.
Day one build quality. A properly welded fitting, a thick base, a seal that seats the first time. Gear that needs babying at batch ten is in the maybe sell box by batch thirty.
Cleaning with dried hop sludge. Nothing is easy to clean until you have let a batch of hop sludge dry on it and then tried to get it off.
Drips. I check every connection under pressure. A drip is not a quirk, it is a leak with a schedule.
Numbers. My hydrometer gets calibrated in distilled water at 60°F before every batch, and every figure I repeat comes from my notebook or a calibrated instrument, never from a manufacturer's adjective.
No sponsored placements. The ranking is the ranking, not the commission.
What these four pieces actually change
The ingredient kit changes nothing about your process and everything about your ceiling. Extract quality and freshness set how good the beer can be, but a kit cannot rescue a fermentation you did not control.
The fermenter changes your process the most. Headspace changes how much you can brew at once. A conical base changes how cleanly you rack and whether harvesting yeast is realistic. Stainless changes how the vessel ages. This is the purchase that reshapes a brew day, which is why it ranks first overall here.
The draft tower changes packaging. Kegging trades bottle conditioning for CO2 balancing and line cleaning, and both of those become chores you own. What you get back is consistency and the ability to pour a beer at the carbonation level you intended, which is a fair trade for most brewers who stay in the hobby past year two.
The campden tablets change your water and your cold side, and they carry the highest return per dollar on this list. Water chemistry is the boring math that makes homebrew taste like a brewery's beer, and chlorine is the most common reason a technically well brewed batch tastes wrong.
Put together, the order is simple: fix your water, log your gravity, control your fermentation, then decide how you package.
Home brewing gear reference table
This is the table I keep at the front of the notebook, organized by where each item sits in the pipeline rather than by price. Roles and caveats first, shopping second.
| Product | Role in the pipeline | Best for | Watch out for |
|---|---|---|---|
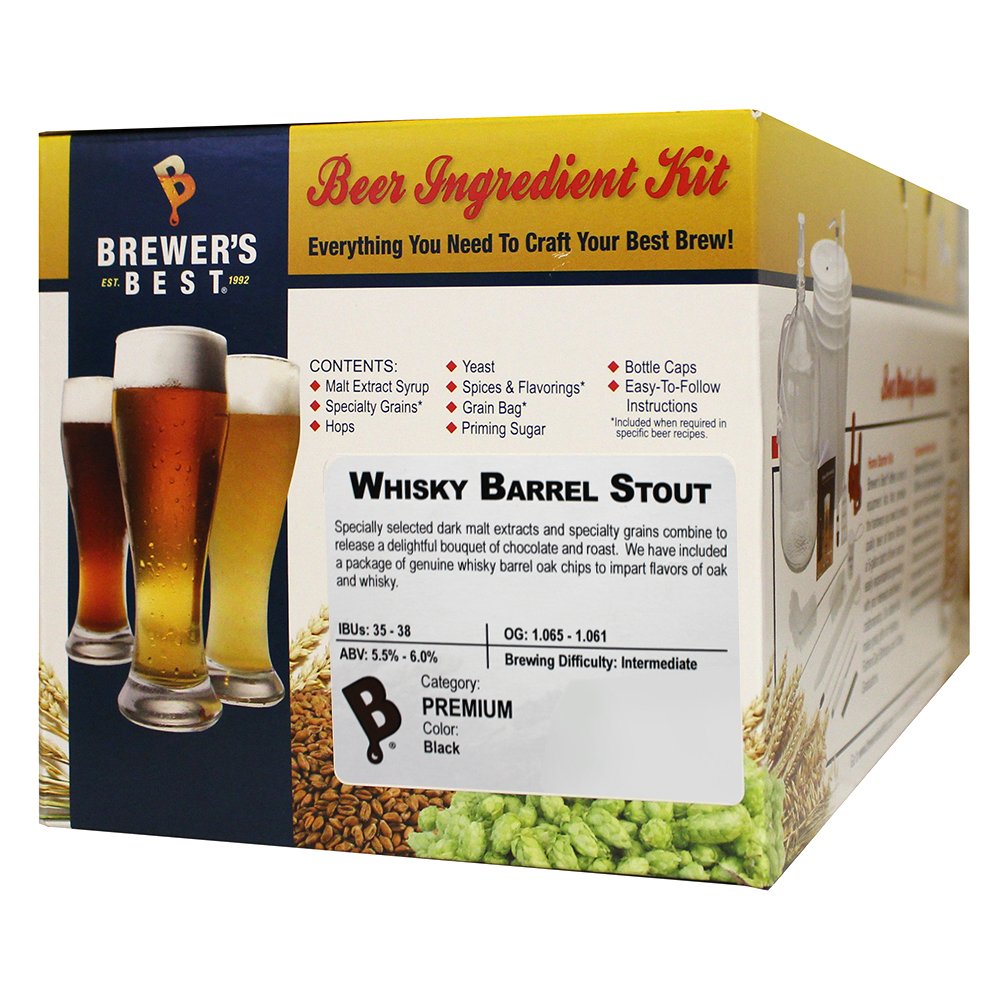 Visit on Amazon → Brewers Best Whiskey Barrel Stout Ingredient Kit |
Starts the batch | A first stout, or barrel aged character without a barrel | Add a hydrometer if you do not own one |
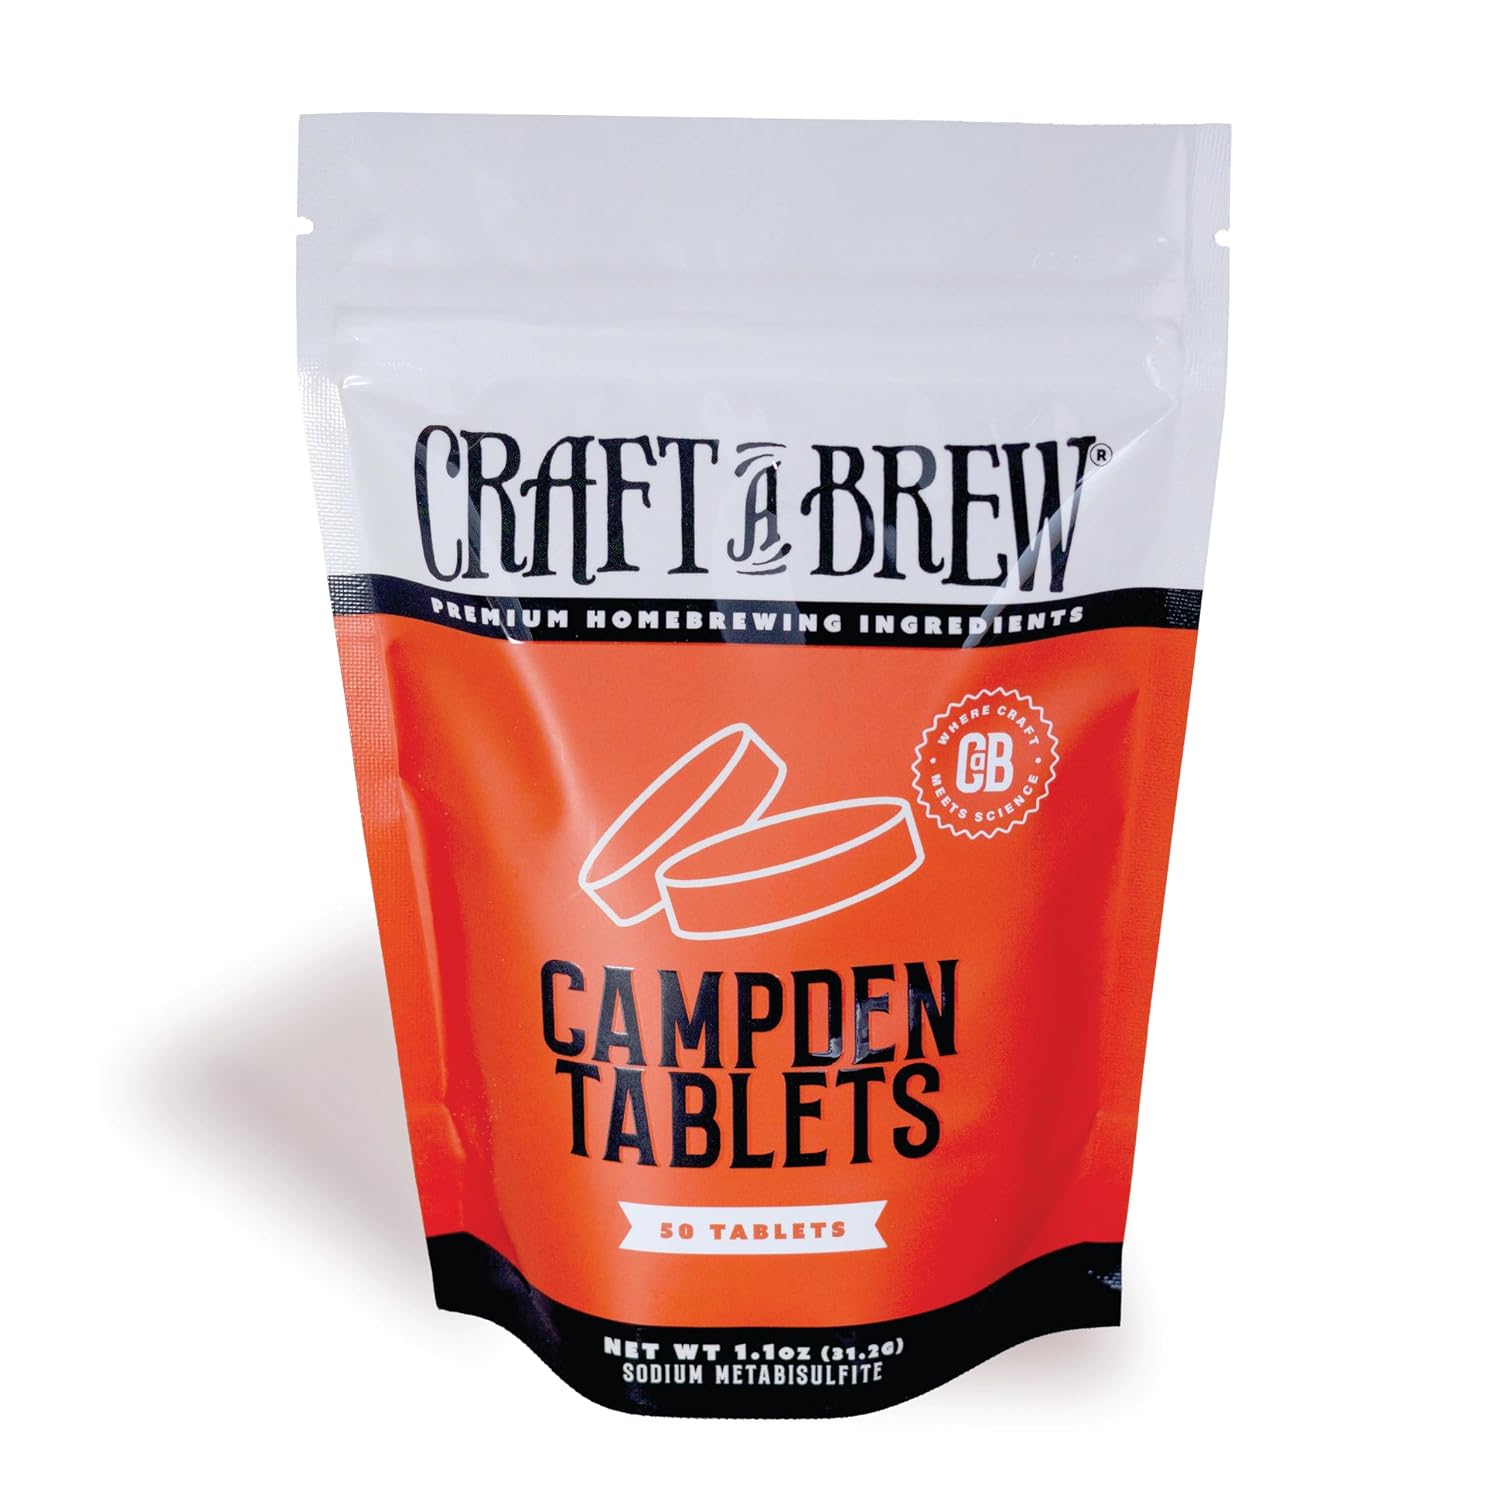 Visit on Amazon → Craft A Brew Campden Tablets |
Water treatment and cold side insurance | Cider, fruit wine, fruit additions, chlorinated tap water | Sodium based, and not a no-rinse sanitizer for beer gear |
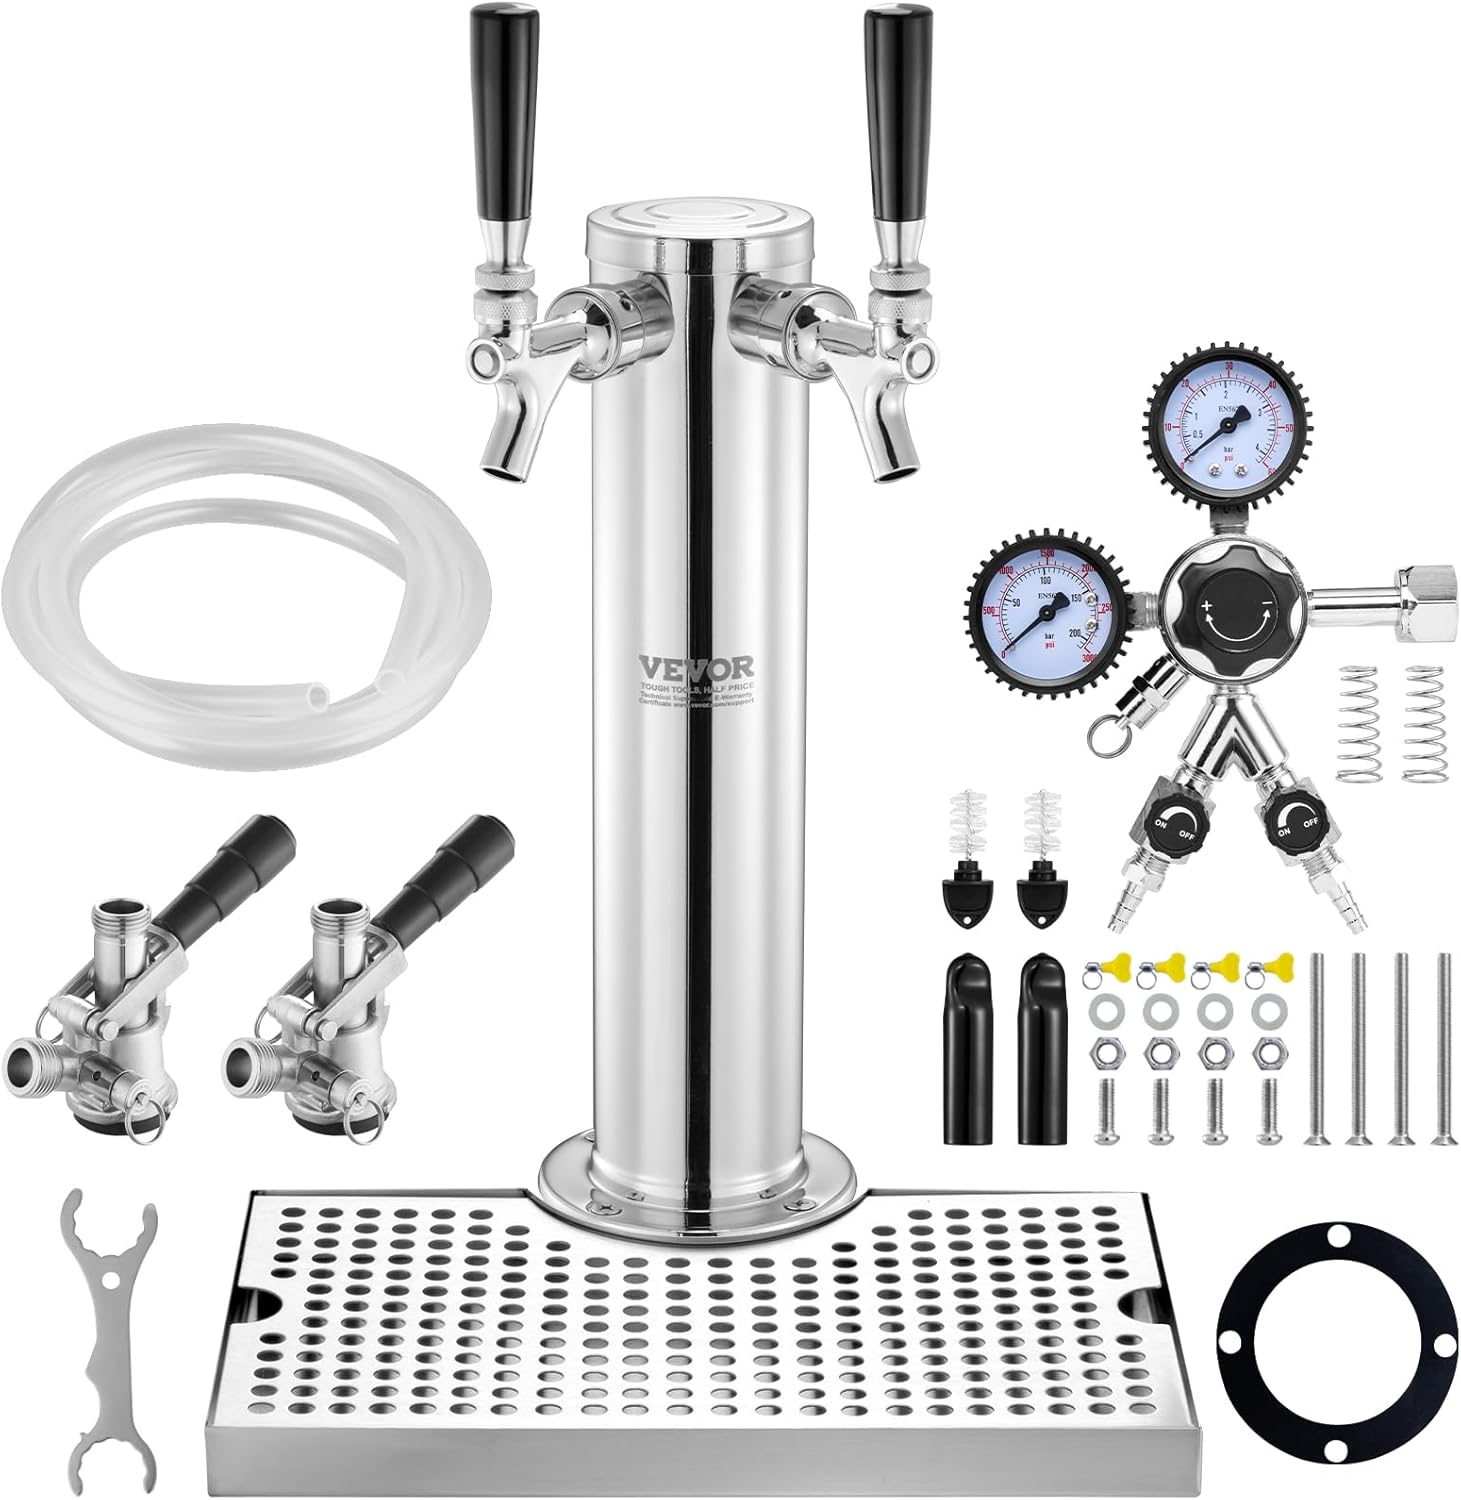 Visit on Amazon → VEVOR Kegerator Tower Kit |
Serving and packaging | Two tap draft setups | D-system coupler, so corny kegs need matching disconnects |
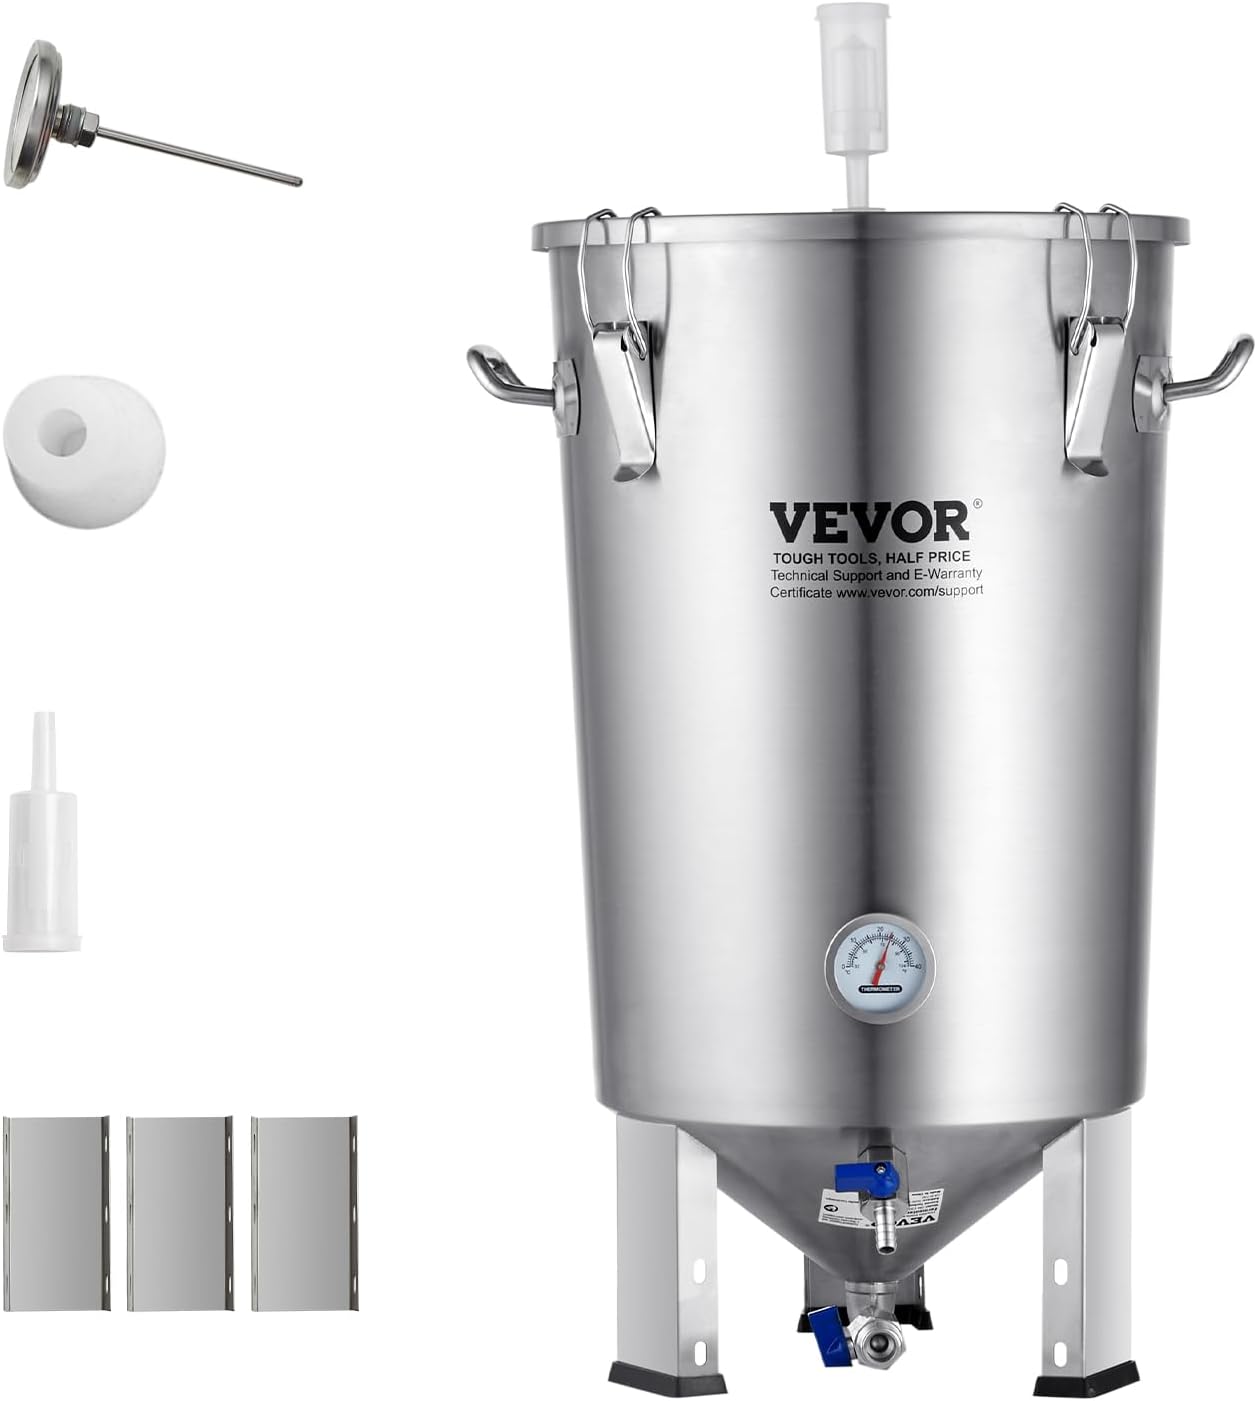 Visit on Amazon → VEVOR 8 Gallon Stainless Steel Fermentation Tank |
Fermentation and yeast harvesting | Five and six gallon batches, yeast ranching | Needs clearance under the conical base and a stand that carries weight |
The pattern in that table is the whole argument of this guide. The cheapest item protects the most common failure. The most expensive item protects the least common one. Buy in the order your beer moves.
Should you buy the VEVOR 8 Gallon Fermentation Tank?
Yes, if you brew five or six gallon batches, you are tired of a dripping plastic spigot, and you want to harvest yeast instead of scooping it out of a bucket. The headspace alone justifies it for a stout or a barleywine that climbs hard in the first 48 hours, and the conical base makes racking a cleaner job than any flat bottomed vessel I have used.
No, if you brew one gallon batches, you rent, or you have no room for a vessel that needs clearance underneath and a stand built for the weight. In that case a smaller stainless fermenter, or a plastic bucket you inspect and replace on schedule, is the honest answer.
Should you buy the VEVOR Kegerator Tower Kit?
Yes, if you are building a draft setup and you serve commercial Sankey kegs, or you are willing to add the right disconnects for corny kegs. Two taps, a dual gauge regulator, and a drip tray is a complete serving side in one box, and the regulator is the part that keeps you from pouring foam into a perfectly good batch.
No, if you bottle and you are happy bottling. Kegging is not better beer by itself, it is different packaging with its own chores, and line maintenance is a chore nobody enjoys.
The order I would buy them in
Campden tablets first, because water sits upstream of everything and the cost is trivial. Then the fermenter, because it changes the most brew days. Then the ingredient kit, so you have something worth putting in it. Then the tower, once you know you are staying in the hobby long enough to want draft at home.